Introduction
Moving out, upgrading to a newer model, or dealing with a lock that just won’t respond anymore — whatever the reason, learning how to remove a Yale smart lock from your door doesn’t require calling in a locksmith. The good news is that it’s a straightforward job you can finish with a basic screwdriver and about 15 minutes to spare. This guide walks you through the entire process step by step, from powering down the lock safely to prepping your door for whatever comes next.
Table of Contents
What Tools Do You Need Before You Start?
You only need a Phillips screwdriver, a flat-head screwdriver, and maybe a small flashlight — that’s it for most Yale models. Before you touch a single screw, though, it helps to know exactly what’s coming so you’re not hunting for tools halfway through the job.
Here’s what to have ready:
- A Phillips (cross-head) screwdriver — this handles almost every mounting screw on Yale smart locks, including the interior assembly and strike plate.
- A flat-head screwdriver — useful for prying off decorative caps or trim rings that hide the screws underneath.
- A small flashlight or your phone’s flashlight — some screws sit in shadowed corners, especially on thicker doors.
- A battery pack or a small container — so you’re not fumbling loose AA batteries once you pop the cover.
- A soft cloth or towel — laying the door hardware on this after removal keeps you from scratching floors or losing tiny screws in carpet.
A safe workspace matters more than people expect. Clear a small table or countertop near the door before you start — most homeowners lose 10 to 15 minutes just searching for a dropped screw on the floor. If you’re doing this alone, keep your phone nearby too, in case you need to check the manual for your specific Yale model, since screw placement can shift slightly between the Yale Assure and Yale Real Living lines.
One more thing worth doing first: make sure you’re not locked out mid-project. If your Yale lock is still active, disengage the deadbolt manually and prop the door open before removing anything — this ties directly into safely powering down the lock, which is the very next step.
How Do You Safely Power Down the Lock First?
Before you remove a Yale smart lock from your door, always take the batteries out first — this cuts power to the motor and prevents the lock from accidentally engaging while you’re working on it. It sounds like a small step, but skipping it is exactly how homeowners end up locked out of their own house mid-project.
Here’s how to do it properly:
- Manually unlock the deadbolt first. Turn the thumb-turn on the interior side to the unlocked position before you do anything else. This keeps the bolt retracted so it can’t extend and jam the door frame while you’re disassembling the unit.
- Remove the battery cover. On most Yale models, this is the interior faceplate held by a small tab or single screw — pop it off and slide the batteries out.
- Set the batteries aside, not back in the lock. Even four AA batteries left inside can trigger auto-lock features on some Yale Assure models within 5 to 10 seconds of the cover closing.
- Prop the door open with a doorstop or a heavy object while you work. If the latch happens to move during disassembly, an open door means you’re never actually locked out.
This is also the point where a lot of people get caught off guard by auto-relock settings. Some Yale locks are programmed to relock automatically after a short delay, and if you’re not paying attention, you could find the deadbolt extending right as you’re pulling the interior assembly loose. Taking the batteries out removes that risk completely, which is why this step comes before any physical disassembly.
If your lock is currently giving you trouble even before removal — sticking, jamming, or not responding to codes — that usually points to a mechanical issue worth checking first, similar to what causes a door lock to get stuck in the locked position.
How Do You Detach the Interior Assembly?
Detaching the interior assembly means unscrewing the mounting plate that holds the keypad module to the door, and it’s usually the fastest step in the entire removal process. Once the batteries are out and the deadbolt is manually retracted, this part takes most homeowners under five minutes.
Removing the Mounting Screws
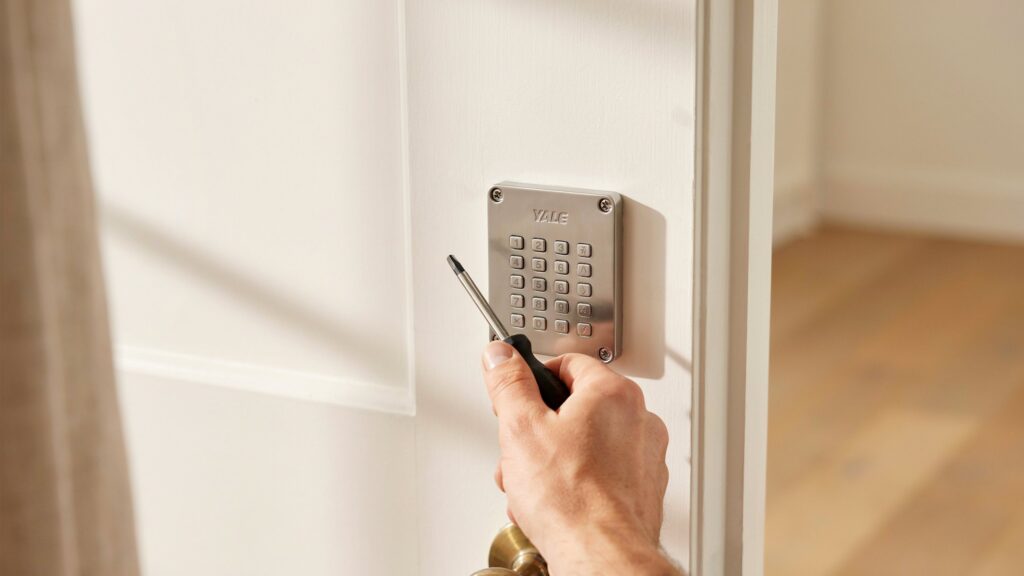
Look at the interior faceplate — the part facing you inside the house — and you’ll typically find two mounting screws hidden just below or above the battery compartment. These are usually Phillips-head and don’t require much torque, so a quarter-turn at a time is enough to avoid stripping them. On some Yale Assure models, a small trim collar covers these screws, so you’ll need to slide or twist that collar off first before the screws are visible. Keep the screws in the container you set aside earlier — losing even one means an extra trip to the hardware store later.
Separating the Keypad Module
Once the screws are out, the entire keypad module — the part with the touchscreen or physical buttons — should pull straight away from the door, connected only by a short cable or connector rod that links it to the exterior half. Gently disconnect this link rod rather than yanking the module free, since forcing it can bend the connecting spindle that runs through the door. This spindle is the same mechanism responsible for turning the latch when you press the code, so keeping it intact matters if you’re planning to reuse any part of the lock later, whether that’s swapping components or troubleshooting why a smart lock stopped responding to codes in the first place.
With the interior assembly detached, the door is left with just the latch and deadbolt mechanism, plus the exterior housing — both of which come off in the next steps.
How Do You Remove the Latch and Deadbolt Mechanism?
Removing the latch and deadbolt means taking out the two remaining screws on the door’s edge, then sliding the entire mechanism straight out of the door frame. This step is where the Yale smart lock physically separates from the door itself, and it usually takes less than two minutes once the interior assembly is already gone.
Start by opening the door fully so you have clear access to the edge — the thin strip between the door face and the frame. You’ll see the faceplate, a small rectangular metal plate with two screws holding the latch or deadbolt in place. Remove both screws and set them aside with the others. Once they’re out, grip the latch bolt firmly and pull it straight out; it should slide free without much resistance, since it’s only held in by those two screws and the connector rod running to the exterior housing.
A few things to watch for here:
- If the latch feels stuck, it’s often just old paint or built-up grime around the faceplate edges — a flat-head screwdriver gently worked around the rim usually breaks it loose.
- The connector rod may still be attached to the exterior side, so pull gently rather than forcing it, letting it slide out along with the latch.
- Keep track of the latch orientation (which way the angled part faces) if you’re planning to reinstall a standard lock afterward, since installing it backward is a common mistake that jams the door.
If you want a deeper look at how different latch types (spring, tubular, mortise) actually work before deciding what to reinstall, This Old House’s latch guide breaks down the mechanics well.
Once the latch and deadbolt are out, only the exterior housing remains on the outside face of the door, held on by its own connector and often a couple of screws accessible from where the interior assembly used to sit.
How Do You Remove the Latch and Deadbolt Mechanism?
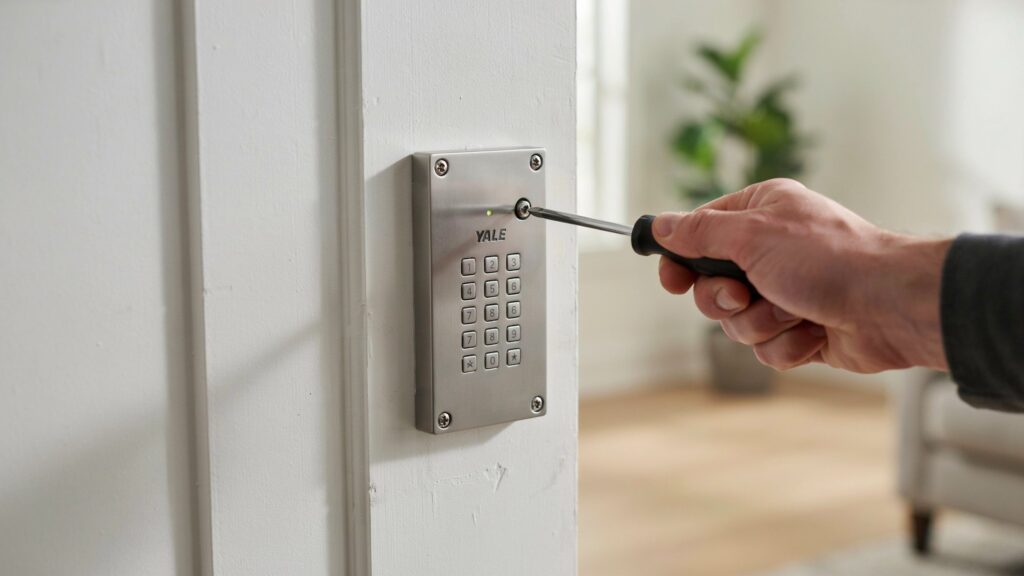
Removing the latch and deadbolt means taking out the two screws on the door’s edge and sliding the entire mechanism straight out of the frame — this is the step where the Yale smart lock physically separates from the door itself. Once the interior assembly is already off, this part usually takes less than two minutes.
Start by opening the door fully so you have clear access to the edge, the thin strip between the door face and the frame. You’ll see the faceplate, a small rectangular metal plate with two screws holding the latch or deadbolt in place. Remove both screws and set them aside with the others you’ve already collected. Once they’re out, grip the latch bolt firmly and pull it straight out; it should slide free without much resistance, since it’s only held in by those two screws and the connector rod running to the exterior housing.
A few things to keep in mind while doing this:
- If the latch feels stuck, it’s often just old paint or built-up grime around the faceplate edges — a flat-head screwdriver gently worked around the rim usually breaks it loose.
- The connector rod may still be attached to the exterior side, so pull gently rather than forcing it, letting it slide out along with the latch.
- Keep track of the latch orientation (which way the angled part faces) if you’re planning to reinstall a standard lock afterward, since installing it backward is a common mistake that jams the door.
- Check the faceplate type before removing it — some Yale models use a round faceplate instead of a square one, and mixing them up later can leave gaps around the edge of the new lock.
- Note the door thickness while the latch is out, since standard doors run 1⅜ to 1¾ inches, and this measurement matters if you’re buying a replacement lock afterward.
- Wipe down the strike plate area on the door frame while it’s exposed, since dust and old wood shavings tend to build up here over time and can affect how smoothly a new latch seats later.
If you’re removing the Yale lock to switch back to a manual deadbolt rather than installing another smart model, it’s worth weighing that decision against what you’d be giving up — something covered in more detail in this comparison of a smart lock vs a traditional lock.
Once the latch and deadbolt are out, only the exterior housing remains on the outside face of the door, held on by its own connector and often a couple of screws accessible from where the interior assembly used to sit.
How Do You Take Out the Exterior Housing?
Taking out the exterior housing means removing the last visible piece of the Yale smart lock — the outer keypad or touchscreen panel facing the outside of your door — and it usually separates in one smooth motion once the latch is already gone. This is the final physical piece standing between you and a completely bare door.
With the interior assembly and latch already removed, the exterior housing is now only connected to the door by the mounting bolts running through from the inside, plus the connector rod that used to link it to the interior module. Reach around to the outside of the door and gently pull the housing away from the surface; if it doesn’t move right away, check for one or two small screws around the base or edge of the panel that may still be holding it flush against the door face.
A few points worth checking as you finish this step:
- Support the housing with your hand as it comes free, since some Yale exterior units are heavier than they look and can drop suddenly once the last screw releases.
- Inspect the connector rod and battery wiring (on models with exterior keypads that also run on battery power) for any leftover clips still attached to the door, so nothing gets left behind inside the door edge.
- Check for a rubber gasket or weatherproofing seal between the housing and the door — these sometimes stick to the door surface and need to be peeled off separately.
If you run into a connector variation that doesn’t match what’s described here, Yale’s own technical support documentation covers model-specific wiring and hardware differences worth cross-checking.
Once the exterior housing is off, your door is left completely bare on both sides, with just the round or square holes where the lock used to sit — which brings you to deciding what goes back in its place.
What Should You Do With the Door After Removal?
Once the Yale smart lock is fully removed, your door will have one of three needs: patching the mounting holes, reinstalling a standard deadbolt, or preparing the same holes for a new smart lock — and which one applies depends entirely on what you’re doing next. Most doors are drilled to a standard cross-bore pattern, so unless you’re switching to a completely different lock brand with a different hole spacing, you’re rarely starting from scratch.
If you’re leaving the door lock-free temporarily, cover the holes with painter’s tape or a thin piece of cardboard rather than leaving them open — an exposed cross-bore is an easy point of entry and something a burglar can exploit in seconds using a simple tool through the gap. This matters more than people realize, especially if the door faces a porch, backyard, or any area hidden from street view.
If you’re reinstalling a traditional deadbolt, the good news is that Yale smart locks are built on standard ANSI-compliant hole patterns, so a regular deadbolt from a hardware store should fit directly into the same holes without redrilling. Line up the latch faceplate first, then work outward, using the original screw holes whenever they’re still intact. This is often the more practical option for a rental property, since traditional deadbolts don’t need batteries or app pairing, and landlords typically prefer hardware that any tenant can operate without setup.
If you’re installing a new smart lock instead, measure your door thickness and backset (the distance from the door’s edge to the center of the hole) before ordering anything, since not every smart lock brand uses the exact same spacing as Yale. This is also the right moment to decide whether you want the same brand again or want to compare options, since not all smart locks perform the same way in daily use — something worth checking against a broader smart lock vs traditional lock comparison before you commit to a purchase.
Whichever direction you choose, don’t leave the door in a half-finished state overnight. A door with an incomplete lock, even temporarily, is one of the more overlooked home security gaps — the kind a criminology background trains you to spot immediately, because opportunistic entry rarely needs more than a few unlocked minutes.
What Common Problems Come Up During Removal?
The most common issues when you remove a Yale smart lock are stripped screws, a stuck latch, and confusion between model layouts — and all three are easy to avoid once you know what to look for.
- Stripped screws usually happen when a screwdriver doesn’t sit flush in the head. If a screw starts spinning without loosening, switch to a slightly larger driver or add a drop of rubbing alcohol to improve grip.
- A stuck latch is often just old paint, rust, or grime around the faceplate. Working a flat-head screwdriver gently around the edge before pulling usually frees it in seconds.
- Model differences trip up a lot of homeowners, since a Yale Assure lock uses a trim collar over its screws, while a Yale Real Living model exposes them directly. Checking your exact model number before starting saves several minutes of guesswork.
If your lock was already acting up before removal — jamming, ignoring codes, or resisting the deadbolt — that’s usually a sign of the same mechanical wear covered in why smart locks stop responding to codes.
How Do You Stay Secure After Removing the Lock?
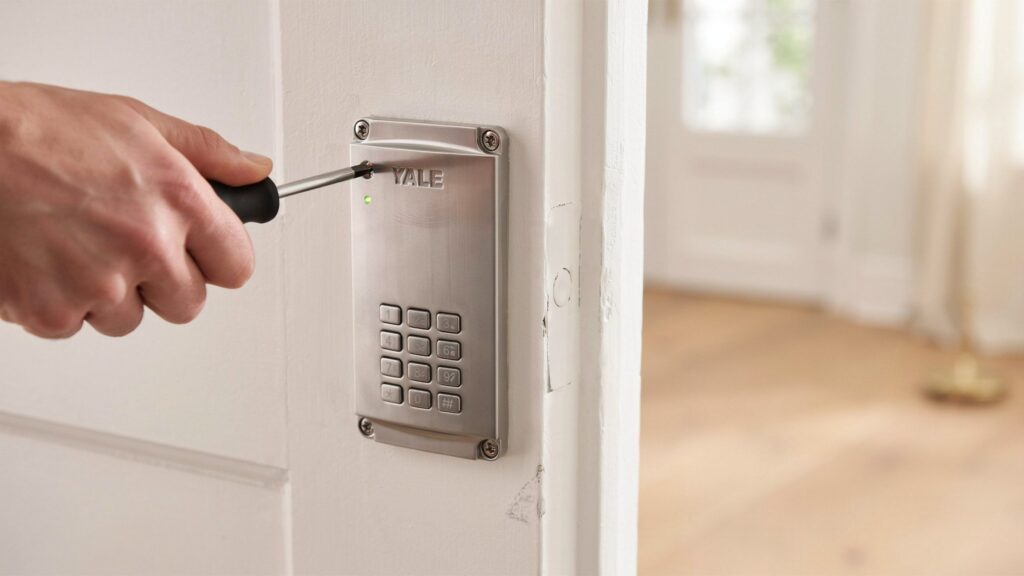
Staying secure after you remove a Yale smart lock comes down to two things: revoking every old access code and making sure the door has a working lock before you leave it unattended, even for a few hours. Most homeowners overlook this part entirely, assuming that once the lock is off the door, there’s nothing left to worry about — when in reality, that’s exactly when the door becomes most vulnerable.
Revoking Old Access Codes and Accounts
If the Yale lock was ever paired with the Yale Access app, log in and remove the device from your account before disposing of it or handing it to someone else. Any PIN codes, guest access, or shared users tied to that lock stay active in the system otherwise, which matters if you’re selling the lock, giving it to a friend, or reinstalling it at a rental property. A 2023 consumer security review found that a large share of resold smart locks still had at least one working access code from the previous owner — a simple oversight that’s easy to prevent by clearing accounts first.
Temporary Security Tips for an Unlocked Door
- Never leave the door without any lock overnight, even if it feels like a low-crime area, since an open cross-bore is a visible sign the home is mid-renovation.
- Use a portable door lock or security bar as a short-term fix if your replacement lock hasn’t arrived yet.
- Tell a trusted neighbor if the door will be without a working lock for more than a day, especially in a shared building or a house with street-facing entry.
If you’re planning to reinstall a traditional deadbolt instead of another smart model, it’s worth reviewing how the two options actually compare in daily use, covered in this smart lock vs traditional lock breakdown, before deciding which one fits your situation long term.
Final Thoughts: Is Removing a Yale Smart Lock Really That Hard
Removing a Yale smart lock isn’t complicated once you understand the sequence — power down, detach, disassemble, and secure the door before moving on. What actually protects your home isn’t the brand of lock on the door, but how carefully you handle the moments in between. Before you close this project out, ask yourself: is your door truly secure right now, or just unlocked and forgotten?
FAQs
How to uninstall a Yale smart lock?
Take the batteries out, unscrew the interior assembly, then remove the latch and exterior housing in that order. The whole process takes most homeowners 10–15 minutes with just a Phillips screwdriver.
How to remove a smart lock from a door?
Power down the lock first, detach the interior module, pull out the latch and deadbolt, then remove the exterior housing last. Most smart locks, including Yale, follow this same basic sequence.
How to remove a door lock with no visible screws?
Check for a hidden trim collar or decorative cap covering the screws, since many Yale models hide mounting hardware underneath. Gently pry or twist the cover off first — forcing the lock without finding these screws can damage the faceplate.
Do you need a locksmith to remove a Yale smart lock?
No, removing a Yale smart lock is a DIY job that only needs a screwdriver and about 15 minutes — no locksmith required for standard installations.
Can you reuse the old deadbolt after removing a Yale smart lock?
Yes, most Yale smart locks use standard ANSI hole patterns, so a traditional deadbolt usually fits back into the same holes without any redrilling.
Does removing a Yale smart lock delete your access codes?
Removing the hardware doesn’t automatically clear your codes — you still need to log into the Yale Access app and remove the device manually to revoke old PINs.
About This Guide
This guide is written from a criminology background, where physical security — not just digital convenience — is the real focus behind every recommendation. Research consistently backs this approach: a landmark University of North Carolina at Charlotte study, “Through the Eyes of a Burglar,” found that 83% of convicted burglars said they’d avoid a home with visible security measures altogether, and FBI Uniform Crime Reporting data confirms that residential properties remain the single most targeted type of burglary in the U.S. Removing or replacing a smart lock isn’t just a hardware task — it’s a moment where a home’s actual security posture is decided, which is why every step in this guide is built around getting it right the first time, not just getting it done quickly.