Introduction
You’ve got a new smart switch sitting on the counter, and you’re wondering how long a smart switch install actually takes — a quick 20-minute job, or something that’s going to eat your whole Saturday afternoon? The honest answer: it depends on your wiring, but most homeowners finish in under 30 minutes. This guide walks through exactly where that time goes, what slows people down, and how to know if you should tackle it yourself or call in an electrician.
Table of Contents
What Affects Installation Time the Most?
Smart switch installation time depends mostly on three things: wiring type, whether a neutral wire is present, and the condition of your existing switch. Get these right, and most installs take 20 to 30 minutes. Miss one of these, and that quick 25-minute plan can easily turn into an extra hour of troubleshooting — or an unplanned run to the hardware store.
- Wiring type: Standard single-pole switches are fastest. Three-way switches (two switches controlling one light) take longer since you’re tracing extra wires to find the traveler wire — often adding 15-20 minutes for first-timers.
- Neutral wire: Many smart switches need this to power the Wi-Fi radio. Homes built before the mid-1980s often don’t have one in the switch box. No neutral means buying a no-neutral compatible switch or calling an electrician, both of which add real time.
- Switch condition: Rusted screws, brittle wires, or an undersized box slow things down. A switch that snaps out cleanly saves minutes; one that’s corroded turns a quick swap into a careful, slower job.
Homes With Older Wiring vs. Newer Wiring
Older homes (pre-1990) tend to have smaller boxes, sometimes aluminum or cloth-insulated wiring, and a higher chance of missing that neutral wire. Installs here often run 45 minutes to an hour once you factor in wire identification and box adjustments.
Newer homes (post-2000) usually have standard copper wiring, a neutral wire already present, and larger boxes built for bulkier smart switches. Here, the job can wrap up in under 20 minutes — mostly matching wire colors and securing the switch.
Not sure which category applies? A quick check of your panel’s age — as this detailed guide on dating electrical panels explains, date tags and serial numbers can narrow it down — or a fast look from a licensed electrician, can save you a wasted afternoon. This same compatibility logic — checking wiring and power before you install — comes up with smart locks too, especially when they need to work without relying on home Wi-Fi.
Step-by-Step: Where the Time Actually Goes
A standard smart switch installation takes about 25 minutes broken into five short stages, and knowing where those minutes go helps you plan the job realistically instead of guessing.
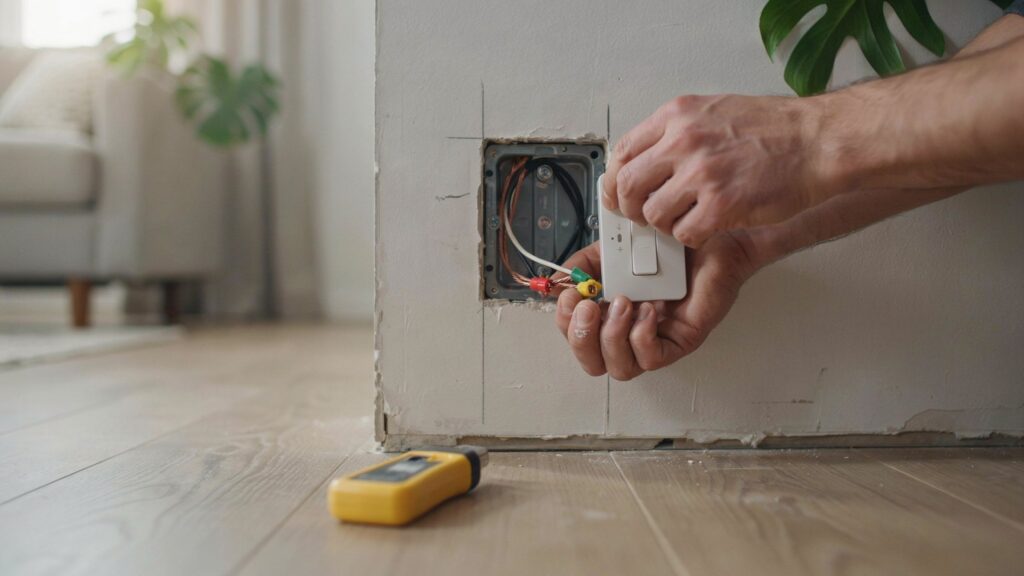
- Turn off power and test (2-3 minutes): Flip the breaker, then confirm the switch is dead using a voltage tester. Skipping this step is the most common mistake first-timers make, and it’s non-negotiable for safety.
- Remove the old switch (3-5 minutes): Unscrew the wall plate, pull out the switch, and take a phone photo of the existing wiring before disconnecting anything. That photo saves you guesswork later if a wire doesn’t match up the way you expected.
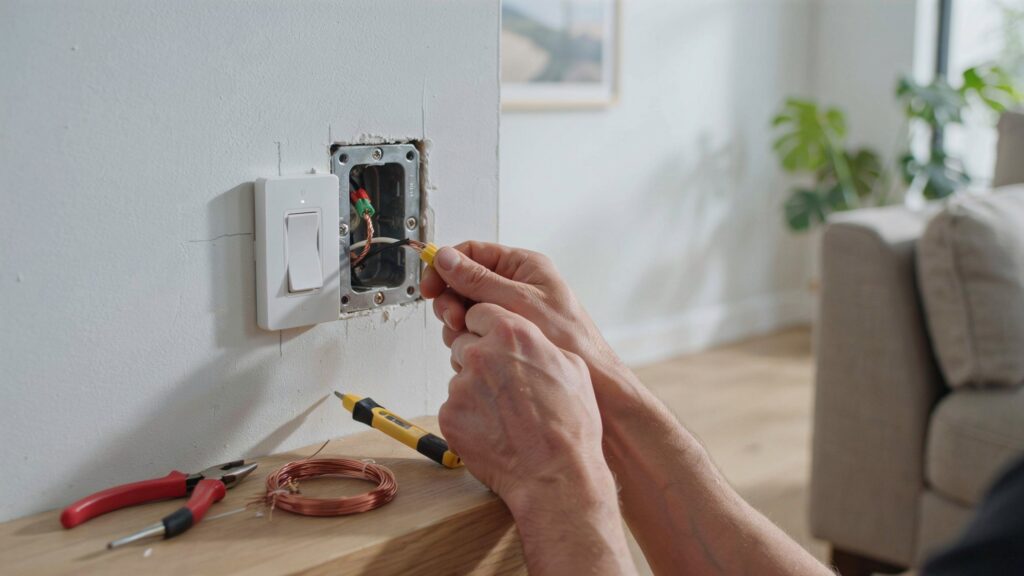
- Identify and match wires (5-7 minutes): This is usually the slowest stage. You’re matching line, load, neutral, and ground wires to the new switch’s labeled terminals. A basic single-pole job moves fast here; a three-way setup with unlabeled travelers can double this time.
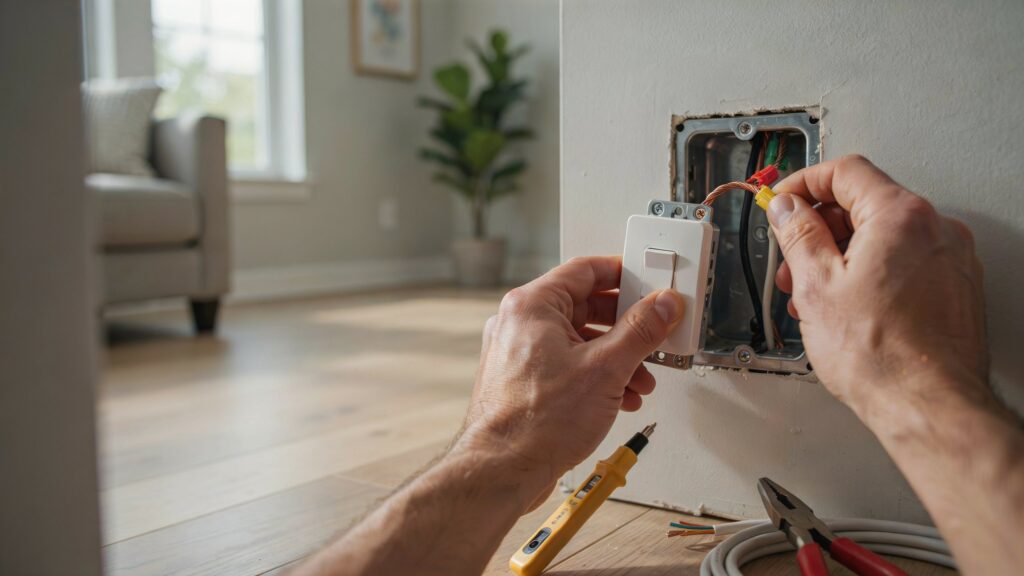
- Connect and mount the new switch (5-8 minutes): Secure each wire with wire nuts, tuck everything into the box without pinching insulation, then screw the switch into place. Rushing this step is how loose connections and flickering lights happen later.
- Restore power and test function (2-3 minutes): Flip the breaker back on and check that the switch controls the light manually before moving to app setup.
Add it up, and a straightforward single-pole smart switch typically lands right around 20 to 25 minutes for the physical portion alone — the app pairing and Wi-Fi setup comes after, and that’s a separate time block entirely. If you’re also working with a smart lock as part of a broader smart home upgrade, the wiring and mounting logic follows a similar rhythm, though the identification step looks a little different since locks don’t deal with line and load wires the same way switches do — as covered in our guide on how smart locks work without WiFi.
App Setup and Wi-Fi Pairing: The Part People Forget to Time
App setup and Wi-Fi pairing usually add another 10 to 15 minutes to your total smart switch installation time, and it’s the stage most people forget to plan for.
- Download and account setup (2-3 minutes): Install the manufacturer’s app and create an account, or skip this if you’re adding to an existing smart home app you already use.
- Power-on detection (1-2 minutes): Once power is restored, the switch usually needs a moment to boot up and enter pairing mode, often signaled by a blinking LED on the switch itself.
- Wi-Fi network connection (3-5 minutes): This is where most delays happen. Most smart switches only connect to 2.4GHz networks, not 5GHz, so if your router broadcasts a combined network name, you may need to temporarily split it or manually select the correct band.
- Naming and room assignment (1-2 minutes): Label the switch and assign it to a room for easier voice control later.
- Firmware update check (2-5 minutes): Many switches prompt an update on first setup, and this step can stall the whole process if your internet connection is slow.
A rough real-world example: a switch that takes 22 minutes to physically install can easily hit the 35-minute mark once you count a stubborn 2.4GHz connection issue. This same Wi-Fi band compatibility problem shows up with other smart home devices too, including smart locks that rely on a stable home network connection to stay responsive.
Real-World Example: A Typical Living Room Switch Swap
A typical living room switch swap in a home built in the 2010s takes about 25 minutes from start to finish, and walking through one real scenario shows exactly why the numbers add up the way they do.
Picture a standard living room switch controlling an overhead light, in a house built in 2012. The homeowner shuts off the breaker, tests the switch with a voltage tester to confirm it’s dead, then removes the wall plate. Behind it: a neutral wire bundle capped in the back of the box, exactly what a modern smart switch needs. Matching line, load, neutral, and ground takes under five minutes since everything is labeled and color-coded the way newer construction usually is. The new switch mounts cleanly, the breaker goes back on, and the light turns on with a manual flip in under 20 minutes total — the same reliable wiring setup that makes installing motion sensor lights in newer homes just as quick.
Then comes the app side. The switch pairs with the home Wi-Fi on the first attempt because the router already broadcasts a separate 2.4GHz network, avoiding the most common holdup people run into. A quick firmware update adds another three minutes. Total time from breaker-off to fully controlling the light through an app: right around 28 minutes.
Now compare that to an older home built in the 1970s with the same switch model. No neutral wire in the box changes everything — the homeowner either needs a no-neutral compatible switch or has to call an electrician to add one. That single difference shows exactly how long a smart switch can take when one wiring detail is different, turning a 28-minute job into a project that stretches well past an hour, sometimes into a separate day if an electrician’s visit is required.
This kind of before-and-after comparison is exactly why checking your wiring type first matters more than any other step in the process. It’s the same logic worth applying before installing a smart lock, since compatibility with your door’s existing wiring or battery setup determines whether that install takes 15 minutes or turns into a bigger project.
Common Delays That Add Extra Minutes (or Hours)
The most common delays in smart switch installation come from missing tools, mismatched wiring, and unexpected box conditions — and each one can turn a 25-minute job into an hour or more.
- No neutral wire: The single biggest delay. If you don’t spot one in the box, you’ll need to stop and either order a no-neutral compatible switch or bring in an electrician, easily adding a day or more to the timeline.
- Missing or wrong tools: Not having a voltage tester, wire strippers, or the right size screwdriver on hand means a mid-project trip to the hardware store, which can eat up 20-30 minutes alone.
- Unlabeled wires in three-way setups: Two switches controlling the same light often have traveler wires that aren’t clearly marked. Without labeling them before disconnecting anything, you can lose 15-20 minutes just tracing which wire goes where.
- Box too small for the new switch: Many smart switches are bulkier than standard switches. An old, shallow box may not have room, forcing you to trim wires or adjust positioning before the switch fits properly.
- Wi-Fi pairing failures: A switch that won’t connect on the first attempt, often due to a 5GHz-only network, can add 10 minutes or more of troubleshooting before it finally pairs.
- Corroded or stripped screws: Old switches with rusted mounting screws sometimes require extra time and a different tool just to remove the plate safely.
A realistic worst-case scenario: a homeowner expecting a 25-minute job hits a missing neutral wire, doesn’t have a compatible switch on hand, and ends up pausing the project entirely until a replacement arrives or an electrician is scheduled. Knowing these delays ahead of time is exactly why checking wiring compatibility matters before you buy — the same principle applies when choosing a smart lock that needs to match your door’s existing setup rather than finding out mid-installation that it doesn’t fit.
Multiple Switches: Does Time Multiply?
Installing multiple smart switches doesn’t multiply your time evenly — each additional switch actually gets faster once you’ve done the first one, since the learning curve and setup routine are already out of the way.
The first switch always takes the longest because you’re figuring out your home’s wiring pattern, getting comfortable with the tools, and possibly troubleshooting something unexpected like a missing neutral wire. Once that first install is done, you already know what to expect from the rest of the switches in your home, assuming they’re wired similarly.
Time Breakdown for 3-4 Switches
- Switch 1: 25-30 minutes (includes wiring identification and initial learning curve)
- Switch 2: 15-20 minutes (same wiring pattern, faster wire matching)
- Switch 3: 12-18 minutes (routine is familiar, tools are already out)
- Switch 4: 12-18 minutes (similar pace, unless wiring differs from the others)
A realistic afternoon project doing four switches across a living room, hallway, and two bedrooms often lands around 60-75 minutes of hands-on installation time total, not the 100+ minutes you’d expect from simply multiplying the first switch’s time by four.
When Time Does Multiply Instead of Shrink
- Each room has a different wiring setup (some three-way, some single-pole)
- One or more switches turn out to be missing a neutral wire
- Wi-Fi pairing has to happen individually for every single switch, which can add 10-15 minutes per device if your network has band issues
- You’re working room to room instead of prepping all switches and tools ahead of time
Batching the app setup and Wi-Fi pairing for all switches together, rather than doing it one at a time between each physical install, is one of the easiest ways to save real time on a multi-switch afternoon. This same batching approach applies to homes upgrading multiple smart locks at once, where pairing several devices back-to-back is far more efficient than one at a time.
Should You DIY It or Call an Electrician?
Whether you should DIY a smart switch install or call an electrician comes down to your comfort level with basic wiring and how much time you’re willing to risk losing if something doesn’t go as planned.
DIY makes sense if you’re dealing with a straightforward single-pole switch, you’ve already confirmed a neutral wire is present, and you’re comfortable working with a voltage tester and wire nuts. For most people in this situation, the whole job realistically takes 20-30 minutes, and the skill level required is closer to changing an air filter than rewiring a panel.
Calling an electrician makes more sense when:
- Your home has no neutral wire and needs new wiring run to the switch box
- You’re dealing with a three-way or four-way switch setup and aren’t confident identifying traveler wires
- Your electrical panel is older or uses aluminum wiring, which requires extra care
- You’ve never worked with home wiring before and want peace of mind on safety, not just speed
The time trade-off matters here too, and it’s a big part of how long a smart switch can end up taking overall. A DIY install that hits an unexpected snag, like a missing neutral or a box that’s too small, can turn a 25-minute plan into a multi-day wait if you need to order parts or find an available electrician. Hiring one from the start costs more upfront, usually in the range of a standard service call fee, but it guarantees the job gets done correctly in one visit, often in under an hour.
Skill level realistically maps to time this way: a confident DIYer with the right tools matches or beats an electrician’s speed on simple jobs, but anyone unsure of what they’re looking at inside the box usually ends up spending more time troubleshooting than the professional would have spent completing the whole install. As the Electrical Safety Foundation International notes, most homeowners don’t have the training to safely judge when a job has moved beyond their skill level, which is exactly why hesitation inside the box is often the clearest sign to stop and call a professional. This same DIY-versus-professional decision comes up often with smart lock installations, where battery-powered models are simple enough for most homeowners, but wired, no-neutral setups tend to benefit from an electrician’s experience just like switches do.
Final Thoughts
A smart switch install rarely takes as long as people fear, but it also rarely goes exactly as planned. The real difference between a smooth 25-minute afternoon and a frustrating multi-day wait usually comes down to five minutes of checking your wiring before you buy anything.
So before your next switch, box, or lock upgrade — take a moment to actually look behind that wall plate first. That one habit will end up saving you more time than any screwdriver, drill, or app ever could.
FAQs
How long does it take to install a smart switch?
Most single-pole smart switches take 20 to 30 minutes to install, while homes with older wiring or no neutral wire can take 45 minutes to an hour.
Do I need a neutral wire for a smart switch?
Most smart switches need a neutral wire to power their Wi-Fi radio, though no-neutral compatible models are available for older homes without one.
Why is my smart switch installation taking so long?
A missing neutral wire, unlabeled three-way wiring, or a box too small for the new switch are the most common reasons installs run longer than expected.
Can I install a smart switch myself, or do I need an electrician?
If you have a standard single-pole switch with a neutral wire present, DIY is straightforward; complex wiring or missing neutrals are best left to an electrician.
Does installing multiple smart switches take longer per switch?
No, each additional switch is usually faster than the first since the wiring pattern and setup routine are already familiar.
Why won’t my smart switch connect to Wi-Fi?
This is often caused by a 5GHz-only network, since most smart switches only pair with 2.4GHz Wi-Fi bands.
How long does the app setup and Wi-Fi pairing take?
App setup and pairing typically add 10 to 15 minutes on top of the physical installation time.
What tools do I need to install a smart switch?
Most standard installs just need three basics: a voltage tester, a flathead or Phillips screwdriver, and a pair of wire strippers.