Introduction
Have you ever walked into a dark driveway or hallway and wished the lights would just turn on automatically? That’s exactly where motion sensor lighting makes life easier. If you’re searching for how to connect motion sensor to light, you’re already taking a smart step toward a safer and more energy-efficient home.
In today’s modern homes across the USA, motion sensor lights are no longer a luxury—they’re becoming a practical upgrade for security, convenience, and lower electricity use. Whether it’s your porch, garage, or backyard, the right setup can instantly improve how your space feels and functions.
In this guide, you’ll learn everything in a simple, step-by-step way—so you can confidently understand and install your own motion sensor lighting system without confusion.
Table of Contents
1. Understanding Motion Sensor Lighting (Why It Matters Today)
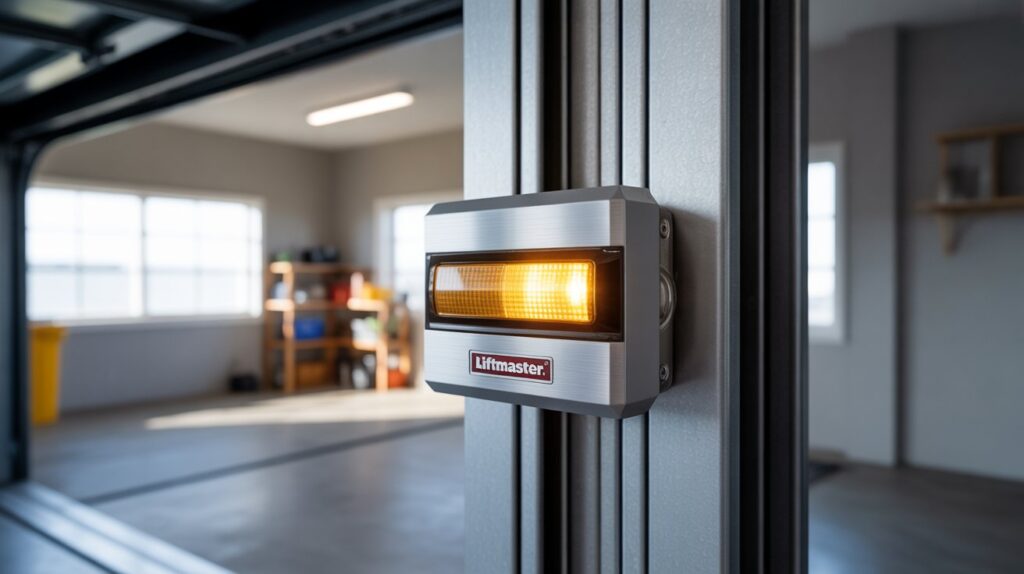
Motion sensor lighting has become a simple yet powerful upgrade for modern homes. In easy terms, these are lights that automatically turn on when they detect movement in a specific area and turn off after a set time when no motion is detected. For homeowners learning how to connect motion sensor to light, understanding this basic function is the first important step before installation.
Today, many USA homeowners are switching to motion sensor lights because they offer a smart balance of security, energy efficiency, and convenience. Instead of keeping outdoor or indoor lights on all night, the system only activates when needed. This not only reduces electricity usage but also helps lower utility bills over time.
Here’s why people are making the switch:
- Lights turn on automatically when motion is detected
- Helps improve home security and reduce break-in risks
- Saves electricity by avoiding unnecessary usage
- Adds convenience in daily life, especially at night
- Works well for outdoor and indoor areas like porches, garages, and hallways
From a safety point of view, motion sensor lighting plays a big role in home protection. Imagine arriving home late at night — as soon as you step into your driveway or porch, the light turns on automatically. This instant visibility can discourage unwanted visitors and also help prevent accidents like trips or falls in dark areas.
Another reason for their growing popularity is convenience. People no longer need to manually switch lights on and off, especially in areas like garages, basements, and entryways. It simply makes everyday life easier and more comfortable.
In short, motion sensor lighting is no longer just a “smart upgrade” — it has become a practical home essential for many families across the USA who want safer, smarter, and more efficient living spaces.
2. Tools and Safety Preparation Before Installation
Before you begin learning how to connect motion sensor to light, proper preparation is just as important as the installation itself. Having the right tools ready not only makes the process smoother but also helps you avoid mistakes that can lead to safety risks or wiring issues. Many homeowners in the USA rush into installation without preparation, but taking a few minutes to get organized can make a big difference.
To complete the job safely and correctly, you will need some basic electrical tools. These are commonly used in most home lighting installations:
- Wire stripper for removing insulation from wires
- Screwdriver set for opening fixtures and tightening connections
- Voltage tester to check if power is off
- Electrical tape for securing and insulating wires
- Ladder (if installing ceiling or outdoor lights)
Along with tools, safety should always come first. Electricity is not something to take lightly, even in simple home projects. One of the most important steps in the entire process of how to connect motion sensor to light is turning off the power from the circuit breaker before you touch any wiring.
It is also important to understand basic wiring concepts. Knowing which wire is live, neutral, and ground helps you avoid confusion during installation. If you are unsure, it’s always better to double-check or consult a professional rather than risk a mistake.
A simple real-life example: many homeowners assume the switch being off is enough, but the actual power is still flowing through the circuit. That small mistake can lead to shocks or damage. This is why professionals always start by using a voltage tester before touching any wires.
Taking these safety steps seriously ensures a smooth installation process and builds confidence before moving to the next stage of connecting your motion sensor light system.
3. Step-by-Step Guide: How to Connect Motion Sensor to Light
Now comes the most important part of learning how to connect motion sensor to light—the actual installation process. If you follow each step carefully and stay focused on safety, the whole setup becomes much easier than it looks. Many USA homeowners successfully install motion sensor lights on their own by simply following a clear wiring method.
Step 1: Identifying the Wires (Live, Neutral, Ground)
Before making any connection, you must first identify the wires correctly. This is the foundation of a safe installation.
- Live (Hot) wire carries electrical current
- Neutral wire completes the circuit
- Ground wire provides safety protection
Take your time here because incorrect wiring is the most common mistake beginners make when learning how to connect motion sensor to light.
Step 2: Connecting Motion Sensor to Power Source
Once the wires are identified, the next step is to connect the motion sensor to the main power supply. This step ensures the sensor can detect movement and activate the light properly.
- Connect the live wire to the sensor input
- Attach neutral wire to the sensor neutral terminal
- Secure ground wire properly for safety
This setup allows the motion sensor to function efficiently and respond instantly when movement is detected.
Step 3: Linking Sensor to the Light Fixture
After the power connection, you need to connect the sensor output to the light fixture. This is what allows the sensor to actually control the light.
- Connect sensor output wire to the light’s live input
- Match neutral wires between sensor and light
- Ensure all connections are aligned properly
At this stage, your how to connect motion sensor to light setup starts taking real shape and becomes functional.
Step 4: Securing All Connections Safely
The final step is making sure everything is properly secured. Loose wiring can cause malfunction or safety risks, so this step is very important.
- Tighten all wire connections properly
- Use electrical tape or wire caps for insulation
- Double-check all wiring before restoring power
Once everything is secured, your system is ready for testing. Many homeowners feel a sense of satisfaction here because their home now has a smart, automatic lighting upgrade that improves both safety and convenience.
4. Common Mistakes to Avoid During Installation
While learning how to connect motion sensor to light, many homeowners focus only on the wiring steps and overlook small details that can cause big problems later. These mistakes are more common than you think, especially for first-time DIY installers in the USA. Avoiding them not only ensures safety but also improves the long-term performance of your motion sensor light.
Incorrect Wiring Connections
One of the biggest issues is connecting wires in the wrong order. Mixing up live, neutral, or ground wires can prevent the system from working—or worse, create a safety hazard. Always double-check wiring before turning the power back on when working on how to connect motion sensor to light.
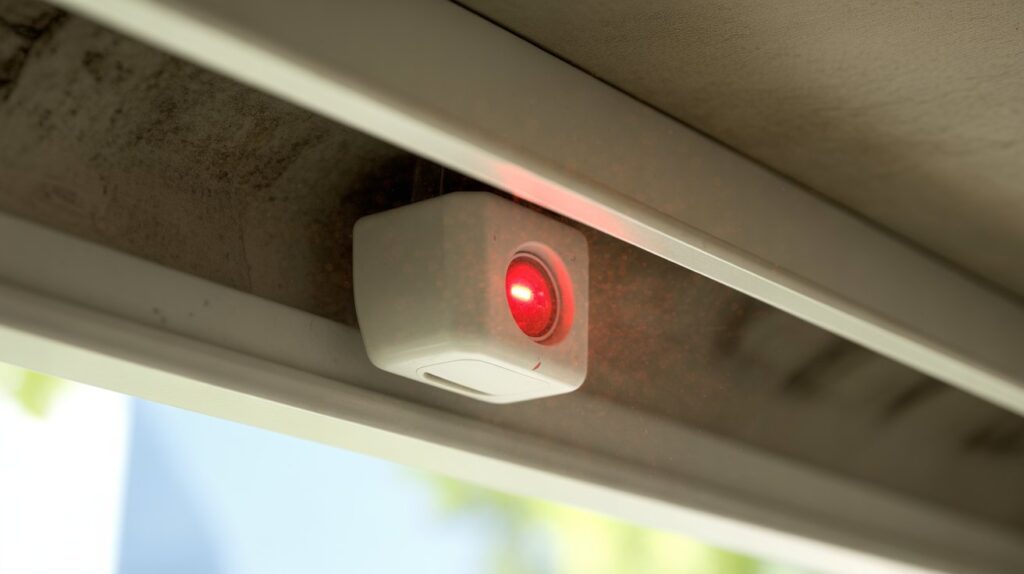
Poor Sensor Placement
Another common mistake is placing the motion sensor in the wrong position. If it is too high, too low, or facing the wrong direction, it may not detect movement properly.
- Avoid pointing it toward moving trees or traffic
- Install it where human movement is expected
- Keep it away from heat sources or direct sunlight
Good placement ensures the light activates only when needed and improves accuracy.
Ignoring Voltage and Compatibility Ratings
Not checking voltage ratings is a mistake that can damage your equipment. Every motion sensor light has specific electrical requirements, and ignoring them can lead to malfunction or even failure.
This is an important step in how to connect motion sensor to light safely and should never be skipped. Always match the sensor with the correct voltage and load capacity.
Skipping the Testing Stage
Some users install everything and immediately close the fixture without testing. This is risky because small wiring issues may go unnoticed.
Before final fixing, always:
- Turn power back on carefully
- Test sensor response with movement
- Check light delay and sensitivity
Skipping this step can lead to rework later, which wastes time and effort.
Avoiding these simple mistakes makes your installation smoother, safer, and more reliable. It also ensures your motion sensor lighting system works exactly as expected, giving you long-term peace of mind and better home security.

5. Testing, Adjusting & Optimizing Your Motion Sensor Light
Once you finish the installation, the next important step in how to connect motion sensor to light is testing and fine-tuning the system. This is where you make sure everything works smoothly and the light responds exactly when it should. Many USA homeowners skip this part, but it actually decides how reliable your lighting will be in daily use.
Testing the Motion Sensor Light
Start by turning the power back on and walking in front of the sensor to check its response. The light should turn on quickly when motion is detected and switch off after the set delay.
- Walk at different speeds to test responsiveness
- Check if the light activates from expected distance
- Make sure there are no delays or flickering issues
If something feels off, don’t worry—it usually just needs small adjustments.
Adjusting Sensitivity and Time Delay
Most motion sensors allow simple adjustments to improve performance. These settings help you control how the system behaves in real-life conditions.
- Sensitivity control: Adjusts how easily motion is detected
- Time delay setting: Controls how long the light stays on after movement stops
- Light level setting (if available): Prevents activation during daylight
Fine-tuning these settings is an important part of learning how to connect motion sensor to light properly, because every home environment is different.
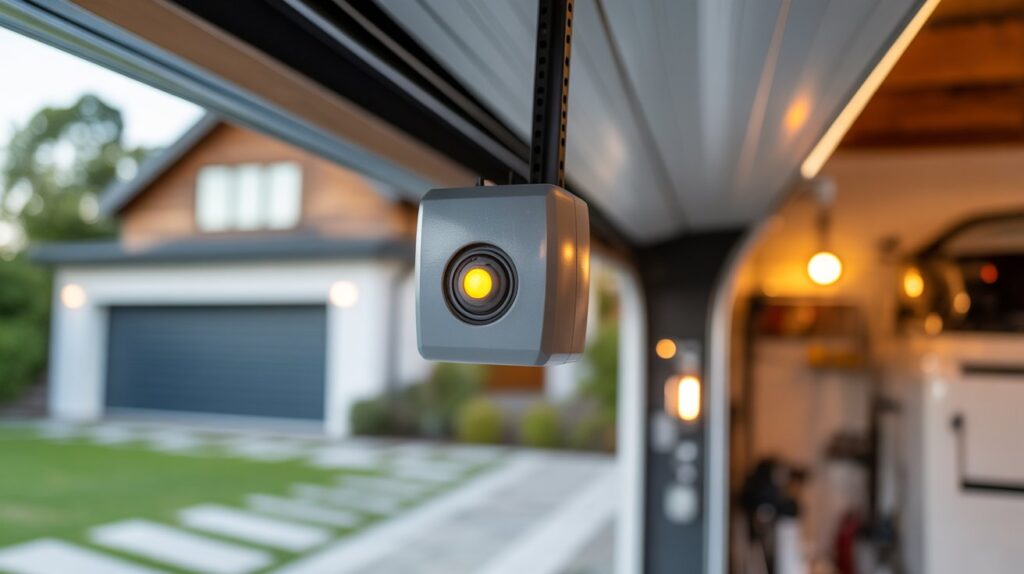
Positioning and Angle Optimization
Even a correctly wired system won’t perform well if the sensor angle is wrong. Small changes in direction can make a big difference.
- Aim the sensor toward entry points or walkways
- Avoid pointing directly at roads or moving objects like trees
- Adjust height for better human movement detection
A slight tilt can improve coverage and reduce false triggers.
Indoor vs Outdoor Setup Tips (USA Homes)
For indoor spaces like hallways or garages, you usually need lower sensitivity so the light doesn’t trigger too easily. Outdoor setups, on the other hand, may need higher sensitivity for better security coverage.
- Indoor use: lower sensitivity, shorter delay time
- Outdoor use: wider detection range, weather-resistant settings
- Avoid placing outdoor sensors near strong wind or moving shadows
With the right adjustments, your motion sensor lighting becomes more reliable, efficient, and perfectly suited for everyday use. It not only improves home safety but also gives you a smooth, hassle-free lighting experience.
Conclusion
Learning how to connect motion sensor to light is more than just a home improvement task—it’s a simple step toward a safer, smarter, and more comfortable lifestyle. When installed correctly, this small upgrade can make a big difference in how you experience your home every day. From added security at night to saving energy without even thinking about it, motion sensor lighting brings real value to modern USA homes.
What really matters is doing it the right way—careful wiring, proper setup, and thoughtful adjustments. Once everything is in place, the system quietly works in the background, making life easier without constant effort or attention.
At the end of the day, it’s not just about installing a light—it’s about creating peace of mind every time you walk into a dark space and see it light up instantly.
Now take a moment to think — how does this apply to your life?
Because sometimes, the smallest upgrades at home create the biggest sense of safety and comfort.
FAQs
How to attach a motion sensor to a light?
You can attach a motion sensor by connecting it between the power source and the light fixture using proper wiring (live, neutral, and load connections). Always turn off power before installation for safety.
How to wire a motion sensor to an existing light fixture?
To wire it, connect the sensor’s input wires to the power supply and its output wires to the light fixture. This allows the sensor to control when the light turns on and off.
Can you add motion sensors to existing lights?
Yes, most existing lights can be upgraded by installing an external motion sensor switch or replacing the wall switch with a sensor-compatible one.
Can you add a motion sensor to LED lights?
Yes, motion sensors work with LED lights as long as the sensor is compatible with the LED’s voltage and wattage requirements.
How to change outdoor light to motion sensor?
You can replace the current outdoor switch or fixture with a motion sensor light fixture, or install a standalone motion sensor between the power line and existing light.
Why is my LED bulb not working with a motion sensor?
This usually happens due to incompatibility between the LED bulb and sensor, or because the wattage is too low for the sensor’s minimum load requirement.
Does a motion sensor light need a special bulb?
Not always, but some motion sensors require compatible LED or incandescent bulbs depending on their load rating for proper performance.