Introduction
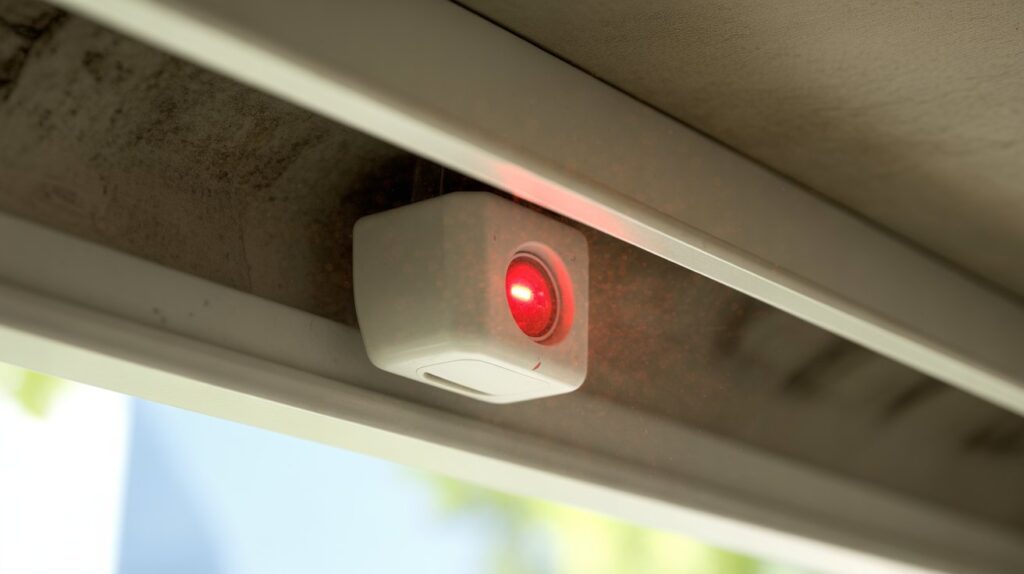
Seeing a yellow light on your LiftMaster garage door sensor can be confusing—especially when the door won’t close. Is it a warning sign, or just normal operation?
In most cases, the LiftMaster garage door sensor yellow light simply means the sending sensor has power and is working correctly. But when paired with alignment issues, dust, or sunlight interference, it can also stop your door from closing.
This guide breaks down exactly what the yellow light means, when it’s normal, how to fix common issues, and when to call a professional—so your garage stays safe and functional.
Table of Contents
Why Is Your LiftMaster Garage Door Sensor Showing a Yellow Light?
A yellow light on your LiftMaster garage door sensor doesn’t always mean trouble. In most cases, it simply confirms the sending sensor has power and is working as designed—part of the safety system that prevents accidents involving children, pets, or objects in the door’s path.
Confusion usually starts when the yellow light stays on but the door won’t close. The real cause is often something simple: sensor misalignment, dust buildup, or sunlight interference—not a faulty sensor.
Knowing what the yellow light actually means helps you troubleshoot with confidence instead of guessing.
Understanding LiftMaster Garage Door Sensors (Simple Explanation)
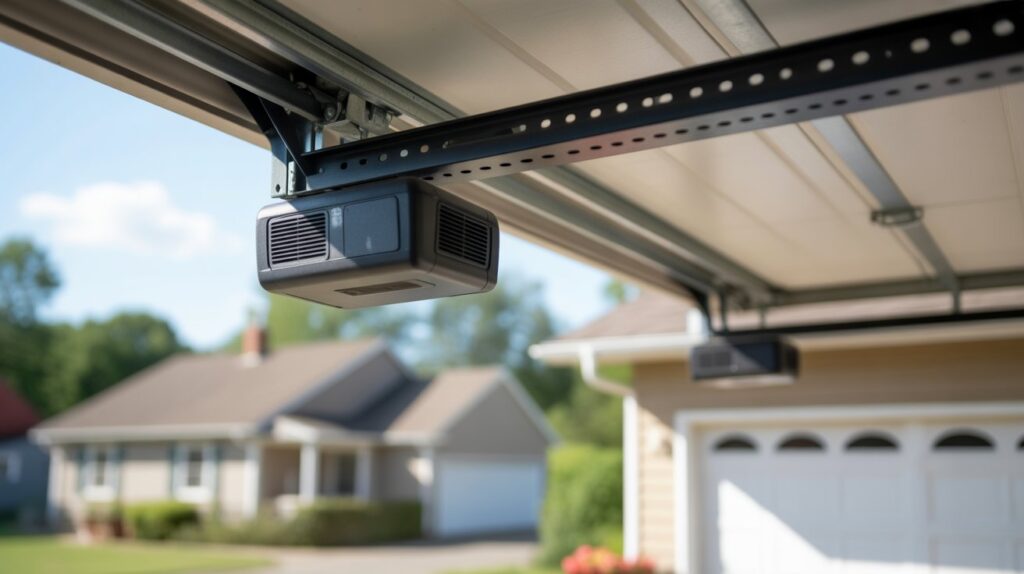
LiftMaster garage door sensors are small but critical safety devices installed near the bottom of your garage door tracks. Their main job is simple: they prevent the door from closing if something crosses their path. When working correctly, these sensors protect children, pets, vehicles, and everyday items from being damaged or injured. This is why modern garage door systems in the USA include safety sensors as a standard feature—not an upgrade.
At the heart of this system, one sensor sends an invisible beam across the garage opening, while the other receives it. If that beam is blocked or interrupted, the door automatically stops or reverses. This is where the LiftMaster garage door sensor yellow light becomes important—it helps you quickly understand whether the sensor is powered and communicating properly, without needing tools or technical knowledge. For a closer look at how these sensors are mounted and positioned, see our guide on garage door sensor brackets.
What Garage Door Safety Sensors Do
Garage door safety sensors act like silent guardians. You usually don’t notice them—until something goes wrong. If a bike, trash can, or even a moving shadow breaks the beam, the door won’t close. This quick response prevents accidents and expensive repairs, making these sensors one of the most important safety features in any garage door system.
Why Indicator Lights Matter
Indicator lights are your first clue into the health of the system. A yellow light on a LiftMaster garage door sensor typically shows that the sending sensor has power and is functioning. When homeowners understand these lights, troubleshooting becomes far less stressful. Instead of guessing or assuming failure, the light gives clear, visual feedback—helping you decide whether it’s a simple adjustment or something needs closer attention.
What Does the Yellow Light on a LiftMaster Sensor Mean?
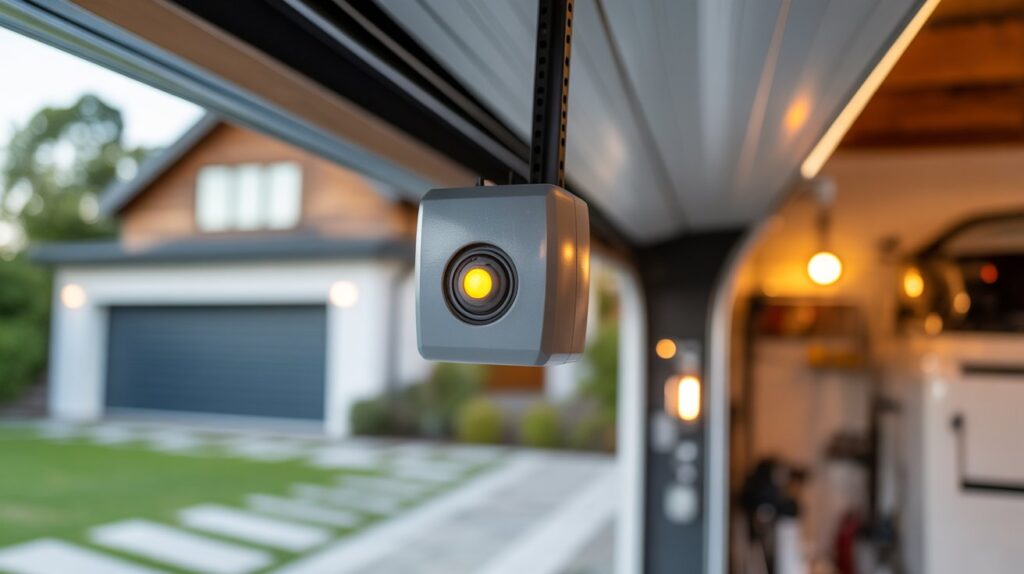
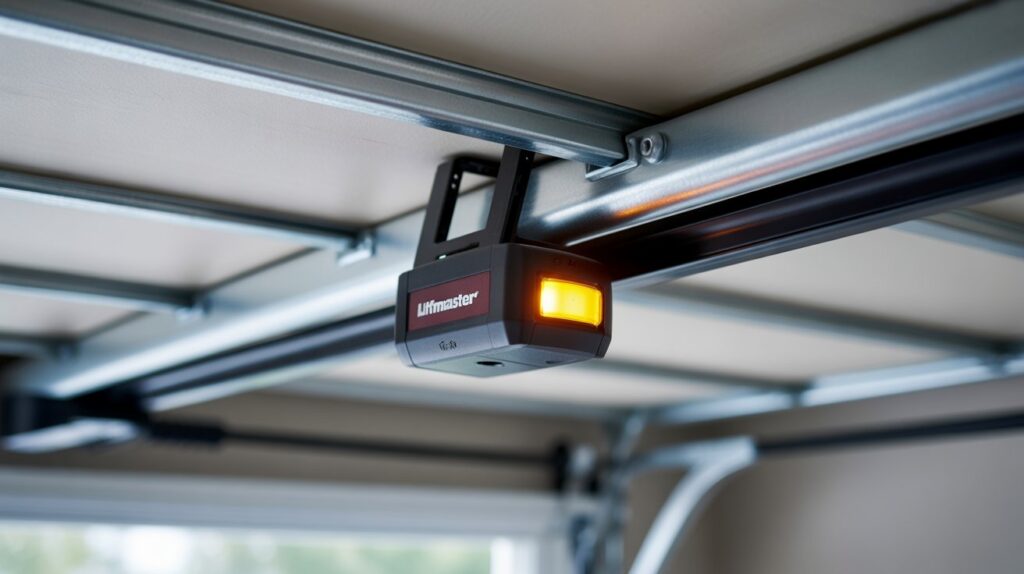
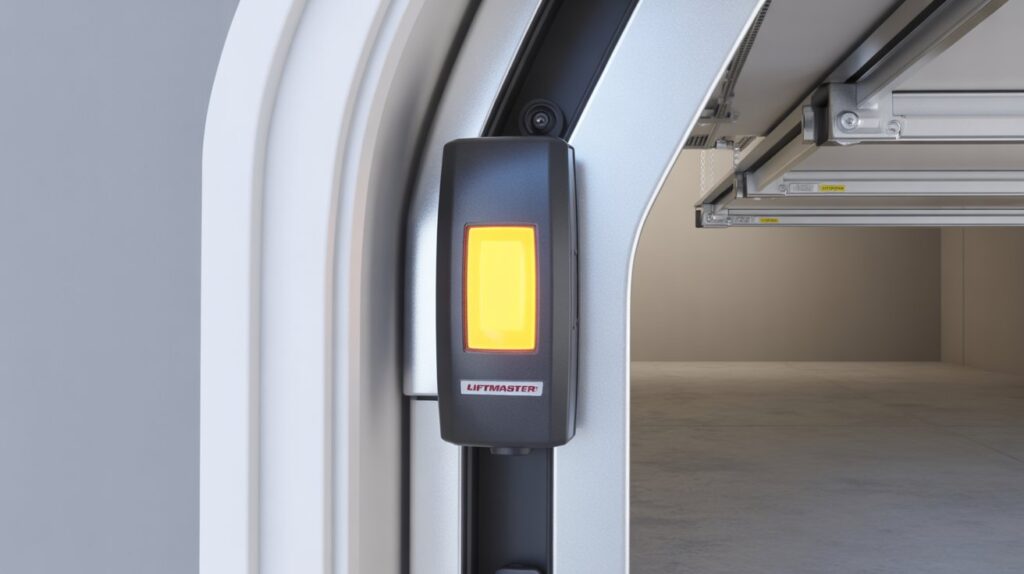
- The LiftMaster garage door sensor yellow light usually appears on the sending sensor, confirming it’s powered and transmitting the safety beam correctly.
- The receiver sensor typically shows green when it’s successfully picking up that signal.
- When both lights are steady, the sensors are communicating properly and the system is safe.
- If the yellow light is on but the door won’t close, the issue usually lies elsewhere in the system—not the sensor itself.
Normal vs. Abnormal Yellow Light Behavior
- Normal: a solid, steady glow with no flickering—this means proper power and function.
- Abnormal: blinking, flickering, or the light turning off unexpectedly—this points to alignment, wiring, or interference issues.
Is It a Problem or Normal Operation?
A steady yellow light paired with a solid green receiver light meets standard garage door safety requirements, per the Consumer Product Safety Commission, and simply confirms normal operation. It only signals a real issue when it’s unstable or inconsistent—usually caused by misalignment, sunlight, or dust blocking the beam.
Common Reasons Your LiftMaster Sensor Has a Yellow Light
A yellow light on your garage door sensor usually confirms the system is working as designed—power is flowing and the sensor is active, not signaling trouble. Understanding the common causes behind it helps you avoid unnecessary repairs and troubleshoot with confidence.
- Power supply working correctly
The yellow light typically means the sending sensor is receiving steady power. When electricity flows properly from the opener to the sensor, the light stays on. This is a positive sign and shows the safety system is ready to do its job. - Minor alignment differences
Garage door sensors sit close to the floor and can be bumped easily. Even a small shift from vibration, cleaning, or moving items can affect alignment. The yellow light may stay on while the system struggles to maintain a clear signal path. - Wiring and signal flow basics
LiftMaster sensors rely on low-voltage wiring to communicate. When wiring is intact and connections are secure, the yellow light remains steady. Loose wires or worn insulation, common in older U.S. homes, can interfere with the signal without completely shutting the sensor down.
In most situations, a yellow light points to normal operation rather than failure. Knowing these common causes allows you to focus on simple checks before assuming something is seriously wrong with your garage door system.
Yellow Light but Garage Door Won’t Close — What’s Going Wrong?
If your sensor’s yellow light is on but the door still won’t close, the sensor itself usually isn’t the problem—something is interrupting the safety signal it relies on.
- Sensor misalignment — A small shift from vibration, cleaning, or a bumped object can break the beam. The yellow light stays on, but the door stops or reverses for safety.
- Obstruction issues — Dirt, spider webs, leaves, or stored items near the sensor can block the beam, even when it looks clear.
- Sunlight interference — Direct sunlight hitting the sensor, common with west- or east-facing garages in the U.S., can overpower the signal and mimic an obstruction.
In most cases, the fix is simple: realign, clean, or shield the sensors from direct light.
How to Fix LiftMaster Sensor Yellow Light Issues (Step-by-Step)
If you notice a yellow light on your LiftMaster garage door sensor but your door isn’t operating properly, most issues can be resolved with simple, safe checks. Before calling a professional, there are realistic steps a typical homeowner in the USA can take to troubleshoot and fix the problem without risking damage or injury. These steps focus on verifying alignment, cleaning, and minor adjustments that keep the system functioning reliably.
Start by inspecting the sensors visually. Ensure there’s nothing blocking the beam, such as dust, cobwebs, or small objects. Even a slight obstruction can prevent the door from closing while the yellow light remains on. Next, check that both sensors are securely mounted and facing each other directly; even a small shift can interrupt communication.
Realistic Homeowner Checks
- Look for dirt, leaves, or debris on or around the sensors.
- Confirm that the wiring is intact and not frayed or loose.
- Observe whether sunlight is hitting the sensor directly at certain times of day.
- Test the garage door by slowly closing it after removing any potential obstacles.
Safe DIY Adjustments
- Gently realign the sensors so the yellow light appears steady.
- Gently wipe the sensor lenses with a dry, soft cloth to clear away dust and fingerprints.
- Tighten any loose mounting brackets carefully to prevent misalignment.
- If the sensor wires are slightly loose, reconnect them securely without forcing connections.
Following these steps usually resolves common yellow light issues quickly. By performing these safe, logical adjustments, homeowners can restore proper garage door function while keeping their family and property protected.
How to Properly Align LiftMaster Garage Door Sensors
Proper alignment of your LiftMaster garage door sensors is crucial for safe and reliable operation. Even a minor misalignment can trigger the yellow light or prevent the door from closing. Aligning the sensors correctly ensures that the invisible safety beam is uninterrupted, keeping your family, pets, and belongings protected while giving you peace of mind.
Visual Alignment Tips
- Adjust the sensors so they are perfectly aligned, facing each other straight on.
- Check that the yellow light on the sending sensor is steady—this is a visual confirmation that alignment is correct.
- Use a small level if needed to make sure the sensors are perfectly horizontal.
- Remove any objects, dust, or debris near the sensor that could block the beam.
Distance and Height Recommendations
- Mount the sensors no more than 6 inches above the garage floor—this is the standard safety requirement in the USA.
- Keep the sensors aligned at the same height on each side of the garage door.
- Ensure the distance between the sensors matches the manufacturer’s guidelines (usually across the full width of the door opening).
- Avoid placing sensors too close to corners or walls where sunlight or reflections may interfere with the beam.
Following these alignment practices helps the yellow light function as intended, signaling a properly powered and positioned sensor. Correct alignment not only prevents errors but also ensures your garage door system is safe, reliable, and long-lasting.
When a Yellow Light Is NOT the Real Problem
Sometimes, homeowners see a yellow light on their LiftMaster garage door sensor and assume it’s the cause of a malfunction. In reality, the yellow light often indicates that the sending sensor is powered and functioning correctly. The real issues can lie elsewhere, especially with the receiver sensor or the garage door’s control system.
Receiver Green Light Issues
- The receiver sensor, usually showing a green light, confirms that the safety beam is being received.
- If this light is off, flickering, or dim, it often causes the garage door to stop or reverse, even if the yellow light is steady.
- Checking the receiver ensures you’re troubleshooting the correct component rather than assuming the sending sensor is at fault.
Control Board and Wiring Signs
- Wiring problems between the sensors and the control board can create false alerts or prevent the door from operating properly.
- Loose connections, damaged wires, or worn insulation can interrupt communication while leaving the yellow light on.
- The control board itself may also signal errors or fail to process the sensor input, which can mimic a sensor problem.
By understanding that the yellow light is often not the real issue, homeowners can avoid unnecessary frustration. Focusing on the receiver, wiring, and control board helps pinpoint the actual cause, ensuring faster, safer, and more effective troubleshooting for your garage door system.
Safety Risks of Ignoring Sensor Light Problems
- Child and pet safety: Malfunctioning sensors can fail to detect small children or pets in the door’s path, leading to serious injuries.
- Property damage risks: Vehicles, bicycles, or stored items may be crushed if the garage door closes unexpectedly due to a faulty sensor.
- Legal and liability concerns: Homeowners could be held responsible for accidents caused by ignoring sensor warnings, making proper maintenance essential for safety and legal protection.
- Peace of mind: Ensuring the LiftMaster garage door sensor yellow light functions correctly helps families feel safe and prevents costly emergencies.
When to Call a Professional Garage Door Technician
Most yellow light issues can be fixed with simple DIY checks, but some situations call for a professional.
Signs DIY isn’t enough:
- Persistent flickering despite realignment and cleaning
- Faulty receiver light or irregular control board signals
- Wiring damage you can’t safely repair yourself
- Door still reverses or won’t close after standard troubleshooting
What to expect from a service call:
A certified technician inspects the sensors, wiring, and control board to find the root cause, then realigns and calibrates both sensors. Most visits include on-site testing and minor repairs, plus guidance on preventing future issues.
Calling a professional when needed protects your family and property from accidents caused by a malfunctioning system.
Conclusion
Understanding your LiftMaster garage door sensor yellow light is about more than a technical detail—it’s about keeping your family, pets, and property safe. From simple alignment checks to knowing when to call a professional, each step keeps your garage door system reliable.
If your sensor shows a different color, check our guide on garage door sensor flashing red for what that signals instead. A little attention now can prevent bigger problems later.
FAQs
Q1: What does a yellow light on a LiftMaster sensor mean?
It usually means the sending sensor has power and is working correctly.
Q2: Why is my garage door sensor yellow but the door won’t close?
Something is likely blocking the beam—check for misalignment, dust, or direct sunlight.
Q3: Should both garage door sensors be yellow?
No—the sending sensor shows yellow, while the receiving sensor should show green.
Q4: How do I fix a flickering yellow sensor light?
Realign both sensors so they face each other directly and clean the lenses with a dry cloth.
Q5: How high should garage door sensors be mounted?
No more than 6 inches above the floor, per standard U.S. safety guidelines.
Author Box:
M. Bilal
Bilal holds a degree in Criminology and writes about home security, garage door safety, and access control systems at CrimTechHub. He focuses on practical, safety-first guidance homeowners can actually use—drawing on his background in risk and security analysis to explain how these systems work and where they commonly fail.