Introduction
Connecting a motion sensor to a light is a simple upgrade that makes any driveway, hallway, or porch light up automatically the moment movement is detected — improving security, convenience, and energy savings.
Motion sensor lights are now a practical standard in many USA homes, not just a luxury upgrade. Whether it’s a porch, garage, or backyard, the right wiring setup instantly improves how the space functions after dark.
This guide walks through the exact steps to install your own motion sensor lighting system safely and correctly.
Table of Contents
1. Understanding Motion Sensor Lighting (Why It Matters Today)
Motion sensor lighting is a simple, powerful upgrade for modern homes. In basic terms, these lights automatically turn on when movement is detected in a specific area and turn off after a set time once motion stops. Before installation, understanding this core function is the first step.
Many USA homeowners are switching to motion sensor lights for a smart balance of security, energy efficiency, and convenience. Instead of keeping lights on all night, the system activates only when needed — reducing electricity usage and lowering utility bills over time.
Here’s why people are making the switch:
- Lights turn on automatically when motion is detected
- Improves home security and reduces break-in risk
- Saves electricity by avoiding unnecessary usage
- Adds daily convenience, especially at night
- Works well for both outdoor and indoor areas like porches, garages, and hallways
Arriving home late at night, a driveway or porch light turning on instantly can discourage unwanted visitors and help prevent trips or falls in dark areas. It also removes the need to manually switch lights on and off in spaces like garages, basements, and entryways.
For homeowners considering a full outdoor upgrade, pairing this with wired motion sensor floodlights extends coverage across the property.
2. Tools and Safety Preparation Before Installation
Proper preparation matters as much as the installation itself. Having the right tools ready makes the process smoother and helps avoid mistakes that lead to safety risks or wiring issues.
Basic tools needed for most home lighting installations:
- Wire stripper for removing insulation from wires
- Screwdriver set for opening fixtures and tightening connections
- Voltage tester to check if power is off
- Electrical tape for securing and insulating wires
- Ladder (if installing ceiling or outdoor lights)
Safety comes first. Always turn off power from the circuit breaker before touching any wiring — this is the single most important step in the entire process.
Understanding basic wiring is essential: knowing which wire is live, neutral, and ground prevents confusion during installation. If unsure at any point, consult a licensed electrician rather than risk a mistake.
A switch being off doesn’t always mean the circuit is dead — power can still flow through it. This is why a voltage tester should always confirm the circuit is safe before any wire is touched, a practice recommended by the Electrical Safety Foundation International.
3. Step-by-Step Guide: How to Connect Motion Sensor to Light
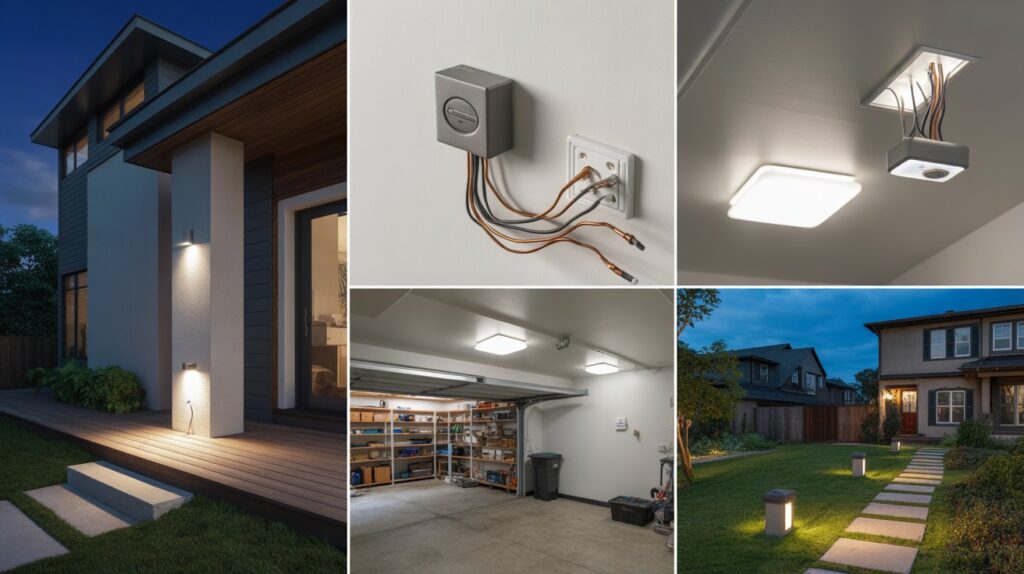
Now comes the most important part of learning how to connect motion sensor to light—the actual installation process. If you follow each step carefully and stay focused on safety, the whole setup becomes much easier than it looks. Many USA homeowners successfully install motion sensor lights on their own by simply following a clear wiring method.
Step 1: Identifying the Wires (Live, Neutral, Ground)
Before making any connection, you must first identify the wires correctly. This is the foundation of a safe installation.
- Live (Hot) wire carries electrical current
- Neutral wire completes the circuit
- Ground wire provides safety protection
Take your time here because incorrect wiring is the most common mistake beginners make when learning how to connect motion sensor to light.
Step 2: Connecting Motion Sensor to Power Source
Once the wires are identified, the next step is to connect the motion sensor to the main power supply. This step ensures the sensor can detect movement and activate the light properly.
- Connect the live wire to the sensor input
- Attach neutral wire to the sensor neutral terminal
- Secure ground wire properly for safety
This setup allows the motion sensor to function efficiently and respond instantly when movement is detected.
Step 3: Linking Sensor to the Light Fixture
After the power connection, you need to connect the sensor output to the light fixture. This is what allows the sensor to actually control the light.
- Connect sensor output wire to the light’s live input
- Match neutral wires between sensor and light
- Ensure all connections are aligned properly
At this stage, your how to connect motion sensor to light setup starts taking real shape and becomes functional.
Step 4: Securing All Connections Safely
The final step is making sure everything is properly secured. Loose wiring can cause malfunction or safety risks, so this step is very important.
- Tighten all wire connections properly
- Use electrical tape or wire caps for insulation
- Double-check all wiring before restoring power
Once everything is secured, your system is ready for testing. Many homeowners feel a sense of satisfaction here because their home now has a smart, automatic lighting upgrade that improves both safety and convenience.
4. Common Mistakes to Avoid During Installation
Many homeowners focus only on the wiring steps and overlook small details that cause problems later. Avoiding these mistakes ensures both safety and long-term performance.
Incorrect Wiring Connections
Mixing up live, neutral, or ground wires can prevent the system from working — or create a safety hazard. Always double-check wiring before restoring power.
Poor Sensor Placement
Placing the sensor too high, too low, or facing the wrong direction affects detection accuracy.
- Avoid pointing it toward moving trees or traffic
- Install it where human movement is expected
- Keep it away from heat sources or direct sunlight
Good placement, similar to what’s covered in outdoor motion sensor light setup, ensures the light activates only when needed.
Ignoring Voltage and Compatibility Ratings
Every motion sensor light has specific electrical requirements. Skipping this check can lead to malfunction or equipment damage — always match the sensor with the correct voltage and load capacity.
Skipping the Testing Stage
Installing everything and closing the fixture without testing risks missing small wiring issues. Before final fixing, always:
- Turn power back on carefully
- Test sensor response with movement
- Check light delay and sensitivity
Skipping this step often leads to rework later, wasting time and effort.
5. Testing, Adjusting & Optimizing Your Motion Sensor Light
Once you finish the installation, the next important step in how to connect motion sensor to light is testing and fine-tuning the system. This is where you make sure everything works smoothly and the light responds exactly when it should. Many USA homeowners skip this part, but it actually decides how reliable your lighting will be in daily use.
Testing the Motion Sensor Light
Start by turning the power back on and walking in front of the sensor to check its response. The light should turn on quickly when motion is detected and switch off after the set delay.
- Walk at different speeds to test responsiveness
- Check if the light activates from expected distance
- Make sure there are no delays or flickering issues
If something feels off, don’t worry—it usually just needs small adjustments.
Adjusting Sensitivity and Time Delay
Most motion sensors allow simple adjustments to improve performance. These settings help you control how the system behaves in real-life conditions.
- Sensitivity control: Adjusts how easily motion is detected
- Time delay setting: Controls how long the light stays on after movement stops
- Light level setting (if available): Prevents activation during daylight
Fine-tuning these settings is an important part of learning how to connect motion sensor to light properly, because every home environment is different.
Positioning and Angle Optimization
Even a correctly wired system won’t perform well if the sensor angle is wrong. Small changes in direction can make a big difference.
- Aim the sensor toward entry points or walkways
- Avoid pointing directly at roads or moving objects like trees
- Adjust height for better human movement detection
A slight tilt can improve coverage and reduce false triggers.
Indoor vs Outdoor Setup Tips (USA Homes)
For indoor spaces like hallways or garages, you usually need lower sensitivity so the light doesn’t trigger too easily. Outdoor setups, on the other hand, may need higher sensitivity for better security coverage.
- Indoor use: lower sensitivity, shorter delay time
- Outdoor use: wider detection range, weather-resistant settings
- Avoid placing outdoor sensors near strong wind or moving shadows
With the right adjustments, your motion sensor lighting becomes more reliable, efficient, and perfectly suited for everyday use. It not only improves home safety but also gives you a smooth, hassle-free lighting experience.
Conclusion
Learning how to connect a motion sensor to a light is more than a home improvement task — it’s a simple step toward a safer, smarter home. Done correctly, this small upgrade adds real value: better security at night and lower energy use, without extra effort.
What matters most is doing it right — careful wiring, proper placement, and thoughtful adjustments. Once installed, the system works quietly in the background every night.
For full-property coverage, pair your new setup with motion sensor stair lights indoors to extend safety from the entryway to every room.
FAQs
How to attach a motion sensor to a light?
You can attach a motion sensor by connecting it between the power source and the light fixture using proper wiring (live, neutral, and load connections). Always turn off power before installation for safety.
How to wire a motion sensor to an existing light fixture?
To wire it, connect the sensor’s input wires to the power supply and its output wires to the light fixture. This allows the sensor to control when the light turns on and off.
Can you add motion sensors to existing lights?
Yes, most existing lights can be upgraded by installing an external motion sensor switch or replacing the wall switch with a sensor-compatible one.
Can you add a motion sensor to LED lights?
Yes, motion sensors work with LED lights as long as the sensor is compatible with the LED’s voltage and wattage requirements.
How to change outdoor light to motion sensor?
You can replace the current outdoor switch or fixture with a motion sensor light fixture, or install a standalone motion sensor between the power line and existing light.
Why is my LED bulb not working with a motion sensor?
This usually happens due to incompatibility between the LED bulb and sensor, or because the wattage is too low for the sensor’s minimum load requirement.
About the Author
M. Bilal holds a BS in Criminology and writes about home security and smart lighting systems for CrimTechHub. His background in studying physical security and crime prevention informs how he approaches practical safety topics like motion sensor installation. He focuses on clear, accurate guidance that homeowners can follow with confidence, rather than generic marketing content.