Introduction
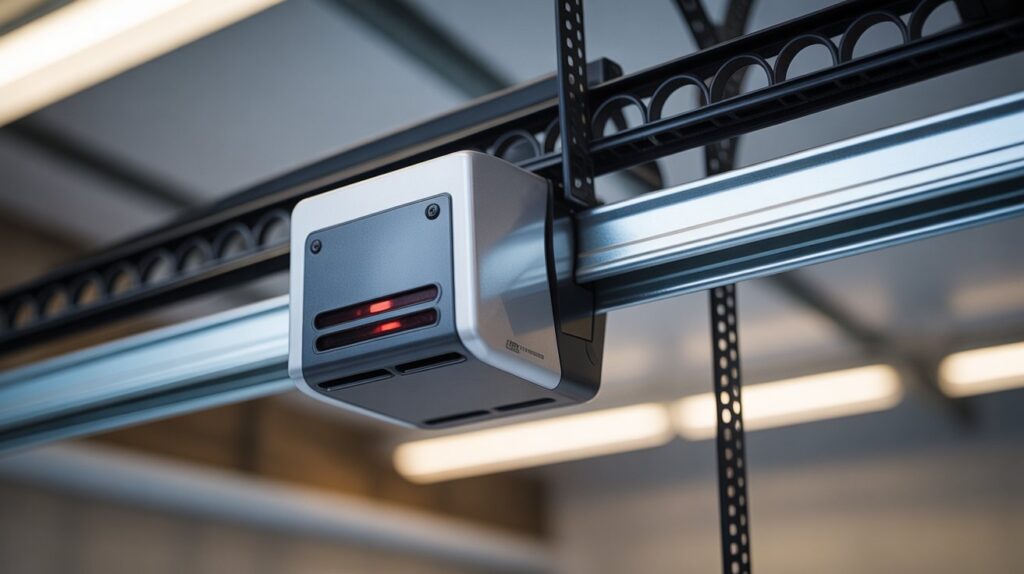
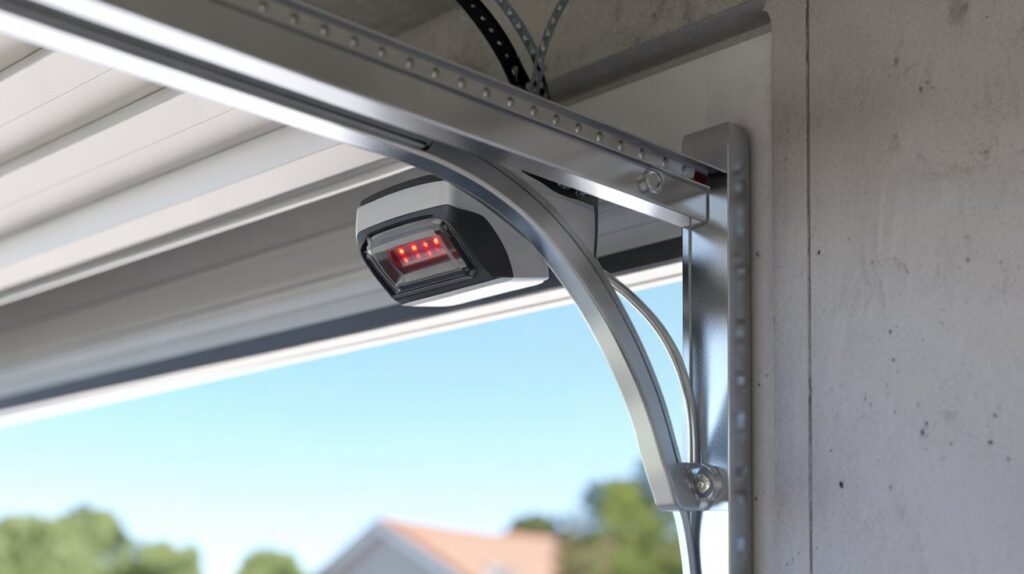
A garage door that stops or reverses mid-close usually isn’t an opener problem — it’s a misaligned sensor bracket. This small, easy-to-overlook part holds your safety sensors in place, and once it shifts even slightly, the door starts behaving unpredictably. A properly chosen garage door sensor bracket keeps those sensors aligned, your door running smoothly, and your family protected.
This guide walks through how to choose, install, and maintain the right sensor bracket, so a small fix can save you from repeated door malfunctions down the line.
Table of Contents
Why a Small Garage Door Sensor Bracket Can Make a Big Safety Difference
A garage door that stops and reverses partway through closing is one of the most common complaints homeowners run into — and in most cases, the opener isn’t at fault. The real problem is usually the small sensors near the bottom of the door tracks sitting slightly out of alignment.
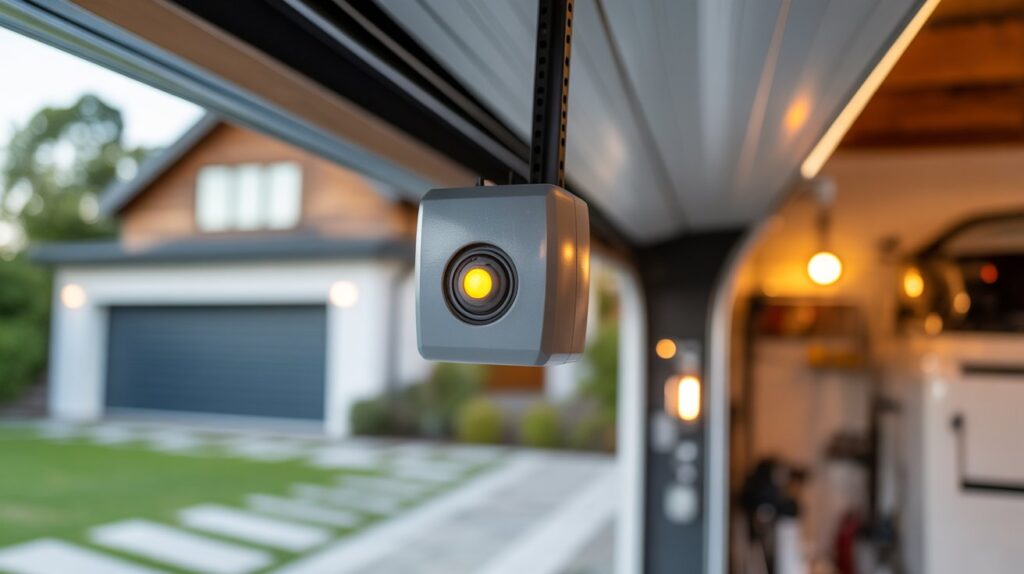
Modern garage doors rely on safety sensors that send an invisible infrared beam across the doorway. If anything breaks that beam, the door stops or reverses automatically to prevent accidents involving kids, pets, or vehicles. For that system to work, both sensors need to face each other exactly — which depends entirely on how securely they’re mounted. That’s the job of the sensor bracket.
A sturdy bracket keeps the sensors locked in position so the beam stays connected. Daily door vibrations, accidental bumps, or hardware that’s worked loose over time can all shift a sensor just enough to break the beam and trigger false reversals. A stable bracket prevents that drift before it starts. If your sensors are already showing symptoms like this, our guide on both garage door sensors not lighting up covers the related troubleshooting steps.
It’s a small piece of hardware, but a well-installed bracket cuts down on false reversals and keeps the safety system doing its job. For most homeowners, replacing or upgrading it is a quick fix that restores reliable, everyday operation.
How Garage Door Safety Sensors Work
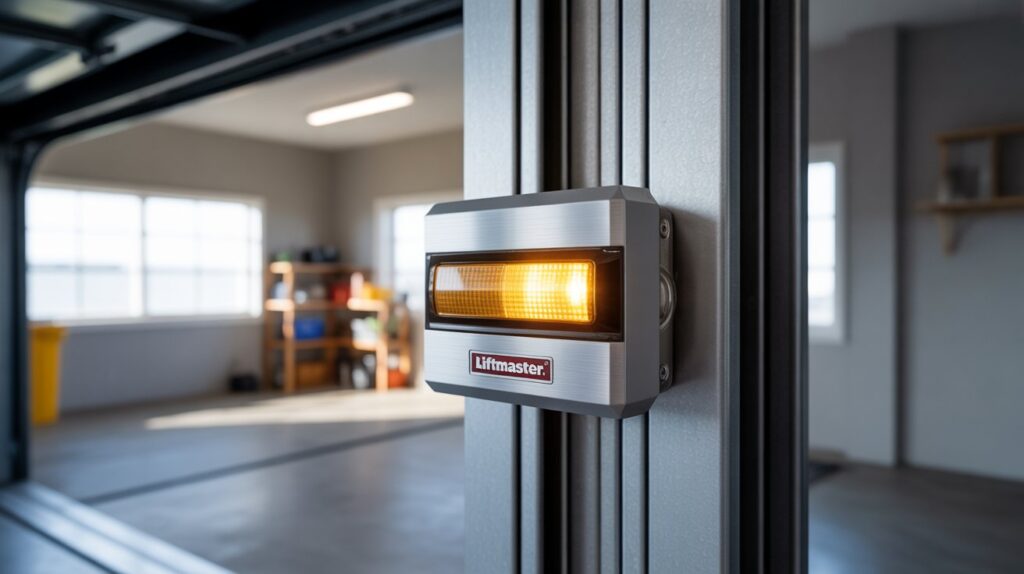
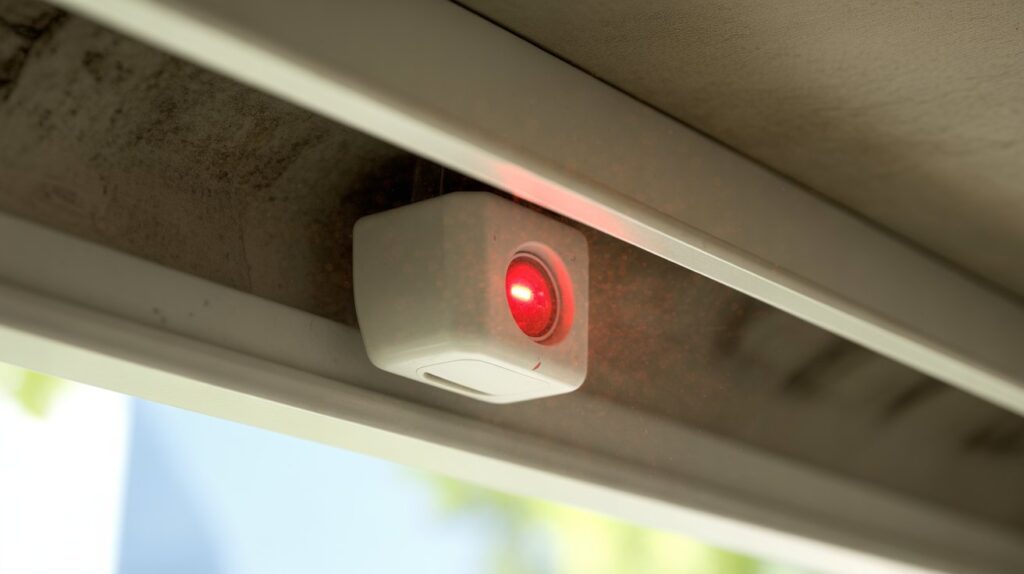
Garage door safety sensors rely on an infrared beam that travels between two sensors mounted on opposite sides of the doorway. One sensor sends the beam, the other receives it, and as long as that connection stays intact, the opener treats the path as clear and lets the door close normally.
If something breaks that beam — a bike, a pet, a stray box — the system stops or reverses the door immediately. This reversal mechanism has been a standard safety feature on residential garage door openers for decades, built specifically to prevent injuries. But the system only holds up when both sensors stay aligned and firmly mounted — something covered in more detail in our guide on how to reset garage door sensors when alignment issues show up.
Stable mounting matters because even a small shift is enough to break the sensor connection. When that happens, the door may refuse to close or reverse repeatedly — a frustrating but common issue.

Types of Garage Door Sensor Brackets Available at Home Depot
There isn’t just one universal bracket style — different garage setups call for different designs depending on how the original sensors were mounted and what condition the hardware is in. Picking the right type makes installation easier and keeps the safety system working reliably.
Here are the most common bracket styles homeowners typically choose from.
Universal Replacement Brackets
Universal brackets work across many garage door opener brands, making them a go-to for homeowners who want a quick swap without worrying much about compatibility.
These work well when:
- The original bracket is bent, damaged, or missing
- You want a straightforward replacement part
- The sensors themselves still work but need a sturdier mount
Their flexible fit makes universal brackets one of the most common choices for DIY repairs.
Adjustable Mounting Brackets
Adjustable brackets let you fine-tune sensor position — useful when sensors are slightly out of alignment or the garage floor isn’t perfectly level.
These help when:
- Sensors need precise alignment
- The door keeps reversing due to misalignment
- Small position adjustments are needed to hold the infrared beam steady
Track-Mount Brackets
Track-mount brackets attach directly to the vertical garage door track, keeping the sensors connected to the same structure that guides the door.
Common uses include:
- The original sensors were track-mounted
- You want a stable, vibration-resistant setup
- Wall space near the track is limited
Wall-Mount Brackets
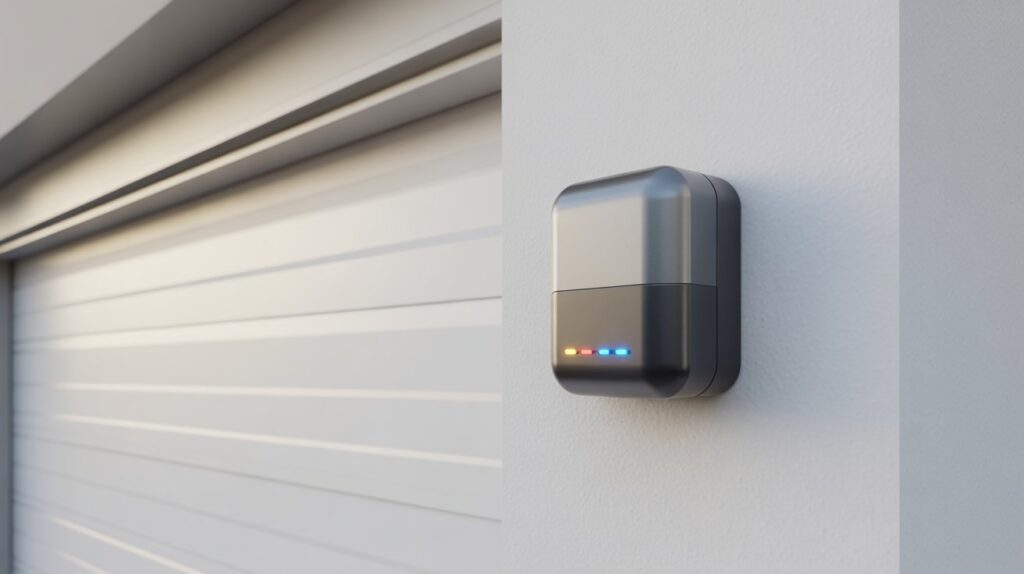
Wall-mount brackets secure sensors to the garage wall instead of the track — a good option when the track area is awkward to work with or a cleaner installation is preferred.
These fit best when:
- The track area is crowded or hard to access
- You’d rather mount sensors on a solid wall surface
- Extra stability is the priority
Each style solves a slightly different mounting problem, but they all serve the same purpose — keeping the sensors steady and properly aligned. The Family Handyman’s garage door sensor alignment guide is a solid reference for spotting which alignment issue you’re actually dealing with before picking a bracket type.
How to Choose the Right Garage Door Sensor Bracket
Choosing the right sensor bracket may seem like a small decision, but it can make a big difference in how reliably your garage door safety system works. When homeowners search for a garage door sensor bracket Home Depot, they often find several options that look similar. The key is understanding which features will work best for your specific garage setup.
A good bracket should keep the sensors stable, aligned, and easy to adjust when needed. Taking a few minutes to check the right details can save time and prevent frustrating garage door problems later.
Here are the most important factors to consider before choosing a bracket:
- Compatibility with your garage door opener
Not every bracket fits every sensor design. Some garage door opener brands use slightly different sensor shapes or mounting holes. Before buying a garage door sensor bracket Home Depot option, make sure it works with your opener model or choose a universal bracket designed for multiple brands. - Strong and durable material
Brackets made from solid steel or heavy-duty metal usually last longer than thin, lightweight metal versions. Since garage doors move multiple times every day, stronger materials help prevent bending or shifting over time. - Adjustable design for proper alignment
Small alignment changes can affect how well the safety sensors work. Adjustable brackets make it easier to fine-tune the sensor position so the infrared beam stays perfectly connected. - Simple installation for DIY homeowners
Many homeowners prefer a bracket that can be installed quickly with basic tools. Easy-install brackets reduce setup time and make future adjustments easier if the sensors ever move out of position.
Taking these factors into account makes it much easier to land on a bracket that actually fits your garage setup. A well-chosen bracket keeps the sensors steady, improves day-to-day reliability, and keeps the safety system working the way it’s meant to.

Simple Installation Tips for a Secure Sensor Bracket
Installing a sensor bracket is usually a quick DIY job, but a few small mistakes can knock the whole safety system out of sync. The goal is straightforward: keep both sensors steady, aligned, and mounted at the right height. Getting this right avoids the two most common complaints — a door that won’t close, or one that reverses for no obvious reason.
Most modern sensors sit close to the floor so they can catch objects or movement near the doorway. A few practical steps make sure the system performs the way it’s supposed to:
- Mount the sensors 4–6 inches above the garage floor — this height lets them detect small objects, pets, or anything else crossing the doorway as the door closes.
- Make sure both sensors face each other directly — the infrared beam needs a straight, unbroken path. Even a slight tilt can make the system think something’s blocking it.
- Secure the bracket firmly without over-tightening — snug hardware keeps the bracket from shifting during daily use, but over-tightening can bend the bracket or nudge the sensor out of position.
- Test the system after installation — close the door and place an object in the beam’s path. It should stop or reverse immediately, confirming the sensors are working correctly.
If the sensors still don’t line up after installation, our guide on garage door sensor troubleshooting covers the most common alignment fixes. Taking a few extra minutes during setup pays off — a properly mounted bracket holds the sensors securely for years and keeps the safety system doing its job.
Final Thoughts
Sometimes the smallest parts make the biggest difference. A well-chosen sensor bracket keeps your sensors aligned, your door operating smoothly, and your family safe from the accidents the safety system is designed to prevent.
It’s a small upgrade, but one that stops repeated door malfunctions before they become a daily annoyance. If your garage door has been acting up, checking the sensor bracket is one of the quickest fixes worth trying first.
FAQs
What is a garage door sensor bracket used for?
It holds the safety sensors in a fixed position near the bottom of the garage door track, keeping the infrared beam between them properly aligned so the door can detect obstacles and reverse when needed.
How do I know if my sensor bracket needs replacing?
Signs include a bracket that’s visibly bent or cracked, sensors that won’t stay aligned even after adjustment, or a door that keeps reversing despite a clear path.
Are garage door sensor brackets universal fit?
Some are, but many openers use brand-specific mounting holes or sensor shapes. A universal bracket works for most setups, though checking compatibility with your opener model first avoids a mismatched fit.
Can I install a sensor bracket myself?
Yes, most brackets are designed for straightforward DIY installation with basic tools — the key steps are correct mounting height, direct sensor alignment, and secure (not over-tightened) hardware.
Why does my garage door reverse even with a new bracket installed?
This usually points to leftover misalignment, sensor lenses blocked by dirt or sunlight, or loose wiring rather than the bracket itself — worth checking each before assuming the bracket is faulty.
About the Author
M. Bilal holds a BS in Criminology and runs CrimTechHub, where he covers home security hardware for U.S. homeowners — from garage door sensors to smart locks and surveillance systems. His focus stays on practical, everyday fixes: how the parts actually work, what causes them to fail, and how to get them running reliably again.