Introduction
Ever pressed your garage door remote, watched the door start closing, then suddenly reverse for no reason? It’s one of the most common — and confusing — issues U.S. homeowners run into. In most cases, it’s not a broken sensor. The real cause is direct sunlight interfering with the safety sensor’s infrared beam.
Once that beam gets disrupted, the door stops or reverses, even when nothing is blocking it. A simple sun shield can fix this — it blocks the sunlight and lets the sensor work clearly again.
In this guide, we’ll cover why sunlight affects these sensors, what shield options exist, and how to install one step-by-step.
Table of Contents
Why Sunlight Can Disrupt Your Garage Door Sensors
Many U.S. homeowners hit this exact moment: remote pressed, door closing, then it suddenly stops or reverses. It feels mechanical at first, but the real cause is often something simpler — direct sunlight hitting the safety sensors.
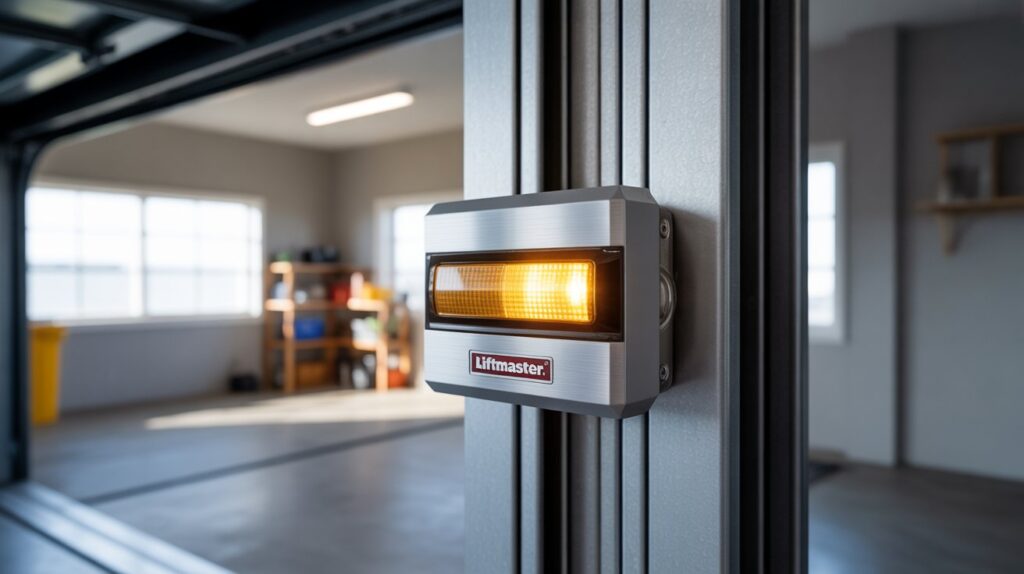
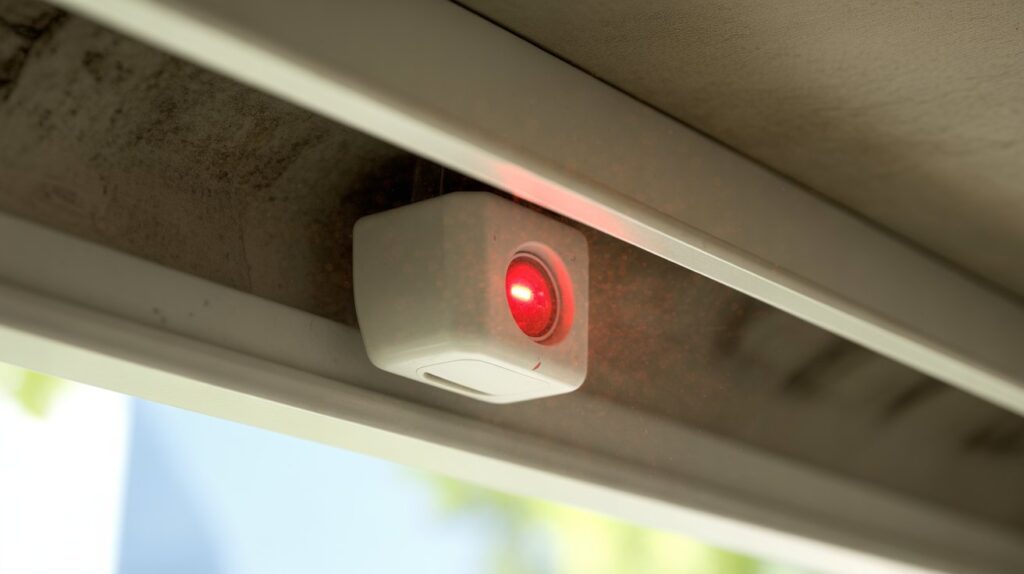
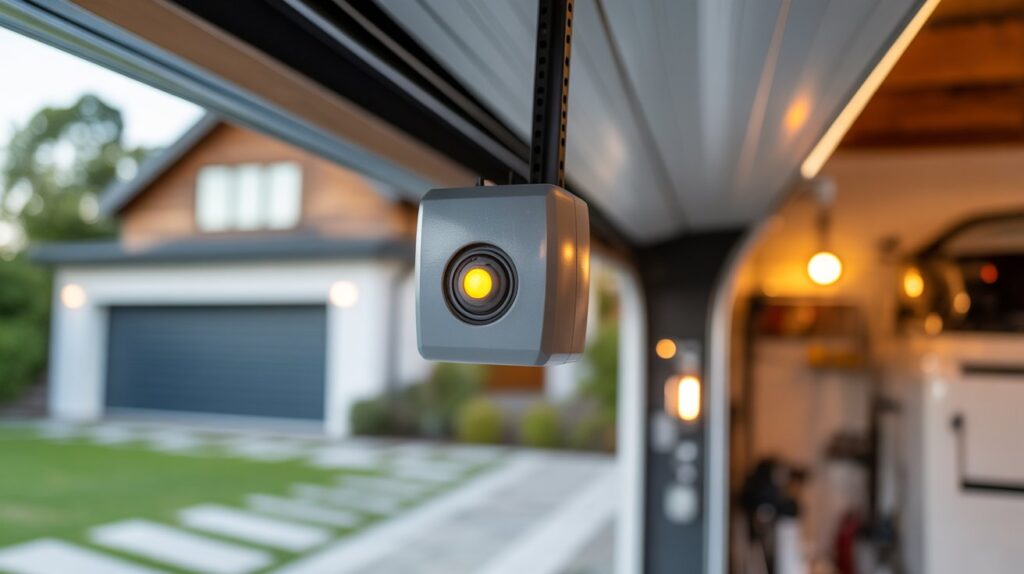
These sensors sit near the bottom of each door track and send an invisible infrared beam across the opening. Block that beam — a car, a pet, a kid — and the door stops instantly. It’s a safety standard that’s been required in the U.S. for decades.
The catch: strong sunlight can trick the sensor the same way. At certain angles, direct light overpowers the receiving sensor, and the system reads it as an obstruction — even when the path is completely clear.
Homeowners usually notice a few common signs when sunlight is the issue:
- The garage door starts closing and suddenly reverses
- Sensor lights begin blinking or flickering
- The door only closes fully when using the wall button instead of the remote
- The problem happens mostly during bright afternoon sunlight
When these signs show up regularly, a simple sun shield often solves it. By blocking direct light from hitting the sensor lens, it keeps the infrared beam stable — so the door closes smoothly again without false reversals. Pairing it with a properly mounted sensor bracket also helps keep the alignment steady over time.
What a Garage Door Sensor Sun Shield Actually Does
A sun shield is a small cover that blocks direct sunlight from hitting the safety sensor lens. It mounts above or around the sensor like a tiny shade, keeping the infrared beam between both sensors stable.
Without it, strong light can overwhelm the receiving sensor’s signal — the system reads it as an obstruction even when the doorway is clear. Blocking that glare lets both sensors “see” each other properly, no matter how bright it gets outside.
The fix is often instant: doors close smoothly, warning lights stop blinking, and the remote works normally again. It’s a small, low-cost accessory — but pairing it with a reliable smart garage door opener gives you even more consistent, weather-proof performance overall.
A sun shield becomes especially useful in certain real-life situations, such as:
- Garages that face west or south, where sunlight hits the sensors in the afternoon
- Homes in bright, sunny states like Arizona, Texas, or California
- Garages where the sensor lights flicker or blink during specific times of the day
- Doors that close normally at night but reverse during sunny hours
In cases like these, a shield is often the fastest way to stop false reversals and keep the door operating safely and smoothly.
Types of Garage Door Sensor Sun Shields
There are a few practical ways homeowners deal with sunlight interference — some ready-made, some DIY.
Clip-On Sun Shields
These small covers clip directly onto the sensor, creating shade without any drilling or tools. Most homeowners install one in under five minutes.
Key benefits:
- No-tools installation
- Blocks glare while keeping the infrared beam clear
- Compact, fits most standard safety sensors
- Low-cost, widely available fix
For sensors affected only at certain hours of the day, a clip-on shield usually stops false reversals immediately. For the technical side of sensor placement, DASMA’s guidelines on photoelectric sensor installation outline exactly why correct positioning matters for reliable detection.
Universal Garage Sensor Covers
Universal sensor covers are another common option available in many home improvement stores. These covers are designed to work with different garage door opener brands, making them a flexible solution for homeowners who are unsure about compatibility.
Instead of attaching directly to the sensor, some of these covers mount slightly above or around it to create a wider shade.
Common features include:
- Compatible with multiple garage door opener brands such as LiftMaster, Chamberlain, or Genie
- Durable plastic or weather-resistant materials built for long-term use
- Wider shading area to protect the sensor from strong afternoon sunlight
- A reliable choice often searched under garage door sensor sun shield Home Depot
These covers are especially helpful for garages that receive intense sunlight during certain seasons.
DIY Shade Solutions
Some homeowners choose a simple DIY approach instead of buying a pre-made shield. In many cases, a small hood or shade placed above the sensor can reduce sunlight interference.
People often create these quick fixes using basic household materials or small plastic covers.
DIY solutions may include:
- Small plastic hoods placed above the sensor
- Short pieces of PVC or plastic covers used as a shade
- Custom covers made to match the angle of sunlight entering the garage
DIY fixes work fine for brief, occasional glare. But if it’s a daily issue, most homeowners end up switching to a proper shield for a cleaner, more permanent fix.
How to Install a Garage Door Sensor Sun Shield (Step-by-Step)
Installing a garage door sensor sun shield Home Depot solution is usually quick and straightforward. Most homeowners can complete the process in just a few minutes without special tools. The goal is simple: block direct sunlight from reaching the sensor lens while keeping the safety system fully functional.
Follow these simple steps to install the shield correctly and restore reliable garage door operation.
1. Turn Off the Garage Door Opener for Safety
Before touching the sensors, always disconnect power to the garage door opener. This step prevents the door from moving unexpectedly while you work near the sensors.
You can either unplug the opener or switch off the garage circuit breaker. Taking this small precaution helps ensure a safe and stress-free installation.
2. Identify the Sensor Facing Direct Sunlight
Next, locate the two garage door safety sensors positioned near the bottom of the door tracks. One sensor sends an infrared beam, while the other receives it.
Usually only one side is affected. Check which sensor faces the direction sunlight enters — typically the afternoon-facing side. That’s the one that needs the shield, and it’s worth checking its mounting bracket too, since a loose bracket can make sunlight sensitivity worse.
3. Attach or Position the Sun Shield Correctly
Once you identify the affected sensor, place the sun shield so it creates a small shade over the sensor lens. The shield should block direct sunlight but still allow the infrared beam to travel clearly between both sensors.
Most sun shields are designed for easy installation. Depending on the model, you may need to:
- Clip the shield directly onto the sensor
- Slide the cover around the sensor housing
- Mount a small shade just above the sensor
Make sure the shield is secure and not blocking the sensor’s line of sight across the garage opening.
4. Test the Door Operation After Installation
After installing the shield, reconnect the power to the garage door opener and test the system. Press the remote or wall button and watch how the door responds.
A properly installed shield should get the sensors working normally again — the door closing smoothly, with no reversing or flashing warning lights
5. Tips to Ensure the Sensors Stay Aligned
Even with a sun shield installed, the sensors must remain properly aligned for the system to work correctly. Small bumps, vibrations, or loose brackets can cause alignment issues over time.
Keep these quick tips in mind:
- Ensure the two sensors are perfectly aligned and pointing toward each other.
- Check that the indicator lights stay solid, not blinking
- Tighten any loose brackets near the sensor mount
- Clean the sensor lenses occasionally to remove dust or debris
When the sensors are aligned and protected from sunlight, your garage door safety system can operate the way it was designed—reliably and safely every day.
Other Ways to Fix Sunlight Interference
A shield isn’t the only fix. A few small adjustments or a bit of maintenance often solve it just as well.
Adjust the Sensor Angle
Sunlight usually hits at a specific angle during certain hours. Tilting the affected sensor slightly — while keeping it aligned with the opposite side — can cut the glare and stabilize the beam. If it keeps happening, a shield is still the more permanent solution.
Clean the Sensor Lenses
Dust, pollen, or spider webs build up on the lenses over time, and combined with strong sunlight, this makes the sensor even less reliable. Wipe both lenses with a soft, dry cloth — avoid harsh cleaners that could scratch the surface. The CPSC recommends testing the auto-reverse feature monthly as part of routine sensor upkeep — a quick habit that catches problems before they become safety risks.
Check Wiring Connections
Loose or damaged wires can sometimes mimic the same symptoms as sunlight interference. If the sensor lights blink or behave inconsistently, it’s worth checking the wiring connections near the sensors and the garage door opener.
Make sure the wires are securely connected and not pinched or worn. Stable wiring helps the safety sensors communicate correctly and prevents unnecessary system errors.
Install a Small Shade Near the Garage Opening
In garages that receive intense afternoon sunlight, adding a small shade near the entrance can help reduce glare reaching the sensors. This could be a simple overhang, trim piece, or small cover positioned above the sensor area.
While this approach may not fully replace a garage door sensor sun shield Home Depot product, it can still reduce direct sunlight and improve sensor performance.
By trying these simple fixes, homeowners can often solve sensor problems quickly. Offering multiple solutions like these also reflects a practical, experience-based approach, helping readers make informed decisions about the best way to restore safe and reliable garage door operation.
Final Thoughts
A garage door that won’t close right isn’t always a mechanical problem — often it’s just sunlight confusing the safety sensor. A shield, a small angle adjustment, or a quick clean can usually fix it in minutes.
These sensors protect your home, your car, and the people around it — so it’s worth getting right. If you’re also considering an upgrade, check out our picks for the best Zigbee door sensors for more reliable, smart-home-ready protection.
FAQs
Q: How do you shield a garage door sensor from the sun?
A: Attach a small clip-on or slide-on cover just above the sensor lens. It blocks direct glare while still letting the infrared beam pass through clearly.
Q: What is a garage door sensor sun shield?
A: It’s a small protective cover — plastic or metal — that stops sunlight or debris from interfering with the sensor’s line of sight.
Q: Can sunlight really affect garage door sensors?
A: Yes. Strong, direct light can overpower the receiving sensor and trick the system into thinking something is blocking the door, even when the path is clear.
Q: Will a sun shield block the sensor’s ability to detect objects?
A: No — it only blocks glare from above or the side. The beam itself still travels freely across the doorway.
Q: Can I make my own sun shield instead of buying one?
A: Yes. A small plastic hood, a short length of PVC cut lengthwise, or even a scrap of dark plastic mounted above the sensor works fine, as long as it doesn’t block the beam.
Q: Does a sun shield work with any garage door opener brand?
A: Most are universal and fit standard photo-eye sensors, so they work with LiftMaster, Chamberlain, Genie, and similar brands.
Q: How long does installation take?
A: Usually under 10 minutes — no wiring or tools needed for most clip-on models