Introduction
Most homeowners focus on buying a good camera and forget the one thing that actually decides whether it works: where you put it. A camera can be top-rated and still miss the moment that matters, just because of a bad angle or wrong height. Outdoor security camera mounting ideas fix exactly that — they help you cover entry points, kill blind spots, and get footage you can actually use if something happens.
In this guide, we’ll go through practical mounting placements — from the front door to the backyard — so every corner of your property stays covered, day and night.
Table of Contents
Why Outdoor Security Camera Placement Matters More Than You Think
Where you mount a camera decides more than the camera specs ever will. A well-placed unit can stop trouble before it starts; a badly placed one just watches it happen and gives you nothing usable afterward. Most homeowners assume a better camera means better security — in reality, placement makes the bigger difference.
Missed footage almost always traces back to mounting mistakes. Too high, and you lose facial detail. Too low, and the camera itself becomes a target. Add glare, shadows, or a blocked line of sight, and even a solid security camera ends up recording nothing worth reviewing. Getting the height, angle, and field of view right is what keeps every entry point actually visible.
Real-world placement comes down to matching the camera to how people actually move around your property — daily foot traffic, entry points, and how light shifts through the day. Get that right, and the camera stops being just a recorder and starts being a genuine deterrent.
Key Factors to Consider Before Mounting an Outdoor Security Camera
A few core factors decide how well your camera actually performs, long before you drill a single hole. Get these right and you avoid blind spots, weak footage, and re-mounting the camera a month later.
Height and viewing angle matter more than most people expect. Too high, and you lose facial detail. Too low, and the camera becomes easy to reach or damage. A balanced height with a slight downward tilt covers movement clearly without distorting the shot.
Weather and lighting affect footage quality just as much as placement. Outdoor units deal with rain, heat, and shifting light all day — direct sun causes glare, while poor lighting at night hurts image clarity. A shaded or partially covered spot protects the hardware and keeps footage consistent around the clock.
Wi-Fi range and power access decide how reliable the system stays. A camera too far from the router means weak signal and delayed alerts, so Wi-Fi range and connection stability should factor into where you mount it — along with easy, stable access to power, wired or battery.
Privacy and neighbor boundaries are non-negotiable. Keep the camera’s field of view on your own property, not a neighbor’s yard or windows. It avoids legal trouble and reflects the kind of responsible setup that builds real trust.
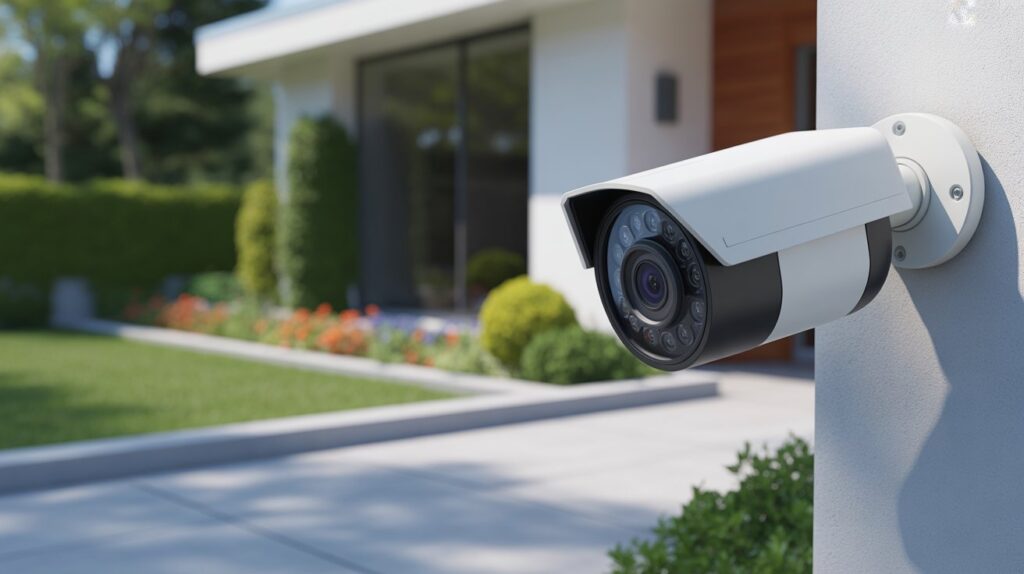
Best Outdoor Security Camera Mounting Ideas for Maximum Coverage
- Front door mounting ideas: Place the camera slightly above eye level with a downward angle to capture faces clearly without glare. This is one of the most effective outdoor security camera mounting ideas because it covers deliveries, visitors, and unexpected movement in one high-traffic area.
- Backyard and garden coverage: Mount cameras on exterior walls or under eaves to watch open spaces without exposing the device to harsh weather. A wide-angle view works best here, helping you monitor fences, patios, and quiet corners where activity often goes unnoticed.
- Driveway and garage positioning: Install cameras facing the driveway from the side, not straight on, to capture license plates and movement more clearly. Smart outdoor security camera mounting ideas in this area reduce blind spots and improve motion detection for vehicles and late-night activity.
- Side yard and entryway blind spot solutions: Side yards are often overlooked, making them common entry points. Mount cameras at corner angles to cover narrow paths and hidden entryways. This approach connects blind spots and strengthens overall property coverage without overcomplicating the setup.
These outdoor security camera mounting ideas focus on visibility, real-world movement, and practical placement—ensuring every key area stays protected with clean, reliable footage.
Creative Outdoor Security Camera Mounting Ideas That Blend With Your Home
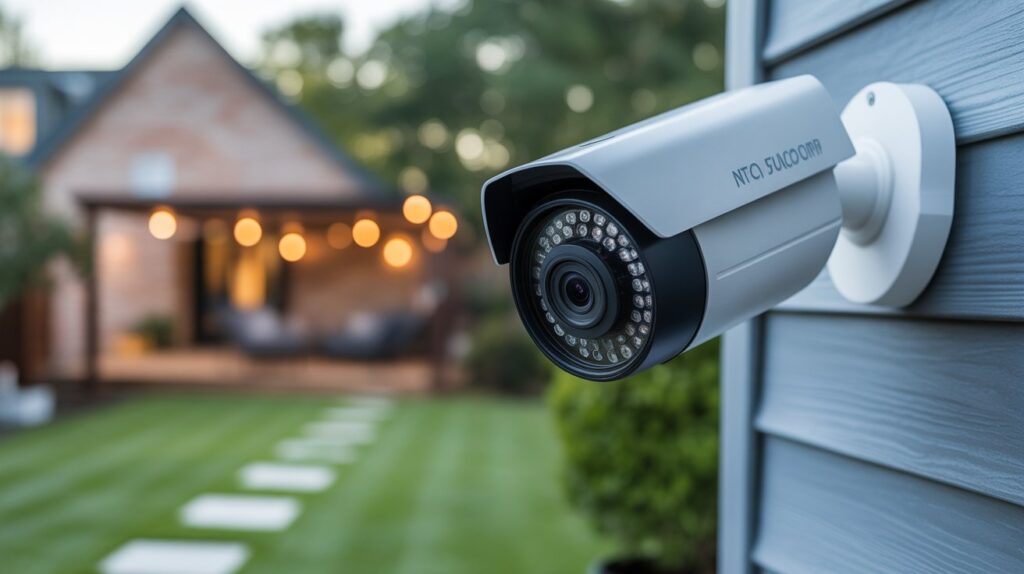
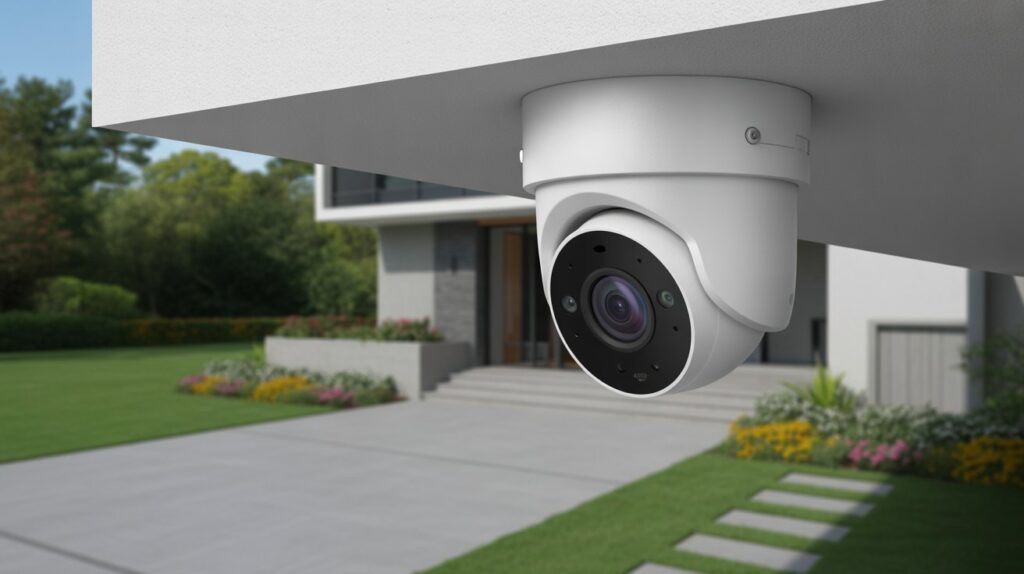
- Under eaves and rooflines: Mounting cameras under eaves keeps them protected from rain and harsh sunlight while blending naturally with your home’s structure. These outdoor security camera mounting ideas also offer a higher angle that improves coverage without making the camera stand out.
- Wall corners for a wider field of view: Corner placements allow one camera to cover two directions at once. This smart setup reduces blind spots and keeps the camera visually subtle, making it a practical and clean-looking security solution.
- Fence and pole mounting (when appropriate): In larger yards or open spaces, fence or pole mounting can extend coverage where walls are not available. When done securely, these outdoor security camera mounting ideas help monitor property boundaries without disrupting the overall look of your home.
- Discreet placements that avoid tampering: Cameras placed slightly out of reach or blended into natural lines of the house are less likely to be noticed or damaged. Discreet outdoor security camera mounting ideas improve safety while maintaining a calm, uncluttered appearance.
These creative mounting options prove that strong security and a clean home design can work together without compromise.
Common Outdoor Camera Mounting Mistakes to Avoid
Wrong Height Means Missing the Details That Matter
The most common mistake is height. Too high, and you lose facial detail. Too low, and the camera becomes an easy target for tampering or theft. The right height captures identifiable footage without leaving gaps.
Sun Glare by Day, Infrared Reflection by Night
A camera facing direct sunlight or a reflective wall loses image quality fast. Daytime glare washes out detail, and at night, nearby surfaces can bounce infrared light straight back into the lens. Lighting conditions need to work for the camera around the clock, not just during the day.
Placing Cameras Within Easy Reach
A camera anyone can reach is a camera anyone can disable. This happens when people prioritize a clear view over protecting the device itself. The fix is balancing visibility with enough height or cover to keep it out of reach.
The Wrong Angle Triggers False Alerts
A bad angle picks up every passing car, swaying branch, or shifting shadow — and floods your phone with false alerts. Over time, that trains you to ignore notifications, which is exactly when a real one gets missed. Security installers point to correct angling as one of the most overlooked factors in getting a DIY setup to actually work as intended.
Fixing these four mistakes alone solves most of the blind-spot and false-alert problems homeowners run into.
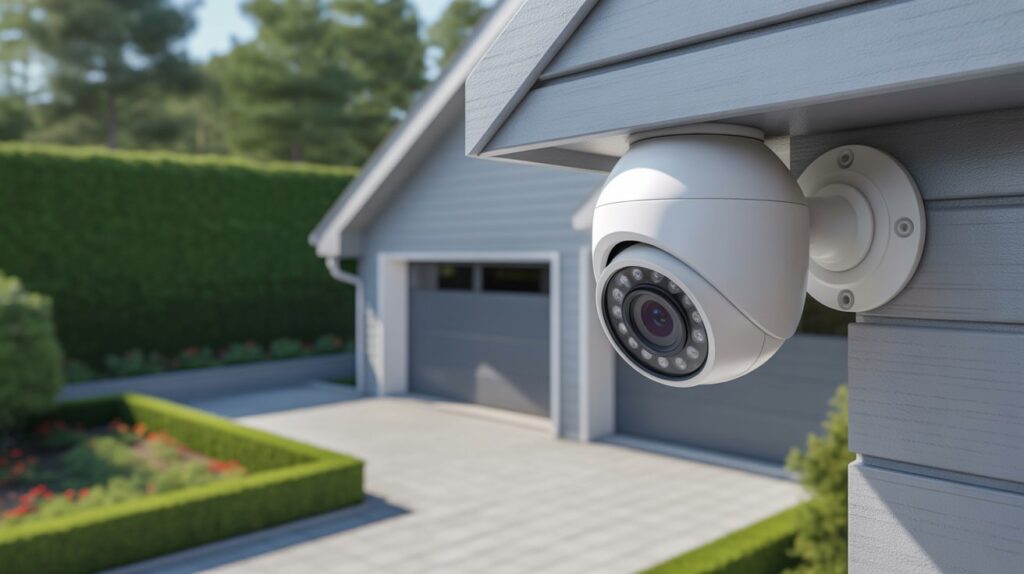
Outdoor Security Camera Mounting Tips for Long-Term Performance
- Proper drilling and sealing for weather protection: Always seal drill holes and mounting points to block moisture and dust. This simple step protects your camera from long-term damage and keeps outdoor security camera mounting ideas effective in all weather conditions.
- Regular angle testing and basic maintenance: Over time, wind or small shifts can change camera angles. Periodic checks ensure your camera still captures clear footage and key areas without new blind spots or missed movement.
- Adjusting placement as security needs change: Security needs evolve as routines, landscaping, or property layouts change. Repositioning cameras when needed helps outdoor security camera mounting ideas stay relevant, reliable, and aligned with real-life use.
These practical habits, backed by experience, help maintain strong performance and dependable coverage year after year.
Final Thoughts
The gap between a home that looks secure and one that actually is often comes down to placement, not price. Get the height, angle, and coverage right, and a basic camera setup starts working the way it’s supposed to — catching what matters instead of just recording empty footage.
Take a look at your current setup and ask if every entry point is actually covered, or just assumed to be. Pairing smart camera placement with the rest of your home security system is what actually keeps a property protected, not just monitored.
FAQs
1. Where is the best place to mount an outdoor security camera?
Above doors, garages, or corners to cover driveways, pathways, and eliminate blind spots.
2. How to mount a security camera outside?
Use a sturdy wall or eave, angle for full coverage, and secure with weather-resistant screws or brackets.
3. How to mount CCTV without drilling?
Use strong adhesive mounts, magnetic bases, or tension rods suitable for outdoor use.
4. How to stop neighbors’ CCTV?
You can’t block their cameras legally; use fences, landscaping, or privacy screens instead.
5. How do I deactivate my neighbor’s camera?
It’s illegal; protect your property with privacy measures like screens or your own cameras.
6. Can a cell phone detect hidden cameras?
Yes, by detecting infrared lights or scanning for suspicious Wi-Fi signals.
Author Box:
M Bilal
Founder, CrimTechHub
M Bilal holds a Bachelor’s degree in Criminology and founded CrimTechHub to help homeowners make informed, practical decisions about home security — from camera placement to broader protection systems. His background in criminology shapes a security-first approach to every guide, focused on real-world placement, common failure points, and what actually stops incidents before they happen, not just theory.