Introduction
Minecraft players lose hours of progress when creepers, griefers, or careless mistakes damage a base while they’re away. Learning how to use security cameras in Minecraft solves this by giving you full visibility over your builds, farms, and storage—even when you’re not physically there.
Whether you’re running a survival base, managing redstone farms, or playing on a multiplayer server, camera mods let you monitor every key area and catch problems before they spread. The same logic real-life surveillance systems use applies here: constant visibility means fewer surprises and safer builds.
This guide covers exactly how to set up, place, and use security cameras in Minecraft, so you can protect your world with less effort and more control.
Table of Contents
How to Use Security Cameras in Minecraft: Why Players Want Better In-Game Security
Anyone who has put real time into a Minecraft base knows the frustration—you log back in and find broken doors, missing chests, or creeper damage you never saw coming. Hours of mining and building can vanish in minutes. That’s exactly why players search for how to use security cameras in Minecraft: they want early warning before damage happens.
As worlds grow bigger, the risks grow with them. Larger survival bases, valuable redstone farms, and multiplayer servers all bring real threats like griefing and theft. Walls and iron doors aren’t enough anymore—players want visibility. Camera mods let you monitor entrances, watch high-value areas, and stay ahead of danger without being everywhere at once.
The logic mirrors real life. Just as home security systems help people protect what matters most, in-game cameras protect the time and effort players put into their worlds. Watching a mob farm, spotting a sneaking player, or catching nighttime threats early all become possible with the right setup.
At its core, learning how to use security cameras in Minecraft isn’t about paranoia—it’s about playing smarter, protecting your builds, and staying confident in your world even while exploring, mining, or logged off.
Understanding Security Cameras in Minecraft (Vanilla vs Mods Explained)
- Vanilla Minecraft doesn’t include real security cameras, which surprises many players searching for how to use security cameras in Minecraft without extra tools.
- Vanilla defenses—walls, lighting, iron doors, redstone traps, observer blocks—protect a base but can’t provide live visual monitoring.
- To get actual cameras in Minecraft, players need to install a trusted security camera mod, which adds camera blocks, monitors, and viewing systems.
- These mods let players view different areas of their base remotely, similar to real-life home security systems, making protection more practical and immersive.
- Mods give players in-game surveillance tools to watch entrances, storage rooms, farms, or spawn points without being physically present.
- On multiplayer servers, camera mods are popular because they help reduce griefing, track suspicious activity, and protect shared builds.
- Knowing the difference between vanilla defenses and mod-based cameras helps players choose the right, fair, server-approved way to monitor their world.
- Once this distinction is clear, learning how to use security cameras in Minecraft becomes simpler and far more effective for long-term gameplay.
What You Need Before Using Security Cameras in Minecraft
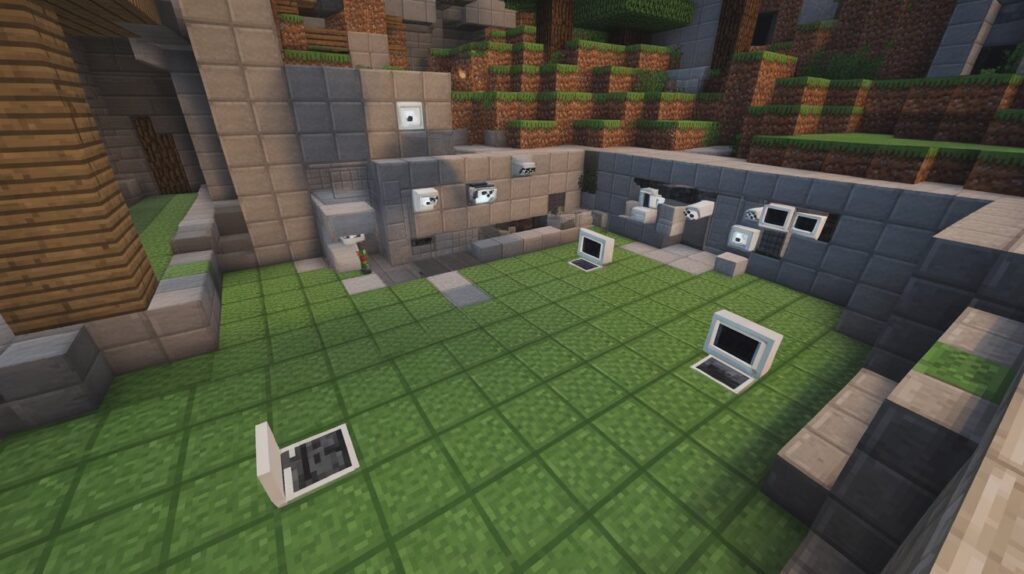
Before learning how to use security cameras in Minecraft, it helps to have the right basics ready. Minecraft doesn’t support camera systems by default, so a little preparation avoids confusion later. Once these essentials are in place, the setup feels smooth even for first-time mod users.
Here’s what you need to get started:
- A compatible version of Minecraft (Java Edition), since most security camera mods are built for Java and offer better stability and features.
- A trusted security camera mod, downloaded from a reliable source, to keep installation safe and gameplay stable.
- A mod loader like Forge or Fabric, which allows Minecraft to run camera mods correctly.
- A basic understanding of mod installation, similar to adding any other Minecraft mod—no advanced technical skills required.
Once installed, the process feels natural. Just like setting up a real outdoor security camera, you’re simply adding a tool that lets you see what’s happening when you’re not around. Players often use these mods to protect large survival bases, shared servers, or creative builds where time and effort matter.
Having the right version, mod, and setup ready makes learning how to use security cameras in Minecraft easier and more reliable, letting you focus on smart base protection instead of troubleshooting technical issues.
How to Install a Security Camera Mod in Minecraft (Step-by-Step Overview)
Installing a security camera mod in Minecraft doesn’t have to feel complicated. With a clear, step-by-step approach, even beginners can add in-game surveillance quickly and safely. This section covers exactly how to get started, so you can focus on learning how to use security cameras in Minecraft effectively.
Step-by-Step Installation Guide
- Step 1: Backup Your World – Before installing any mod, back up your Minecraft worlds. This keeps your builds safe in case something goes wrong.
- Step 2: Download a Trusted Mod – Choose a well-reviewed security camera mod compatible with your version. Reliable sources keep your game safe from malware.
- Step 3: Install a Mod Loader – Most camera mods require Forge or Fabric, the two main mod-loading platforms for Minecraft Java Edition.
- Step 4: Add the Mod File – Move the downloaded mod file (.jar) into the Minecraft mods folder, created automatically by Forge or Fabric.
- Step 5: Launch Minecraft – Start the game using the mod loader profile. If installed correctly, the mod loads and camera items become available in-game.
- Step 6: Test the Mod – Place a camera block and connect it to a monitor or interface to confirm everything works. Adjust placement as needed for better coverage.
Following these steps lets you set up cameras quickly and start monitoring your base like a pro. Proper installation is the first key to mastering how to use security cameras in Minecraft, giving you control and full visibility over your world.
How to Craft or Access Security Cameras in Minecraft
Understanding how to use security cameras in Minecraft starts with knowing how to craft or access them in-game. Since cameras are added through mods, the process is straightforward once you know the steps. Players can quickly get their cameras working to monitor their bases, farms, or storage areas.
Key points for crafting or accessing security cameras:
- Check the Mod Instructions – Each camera mod may have unique crafting recipes or access methods. Always read the mod’s documentation for accurate instructions.
- Crafting with Resources – Many mods allow players to craft cameras using common in-game materials like iron, redstone, and glass, making them easy to obtain even in survival mode.
- Accessing Pre-Made Cameras – Some mods include camera items in creative mode inventories, which is ideal for testing or building large bases.
- Combine with Monitors or Displays – Cameras often require a monitor block to view footage. Crafting monitors usually involves similar materials, often including wood planks and redstone circuits.
- Placement Check – Once crafted, place the camera in a strategic location to maximize coverage. Ensure line of sight to the area you want to monitor.
- Testing Functionality – After placing cameras, connect them to a monitor or control interface to confirm they are working. Adjust angles or placement if needed.
By following these steps, players can get their in-game security systems running quickly and reliably. Knowing how to use security cameras in Minecraft effectively keeps your builds safer, letting you explore, mine, and create with confidence instead of constant worry.
How to Place Security Cameras in Minecraft for Maximum Coverage
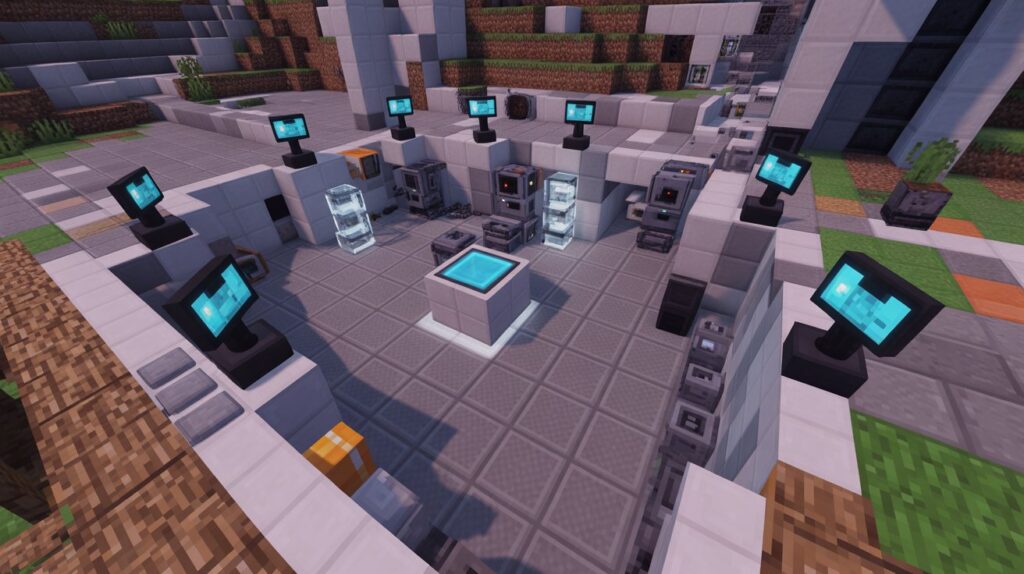
Proper placement is key when learning how to use security cameras in Minecraft. Even the best camera mod won’t help if positioning is off. Thoughtful placement ensures you can monitor entrances, farms, storage areas, and other critical spots effectively.
Practical tips for maximum coverage:
- Cover Base Entrances First – Place cameras near doors, gates, or tunnels to spot mobs or intruders before they enter.
- Monitor Valuable Areas – Farms, treasure rooms, and redstone contraptions are high-priority zones worth protecting.
- Use Height for Wider Views – Elevate cameras on walls or towers to expand coverage and reduce blind spots, the same principle behind outdoor security camera placement in real life.
- Corner and Angle Placement – Corners or angled positions capture more space in one view.
- Overlap Coverage – Let camera views overlap slightly so nothing goes unnoticed.
- Test and Adjust – After placement, check each camera through its monitor and reposition if areas are blocked or unclear.
Following these placement strategies helps you maximize in-game surveillance without overloading your base with too many cameras. Smart placement protects your builds and makes monitoring your world easier, so you can play with more confidence.
How to View Security Camera Footage in Minecraft
Once your cameras are installed and placed, the next step in learning how to use security cameras in Minecraft is understanding how to view the footage. A camera is only useful if you can see what it’s capturing, and most Minecraft security mods make this process intuitive for both beginners and advanced players.
Viewing Footage Made Simple
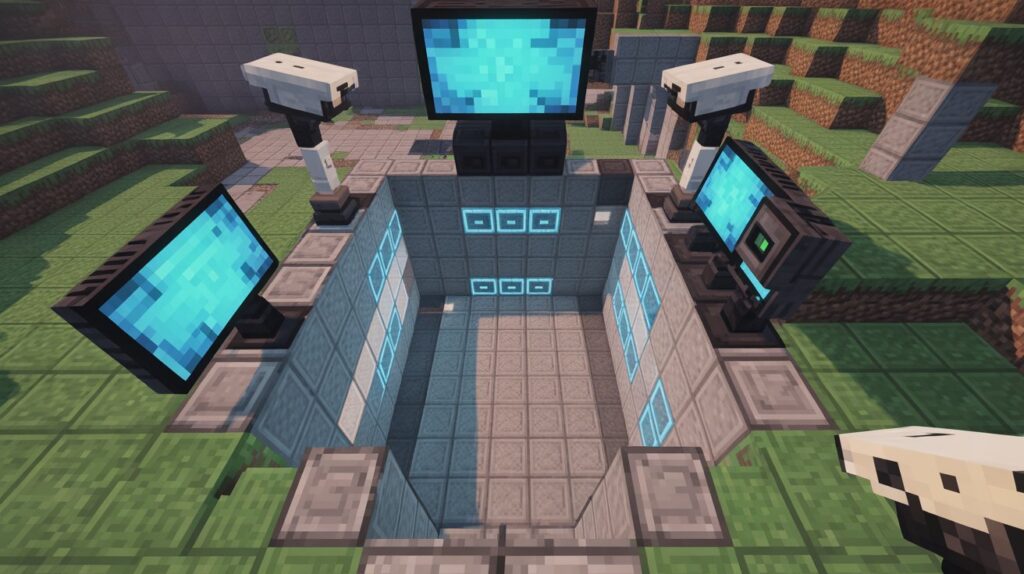
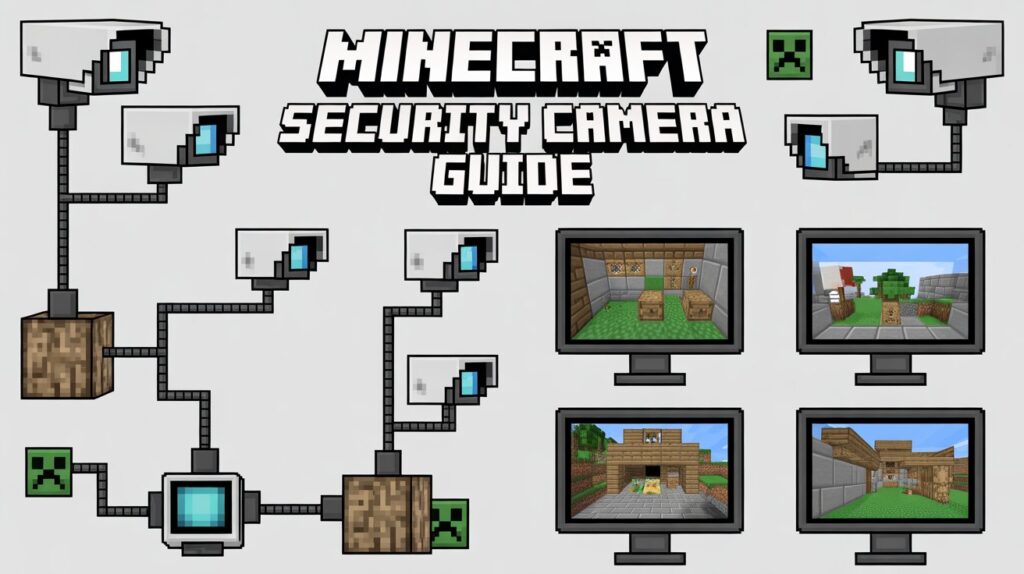
- Use Monitors or Screens – Connect cameras to in-game monitors or display blocks. These act like real-life TV screens, showing live footage of the area you want to monitor.
- Switch Between Cameras – Most mods allow players to switch views easily. You can cycle through multiple cameras to keep an eye on all critical zones.
- Remote Access Concept – Some mods support remote viewing, letting you check camera feeds from another location in your base. This is especially useful for large builds or multiplayer servers.
- Test Angles and Coverage – After connecting cameras, review each feed to ensure no blind spots exist. Adjust camera positions if necessary for full coverage.
- Combine with Alerts – Certain mods allow alerts or notifications when movement is detected, giving players real-time awareness even when they’re not watching the monitors constantly.
By mastering these viewing techniques, players can monitor their builds efficiently and respond to threats quickly. Understanding how to use security cameras in Minecraft effectively turns your base into a safer, smarter, and more controlled environment—making every session more focused and stress-free.
Best Ways to Use Security Cameras in Minecraft Survival Mode
Using security cameras in Minecraft Survival Mode adds real value to your gameplay. Beyond simply watching your base, they give players the ability to plan, protect, and react like experienced builders. Understanding how to use security cameras in Minecraft in survival mode helps you save time, avoid unnecessary risks, and enjoy your world with confidence.
Top strategies for survival mode:
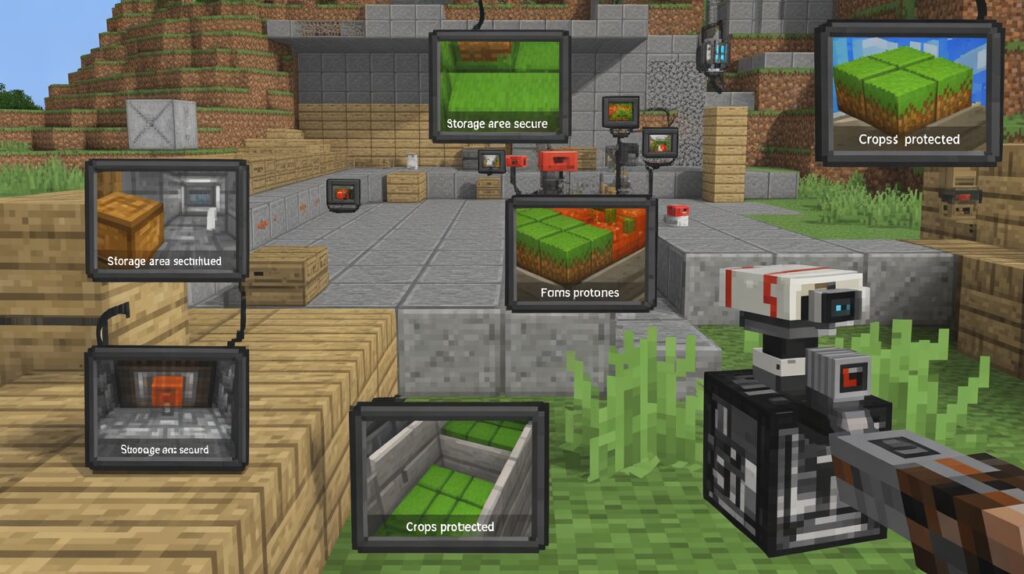
- Monitor Mob Farms – Keep an eye on automatic farms or mob spawners to ensure they run efficiently and safely without constantly checking in person.
- Protect Valuable Storage – Place cameras near chest rooms or hidden storage to watch for accidental destruction, creeper damage, or multiplayer interference.
- Oversee Base Entrances – Track all doors, tunnels, and gates to prevent mobs or hostile players from sneaking in.
- Coordinate Redstone Machines – If you have complex redstone builds, cameras allow you to troubleshoot remotely, spotting issues without physically inspecting every mechanism.
- Remote Surveillance While Exploring – Cameras let you leave your base temporarily for mining or exploration, while still monitoring your property, mimicking real-life security logic.
By applying these strategies, USA players can maximize both practical and fun aspects of security cameras in survival mode. It’s not just about safety; it’s about gaining a smarter, more controlled way to play, making every hour spent in Minecraft productive and worry-free.
Common Mistakes Players Make When Using Security Cameras in Minecraft
Even experienced players can run into pitfalls when learning how to use security cameras in Minecraft. Recognizing these common mistakes early can save time, reduce frustration, and help your base remain safe and efficient.
One frequent error is placing too few cameras, which leaves blind spots and limits surveillance. Conversely, some players overload their base with cameras, which can clutter the environment and make management confusing. Another common mistake is ignoring camera angles or line of sight. If a camera isn’t positioned correctly, it won’t capture the areas you intended, leaving critical spots unmonitored.
Players also sometimes forget to connect cameras to monitors or test them after installation. Without proper testing, you may assume your base is secure when, in reality, your cameras aren’t functioning as expected. Additionally, relying solely on cameras for security without combining them with other defenses—like walls, traps, or lighting—can give a false sense of protection.
By understanding these pitfalls, USA players can adopt smarter strategies and avoid wasted effort. Learning from mistakes is part of mastering how to use security cameras in Minecraft, allowing you to build a base that is both secure and efficiently monitored.
Are Security Cameras in Minecraft Safe and Fair to Use on Servers?
Using security cameras in Minecraft can raise fairness questions, especially on multiplayer servers. Understanding how to use security cameras in Minecraft responsibly means protecting your builds without breaking server rules or disrupting other players.
Key considerations for safe and fair use:
- Check Server Rules First – Some servers prohibit mods that give extra surveillance or unfair advantages. Always confirm before installing camera mods, the same way you’d check property rules before installing a real security system.
- Respect Multiplayer Etiquette – Avoid placing cameras in other players’ areas without permission. Monitoring only your own builds keeps gameplay fair and cooperative.
- Avoid Exploiting Cameras – Using cameras to spy on competitors’ resources or traps is generally discouraged and can lead to bans.
- Use Cameras for Safety, Not Power – Focus on protecting your base from mobs, griefers, or accidental damage rather than controlling other players.
- Stay Updated on Mod Versions – Outdated camera mods can cause glitches or crashes. Using supported versions keeps things stable for everyone.
Applied thoughtfully, security cameras are both safe and fair, enhancing gameplay without breaking trust. Knowing how to use security cameras in Minecraft responsibly balances protection, enjoyment, and community respect on any server.
Advanced Tips to Use Security Cameras in Minecraft Like a Pro
Once you’ve mastered the basics, there are several advanced strategies that make how to use security cameras in Minecraft even more effective. These tips let experienced players optimize coverage, reduce blind spots, and create smarter bases without overwhelming beginners.
Pro-level strategies:
- Integrate with Redstone Systems – Connect cameras to redstone circuits to trigger alarms, lights, or automatic doors when movement is detected. This adds an extra layer of in-game security.
- Use Multi-Camera Networks – Set up multiple cameras in a grid or overlapping pattern to monitor large areas seamlessly. This helps cover every corner of complex builds.
- Create Hidden Camera Feeds – Some mods allow you to hide monitors or control interfaces, keeping your security system discreet from other players.
- Remote Base Management – Position cameras in multiple locations so you can check farms, storage rooms, and entry points from a single central hub.
- Test Night and Day Coverage – Certain areas may look safe during the day but are vulnerable at night. Use cameras to monitor lighting levels and mob activity.
- Experiment with Angles – Adjust camera angles for optimal coverage, similar to real-world surveillance planning. Slight tweaks can eliminate blind spots entirely.
Applying these advanced tips allows USA players to play smarter, protect their builds efficiently, and feel fully in control of their Minecraft worlds. Mastering these techniques enhances both survival and creative gameplay while keeping the focus on safe, responsible, and effective use of security cameras in Minecraft.
Final Thoughts
Learning how to use security cameras in Minecraft is more than installing mods or placing blocks—it’s about taking control of your world, protecting the time you’ve invested, and staying confident your builds are safe. From survival bases to creative projects, cameras give you awareness and security, just like a real-life home security system would.
By understanding placement, monitoring techniques, and server etiquette, players can enjoy smarter gameplay without unnecessary stress. Each camera you set up reflects careful planning and a commitment to protecting what matters most in your world.
Play wisely, protect creatively, and watch your world thrive.
FAQs
How to use security cameras in Minecraft?
Install a camera mod, place cameras in key areas like entrances and storage, and view live feeds on connected monitors to keep your base secure.
How to use security cameras in Minecraft SecurityCraft?
Place SecurityCraft cameras, link them to monitors, and switch between views to watch entrances, farms, and storage in real time.
How to put security cameras in Minecraft?
Select a camera from your inventory or mod menu, place it on a wall or ceiling, and make sure it has a clear line of sight to the area you want to monitor.
How to use a camera monitor in Minecraft?
Right-click the monitor block to cycle through connected camera feeds and check multiple areas from a single screen.
How to make a spy scope in Minecraft?
Craft a spy scope using the mod’s specific recipe, then equip it to zoom in and view distant areas like a telescope.
About the Author
M Bilal holds a BS in Criminology and writes about home security systems, surveillance technology, and practical protection strategies at CrimTechHub. His background in studying security and risk patterns carries over into how he approaches monitoring and protection concepts in gaming environments like Minecraft, breaking down real-world surveillance logic into simple, practical steps for players.