Introduction
Installing a Night Owl wired security camera system is one of the most reliable ways to protect your home, mainly because wired setups skip the signal drops and Wi-Fi dead zones that wireless cameras often struggle with. Night Owl’s wired lineup delivers HD video, night vision, and motion detection, giving you consistent, round-the-clock coverage of your property.
This guide walks you through how to install Night Owl wired security cameras step by step — from planning camera placement to running cables and connecting everything to your DVR. By the end, you’ll have a fully working system covering every entrance, driveway, and blind spot around your home.
Table of Contents
How to Install Night Owl Wired Security Cameras – A Complete Step-by-Step Guide
Break-ins, package theft, and property damage are real concerns for homeowners across the U.S., and a properly installed camera system is one of the most effective ways to close that gap. Night Owl’s wired cameras are built for exactly this: consistent, professional-grade coverage without the signal drops or interference that wireless systems can run into.
This guide breaks down how to install Night Owl wired security cameras step by step, in a simple, beginner-friendly way — covering camera placement, cable routing, and DVR setup. If you’re also deciding on storage for your DVR footage, it’s worth checking our guide on choosing the right SD card size for security cameras before you finalize your system. By the end of this guide, you’ll have a fully functioning setup and the confidence to monitor your property like a pro.
Understanding Night Owl Wired Security Cameras
Before installing anything, it helps to know what these cameras are actually built for. Night Owl’s wired lineup focuses on reliable, professional-grade protection with a feature set aimed at simple, effective monitoring.
Standout features:
- HD Quality Video: Clear enough to make out faces, license plates, and unusual activity around your property.
- Night Vision: Infrared technology keeps cameras effective even in complete darkness.
- Motion Detection: Instant alerts when movement is picked up, so you can respond before a situation escalates.
Advantages over wireless systems:
- Stable Connection: No signal drops or interference — footage keeps recording without interruption.
- Long-Term Reliability: No dependence on network bandwidth or Wi-Fi range.
- Consistent Power Supply: Continuous operation with no battery swaps to keep up with.
For homeowners covering a driveway, backyard, or a full property perimeter, this combination of HD clarity, night vision, and motion alerts means fewer blind spots and fewer false assumptions about what’s actually happening outside. If you’re weighing wired against a wireless setup for a specific area of your home, our comparison on wireless security cameras that connect without Wi-Fi can help you decide which fits better.
Planning Your Camera Installation
Proper planning is the foundation of an effective security system. Before mounting your Night Owl wired cameras, taking a few strategic steps ensures maximum coverage and reliable monitoring.
Choosing the Best Camera Locations
To protect every corner of your home, focus on areas where security is most critical. Consider:
- Entrances: Front and back doors, side entrances, and garage doors.
- Driveways and Parking Areas: Monitor vehicles and approaching visitors.
- Backyard and Perimeter: Detect unusual activity around fences, sheds, or patios.
- High-Traffic Zones: Areas where valuables are stored or where family members frequently pass.
Electrical Outlets and Cable Planning
Night Owl wired cameras require thoughtful cable routing and access to power:
- Identify nearby outlets to connect your cameras without using excessive extension cords.
- Plan cable paths along walls, ceilings, or underground channels to avoid tripping hazards.
- Keep wires hidden where possible to prevent tampering.
Safety and Privacy Considerations
While securing your home, it’s important to respect legal boundaries:
- Avoid aiming cameras into neighbors’ yards or windows.
- Ensure cameras do not violate local surveillance laws.
- Double-check motion detection zones to prevent false alerts from public spaces.
By following these planning tips, your Night Owl wired security cameras will provide maximum coverage and effective protection, keeping your home safe without compromising safety or legality. Thoughtful placement combined with strategic wiring ensures your system works efficiently for years.
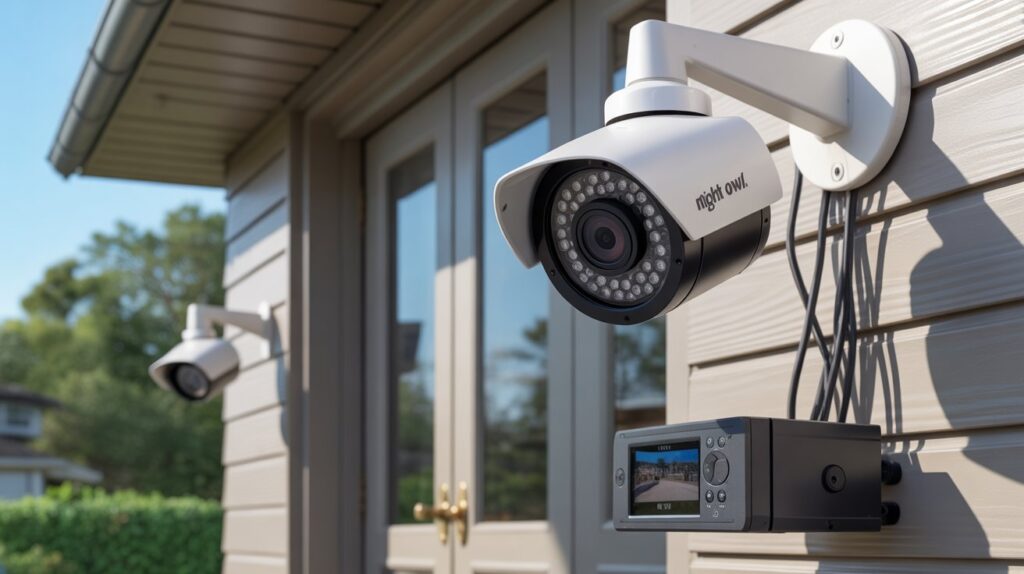
Gathering the Tools and Equipment You’ll Need
Before installing your Night Owl wired security cameras, having the right tools and equipment on hand is essential. Proper preparation saves time, reduces frustration, and ensures a smooth installation process.
Essential Tools for Installation
Make sure you have the following basic tools ready:
- Drill: For mounting cameras securely to walls or ceilings.
- Screws and Anchors: To hold brackets firmly in place.
- Cable Clips or Ties: To organize and secure wires neatly.
- Screwdriver: To attach cameras and connect cables.
- Ladder: For reaching high mounting points safely.
- Monitor or TV: To connect your DVR/NVR system and check live footage.
Night Owl Installation Kit Components
Most Night Owl wired camera systems come with an installation kit that includes:
- Camera brackets and screws
- Power adapters and cables
- DVR/NVR system with pre-installed software
- User manual with setup instructions
Having these components ready ensures a faster, hassle-free setup.
By gathering both essential tools and Night Owl accessories ahead of time, you can approach installation confidently. A well-prepared setup not only makes your job easier but also helps you achieve optimal performance and coverage for your home security system.
Step-by-Step Night Owl Wired Camera Installation
Installing your Night Owl wired security cameras is straightforward once you break it into stages. Here’s a simple step-by-step process even a first-timer can follow.
Step 1 – Mounting the Cameras
- Choose your planned camera locations carefully, focusing on entrances, driveways, and backyard zones.
- Use a drill to create holes for the brackets and secure them with screws and anchors.
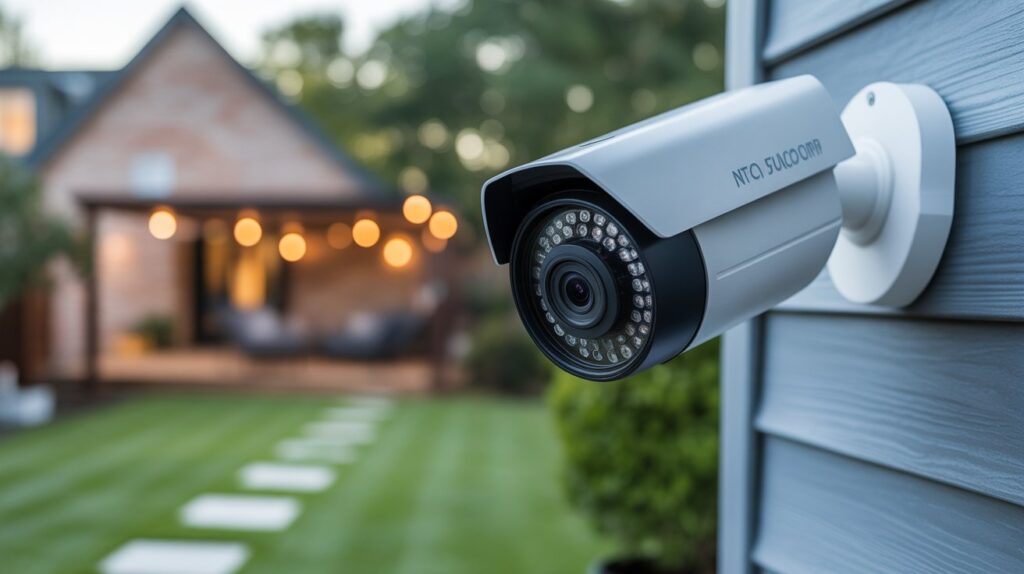
- Attach the camera to the bracket and make sure it’s firmly fixed.
Expert Tip: Mount slightly higher than eye level — it reduces tampering risk and usually improves the field of view.
Step 2 – Running the Cables Neatly and Safely
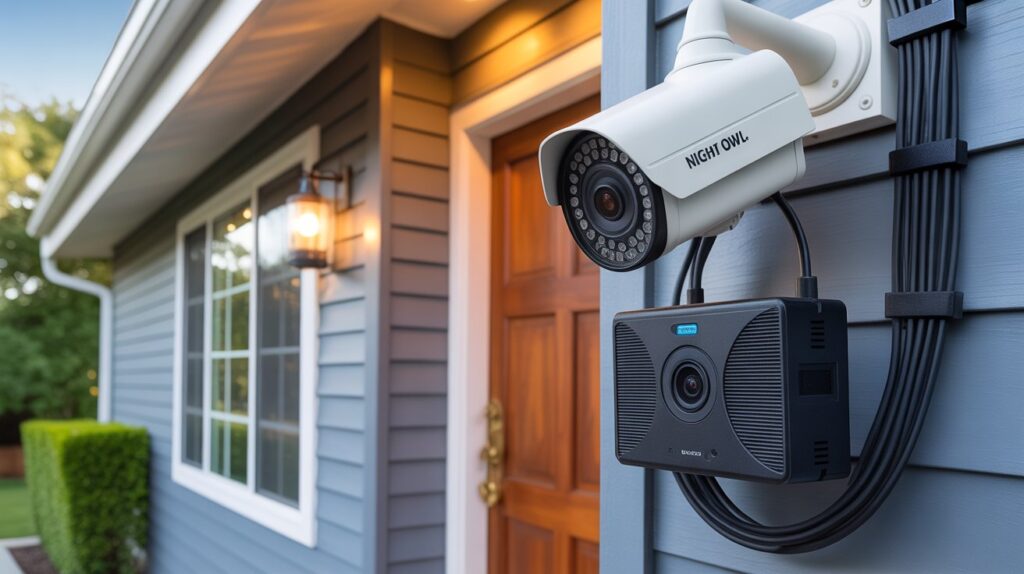
- Route your cables along walls, ceilings, or through conduits to keep them organized.
- Use cable clips or ties to secure wires and prevent tripping hazards.
- Avoid running wires near high-traffic areas or heat sources to prevent damage.
Expert Tip: Label each cable near the camera and DVR — it saves real time during future troubleshooting.
Step 3 – Connecting Cameras to the DVR/NVR System
- Plug the video and power cables from each camera into the corresponding ports on the DVR/NVR.
- Ensure connections are tight and secure to prevent signal loss.
Expert Tip: Test each connection before final mounting — it’s much easier to fix a loose cable now than after the camera is bolted in place.
Step 4 – Powering the System and Checking Connections
- Connect the DVR/NVR to a reliable power source and turn on the system.
- Verify that each camera is displaying video on your monitor or TV.
- Check for any loose connections or cables that may need adjustment.
Expert Tip: A surge protector is worth the small cost — power spikes are one of the more common ways DVR systems get damaged. For general guidance on preventing wiring and power-related hazards during installs, the Electrical Safety Foundation International has useful home safety guidelines worth a quick read.
Step 5 – Adjusting Camera Angles and Settings
- Fine-tune each camera’s viewing angle to cover key areas while minimizing blind spots.
- Adjust motion detection zones and recording settings according to your security needs.
- Test night vision functionality to ensure full coverage during low-light conditions.
Expert Tip: Walk your property at different times of day and check each camera’s live view — angles that look fine on paper sometimes miss a corner in practice.
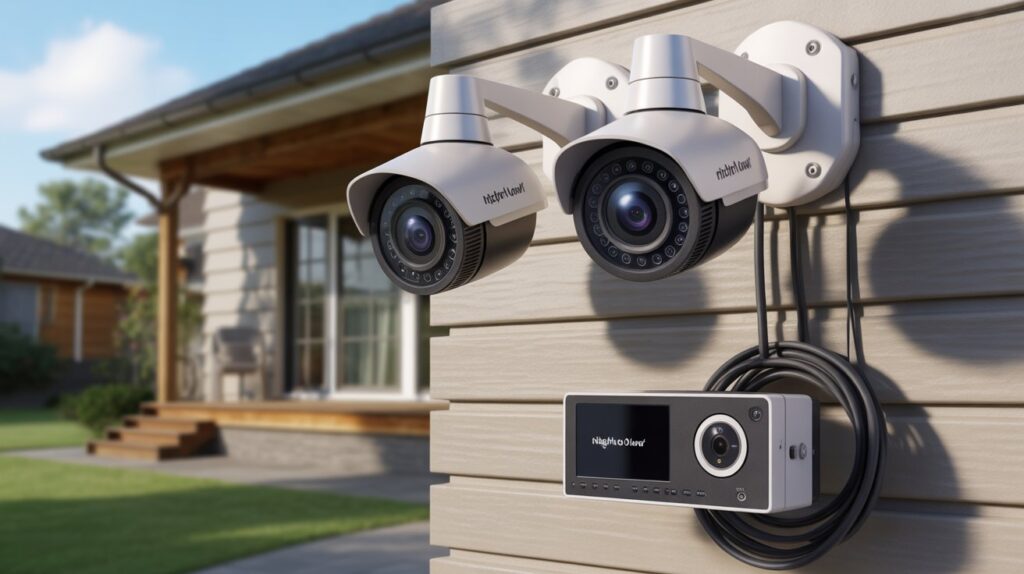
Setting Up the Night Owl Monitoring System
Once the cameras are mounted and wired, the next step is configuring the system itself. Start by connecting your DVR to a TV or monitor — this is where you’ll view live footage, review recordings, and adjust camera settings. A high-definition display matters here, since it directly affects whether you can actually make out faces or license plates when it counts.
From there, set up your recording schedules and motion alerts. Night Owl systems let you tailor recording times and sensitivity per camera, so you can run continuous recording in high-traffic spots like the driveway while keeping motion-triggered alerts for quieter zones like a side yard. This keeps your storage and notifications focused on what actually matters.
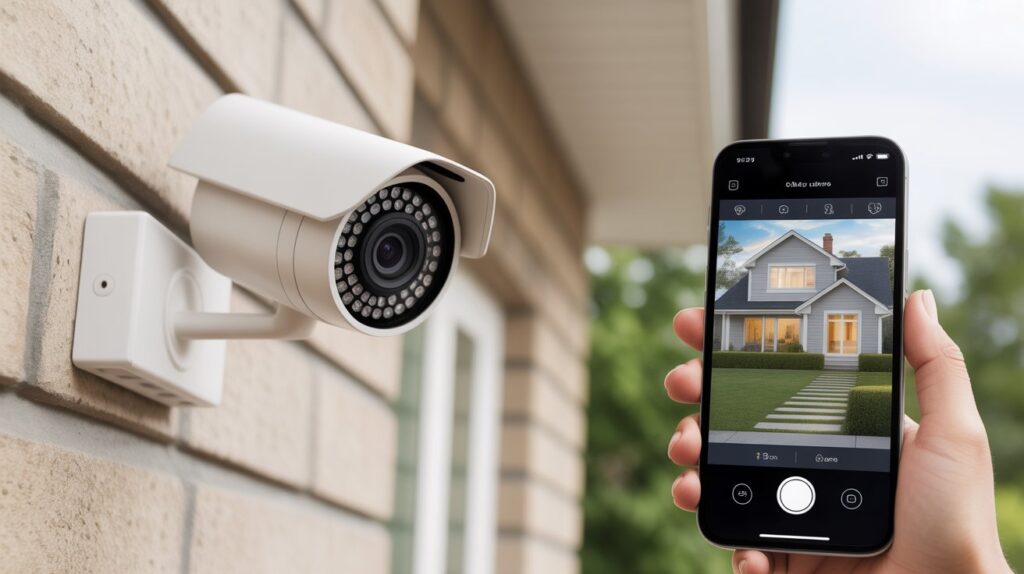
Finally, install the Night Owl mobile app for remote access. It lets you check live video, get instant alerts, and pull up recordings from your phone, wherever you are. This is what turns the system from “recording footage” into something you can actually act on in real time — if an alert comes in while you’re at work, you can check it immediately instead of finding out hours later.
Testing and Troubleshooting
- Check Video Quality: Ensure all cameras are displaying clear, sharp images. Adjust focus or reposition cameras if footage appears blurry.
- Test Night Vision: Turn off the lights and verify that each camera captures the area effectively in low-light conditions.
- Verify Motion Detection: Walk through monitored areas to confirm that motion alerts are triggered correctly. Adjust sensitivity settings if needed.
- No Signal Issues:
- Check all cable connections to DVR/NVR ports.
- Confirm cameras are powered and securely plugged in.
- Check all cable connections to DVR/NVR ports.
- Blurry or Poor Image:
- Clean camera lenses and remove any dust or debris.
- Adjust focus or angle for optimal clarity.
- Clean camera lenses and remove any dust or debris.
- Power Problems:
- Ensure the power adapter is properly connected.
- Test outlets and consider using a surge protector for consistent power supply.
- Ensure the power adapter is properly connected.
- Remote Monitoring Troubles:
- Verify mobile app is linked to the DVR/NVR.
- Check Wi-Fi or cellular connection for stable remote access.
- Verify mobile app is linked to the DVR/NVR.
Following these troubleshooting steps keeps your Night Owl wired cameras running reliably, so you catch what matters instead of dealing with blind spots or missed footage.
Maintaining Your Night Owl Security System
Keeping your Night Owl wired security cameras in top condition ensures continuous protection for your home. Regular maintenance prevents small issues from becoming major problems and helps your system operate at peak performance.
Essential Maintenance Tips
- Clean Lenses and Camera Housing: Dust, dirt, or spider webs can obscure the camera’s view. Gently wipe lenses and housings with a soft, dry cloth at least once a month.
- Update DVR/NVR Software: Night Owl frequently releases updates to improve performance and security. Check for firmware updates and install them promptly to keep your system running smoothly.
- Seasonal Checks: Inspect cameras and cables every few months, especially after storms or extreme weather. Make sure all connections are secure and that the system records properly.
- Test Functionality: Regularly verify video quality, motion detection, and alerts to ensure the system captures all important activity.
A little routine care goes a long way — regular maintenance keeps your Night Owl system running reliably and catches small issues before they turn into blind spots or missed footage.
Conclusion
Installing a Night Owl wired security system isn’t complicated once you break it down step by step — proper planning, careful mounting, clean cable runs, and correct DVR setup are really all it takes. What you get in return is reliable, 24/7 coverage of every entrance, driveway, and blind spot around your property, without the signal issues wireless systems sometimes run into.
If you’re building out a broader security setup beyond cameras, our guide to home security systems covers what else is worth adding to cover your home end to end. Getting the installation right today is what makes the system dependable when it actually matters.
FAQs
Q1: Do Night Owl wired cameras need internet to record footage?
A: No. Recording happens directly to the DVR, so cameras work even without Wi-Fi. Internet is only needed if you want remote access through the mobile app.
Q2: How far can Night Owl camera cables run before losing signal quality?
A: Standard cables typically support runs up to around 100–150 feet without a signal booster. Longer distances may need a signal amplifier or a different cable rating.
Q3: Can I mix wired and wireless cameras on the same Night Owl system?
A: It depends on the specific DVR/NVR model — some support hybrid setups, others are wired-only. Check your model’s specs before combining camera types.
Q4: What happens to recorded footage if the power goes out?
A: Recording stops until power returns, unless the DVR is on a battery backup or UPS. A surge protector alone won’t keep it running during an outage.
Q5: How often should Night Owl wired cameras be cleaned and inspected?
A: Once a month for lens cleaning, and a full cable/connection check every few months — especially after storms or extreme weather.
About the Author
M. Bilal holds a Bachelor’s degree in Criminology and writes about home security systems, surveillance technology, and safety compliance at CrimTechHub. His background in criminology informs a practical focus on how security equipment actually holds up against real-world break-in patterns, not just spec sheets. He covers hands-on topics like camera installation, wiring, and system setup with an emphasis on getting the details right — the kind that actually determine whether a system catches what it needs to when it matters.