Introduction
A porch package left unattended for twenty minutes is often all it takes for a five-star review to turn into a police report. That gap — between when something happens at your door and when you find out — is exactly what the Blink Outdoor 4 Wireless Smart Security Camera System closes. It’s built to be battery-powered, weatherproof, and genuinely easy to install, so you get instant alerts on your phone the moment motion is detected, not hours later when it’s already too late.
This guide covers the full setup process — what you need beforehand, how to pair the camera correctly, where to mount it for the widest useful coverage, and how to fix the setup mistakes most first-time users run into. Follow it in order and you’ll have a working system before your coffee gets cold.
Table of Contents
Why Proper Blink Outdoor 4 Setup Matters for Home Security
A camera that’s mounted wrong or paired incorrectly is just an expensive decoration. The Blink Outdoor 4 only earns its keep when the setup is right — get it wrong and you’ll either miss the alert entirely or end up with a corner of your yard that no lens ever covers. That gap is usually where things go wrong: a package lifted off the porch, a side gate left open, damage no one caught in time.
A correctly configured system fixes three things at once:
- Full-property coverage — no dead zones near entrances, driveways, or side access points. For camera positioning beyond just the Outdoor 4, our guide to wireless outdoor security cameras breaks down coverage angles in more detail.
- Motion detection tuned to your property — set too sensitive and you’ll get notified every time a leaf moves; set too loose and it’ll miss an actual intruder.
- Alerts that reach you when it counts — not five minutes after you’ve already left for work.
Homeowners who take the extra ten minutes to configure zones and sensitivity correctly run into far fewer false alerts down the line — that part isn’t optional, it’s what separates a camera that actually protects your home from one that just films it.
What Is the Blink Outdoor 4 Wireless Smart Security Camera System?
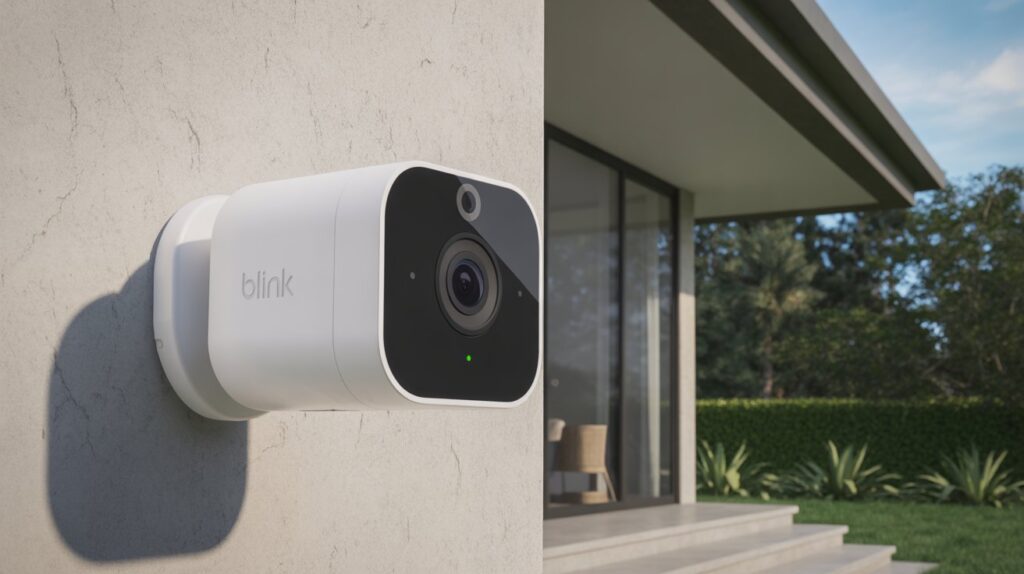
The Blink Outdoor 4 Wireless Smart Security Camera System is a modern, reliable, and user-friendly solution designed to keep your home safe without complicated wiring or setups. Its combination of wireless convenience, smart alerts, and durable design makes it an ideal choice for anyone looking to enhance their home security quickly and effectively.
Who Should Use Blink Outdoor 4
The Blink Outdoor 4 system is designed for a wide range of users:
- Homeowners who want full coverage around their property.
- Renters who need a portable, wireless solution without permanent installation.
- Families who want to keep an eye on entrances, backyards, and driveways.
- Anyone who just wants their phone to buzz the second something’s off — without digging through a manual to get there.
By combining easy setup, smart features, and reliable performance, the Blink Outdoor 4 system provides practical security solutions that fit seamlessly into daily life. It’s not just a camera system — it’s a proactive tool to protect your home and loved ones.
What You Need Before Starting the Blink Outdoor 4 Setup
Most setup headaches trace back to one thing: starting without everything on hand. A weak Wi-Fi signal, a half-charged battery, or a Sync Module that’s still in its box mid-install — any one of these turns a five-minute job into a frustrating loop of restarts.
Essential Items for a Successful Setup
Gather these before you open the app:
- A stable 2.4GHz Wi-Fi connection — Blink cameras use this band specifically to send alerts and stream footage; a 5GHz-only network won’t pair.
- The Blink app — installed and updated on iOS or Android before you touch the hardware.
- A Sync Module — required for the camera to communicate with your Wi-Fi and the app; check Blink’s official Outdoor 4 support page for which Sync Module generations are compatible.
- Fresh batteries — new, not partially used, so the initial pairing doesn’t stall halfway.
- A screwdriver and mounting tape or screws — for final placement once pairing is confirmed.
Camera Placement Basics
- Mount near entrances, driveways, and backyard access points — the spots people actually pass through.
- Keep the lens out of direct sunlight and away from reflective surfaces; both trigger false motion alerts.
- Confirm a clear, unobstructed line of sight before drilling anything in — angle it once, permanently, and you avoid readjusting after the fact.
Get this part right and the actual pairing process takes minutes. Skip it, and you’ll be troubleshooting a “camera not detecting motion” alert next week instead of watching your driveway today.
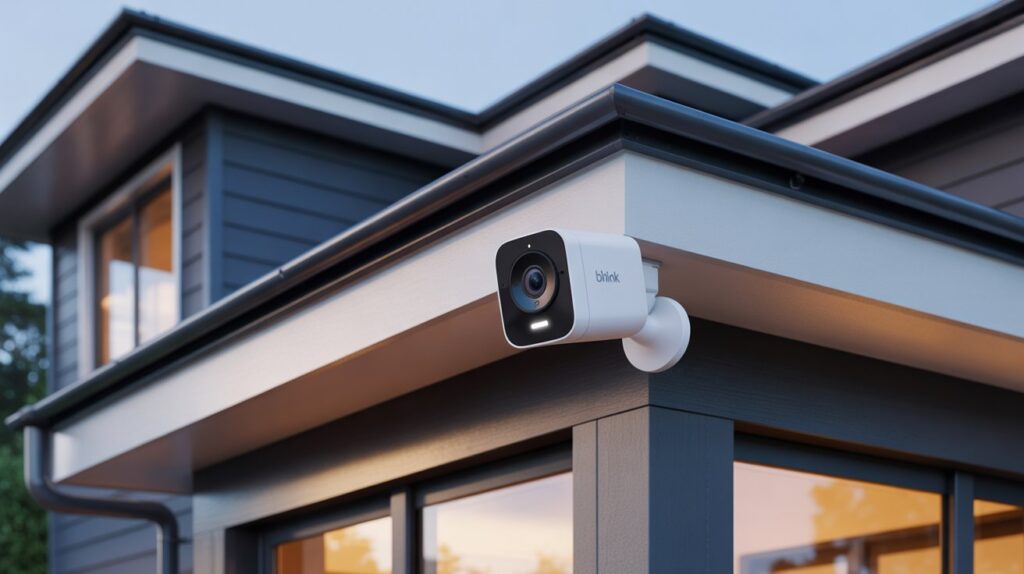
Step-by-Step Blink Outdoor 4 Wireless Smart Security Camera System Setup
- Create a Blink Account
- Download the Blink app on your iOS or Android device.
- Sign up using your email and set a strong password.
- Verify your account through the confirmation email.
- Download the Blink app on your iOS or Android device.
- Connect the Sync Module
- Plug in the Sync Module near your Wi-Fi router.
- Open the Blink app and follow instructions to pair the module.
- Ensure the module shows a solid green light indicating a successful connection.
- Plug in the Sync Module near your Wi-Fi router.
- Pair the Blink Outdoor 4 Camera
- Insert batteries into your camera and place it near the Sync Module.
- Use the Blink app to scan the QR code on the camera to start pairing.
- Confirm the camera connects to the module and appears in your app dashboard.
- Insert batteries into your camera and place it near the Sync Module.
- Initial Testing and Confirmation
- Walk slowly in front of the camera to ensure the motion detection works properly.
- Check notifications on your smartphone to confirm alerts are received.
- Adjust camera angles if needed to cover all critical areas.
- Ensure video streams clearly in the app and motion zones are set correctly.
- Walk slowly in front of the camera to ensure the motion detection works properly.
Best Placement Tips for Maximum Security Coverage
Placing your Blink Outdoor 4 Wireless Smart Security Camera System correctly is crucial for capturing every important angle and minimizing false alerts. Proper placement not only improves security but also ensures your cameras perform reliably in all conditions.
Where to Install Outdoor Cameras
- Position cameras near main entrances, driveways, and backyard access points for comprehensive coverage.
- Use elevated spots to prevent tampering and to capture a wider field of view.
- Avoid placing cameras behind objects or inside covered areas that may block motion detection.
Avoiding False Alerts
- Keep cameras away from trees, bushes, or areas with frequent movement of pets.
- Avoid direct sunlight on the lens to prevent glare that can trigger false alerts.
- Adjust motion detection sensitivity in the Blink app to match your property’s environment.
Weather and Angle Considerations
- Blink Outdoor 4 cameras are weather-resistant, but avoid placing them under heavy foliage that collects rain or snow.
- Slightly tilt cameras downward to reduce wind or rain interference while maintaining a clear view.
- Ensure the camera’s angle covers key areas like entrances and pathways without blind spots.
Get the location, angle, and sensitivity right, and the Outdoor 4 does exactly what it’s supposed to — catch real motion, skip the noise, and cover the spots that actually matter. That’s the difference between a camera that earns its spot on your wall and one you end up muting within a week. If you’re setting up more than one camera, our guide on reducing blind spots with wide-angle outdoor cameras covers coverage planning for multi-camera setups too.
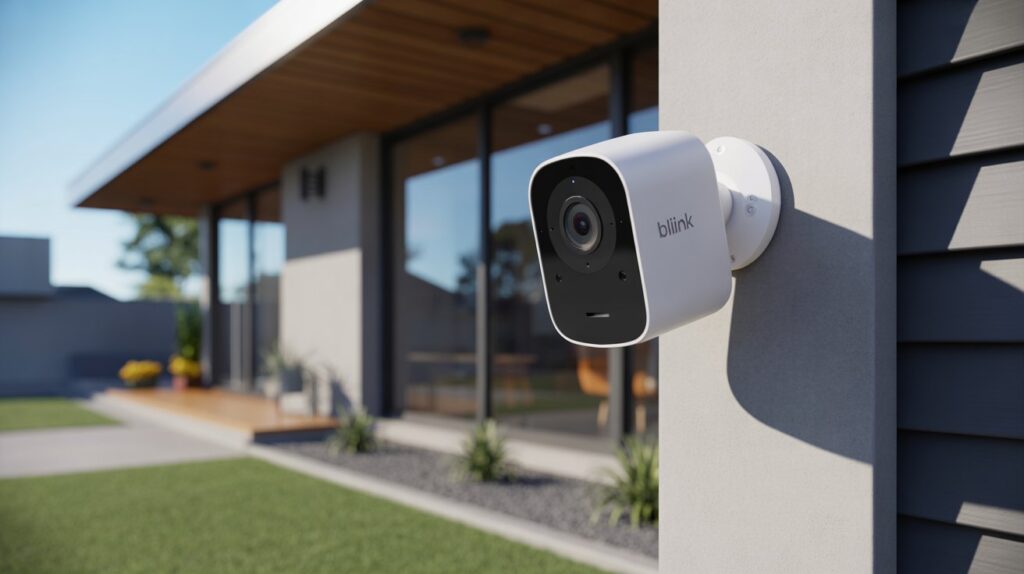
How to Customize Motion Detection and Alerts After Setup
Setup is only step one — the difference between a camera you trust and one you eventually mute comes down to how you tune it afterward. Ten minutes in the app now saves you weeks of ignored notifications later.
Motion Sensitivity Basics
- Set sensitivity based on what’s actually in the frame — not a default you never touched.
- High sensitivity suits entry points where every second counts; lower it for spots that see constant harmless movement, like a sidewalk or a tree that sways in the wind.
- Getting this balance right is what separates a camera that alerts you to real activity from one that cries wolf. Our breakdown on reducing false motion alerts on outdoor cameras covers the same tuning process in more depth.
Activity Zones
- Draw zones around what actually matters — the door, the driveway, the side gate — not the whole frame.
- Anything outside those zones stops pinging your phone and stops draining the battery over nothing.
Notification Control
- Pick push, email, or both — redundancy matters if you’re the type to miss a phone buzz.
- Quiet hours or scheduled windows stop the camera from flooding you with alerts during normal household traffic.
Get sensitivity, zones, and notifications aligned once, and the Outdoor 4 stops being a source of noise and starts being a system you actually check when it matters.
Common Blink Outdoor 4 Setup Problems and How to Fix Them
Even with a Blink Outdoor 4 Wireless Smart Security Camera System, occasional setup issues can occur. Understanding common problems and how to resolve them quickly ensures your home remains secure without unnecessary stress.
Wi-Fi Connection Issues
- Ensure your Wi-Fi signal is strong near the Sync Module and cameras.
- Move the router closer if the signal is weak, or use a Wi-Fi extender for larger properties.
- Restart the Blink app and router if devices fail to connect.
Sync Module Not Responding
- Check the power connection and ensure the module is properly plugged in.
- Press the reset button on the Sync Module if it fails to pair with cameras.
- Verify the Blink app shows the module as online before proceeding with camera setup.
Camera Not Detecting Motion
- Adjust the motion sensitivity in the Blink app to match environmental conditions.
- Ensure the camera lens is clean and unobstructed.
- Check camera placement to avoid areas with constant motion from pets, trees, or street traffic.
By addressing these issues step by step, users can quickly regain full functionality of their Blink Outdoor 4 system. Proper troubleshooting not only resolves technical problems but also reinforces trust and confidence in the system’s reliability.
Conclusion
A few minutes of setup is the entire gap between a camera that just records footage nobody watches and one that actually catches problems before they become losses. Get the placement, sensitivity, and zones right, and the Outdoor 4 stops being a gadget and starts doing the one job you bought it for — telling you what’s happening at your door before you have to find out the hard way.
If you’re building out coverage beyond this one camera, our guide on what actually keeps a home secure is a good next read for putting the rest of your setup together.
FAQs
Q1: Does the Blink Outdoor 4 work without a Sync Module?
No. The camera can’t connect to your Wi-Fi on its own — it needs a Sync Module (Sync Module 2 or newer) to relay the connection and enable app control.
Q2: Why does my Blink Outdoor 4 keep sending false motion alerts?
Usually it’s sunlight hitting the lens directly, nearby foliage moving in the wind, or sensitivity set too high for a busy spot. Lowering sensitivity and adjusting the activity zone in the app fixes most of it.
Q3: Can I use the Blink Outdoor 4 without a subscription?
Yes. Live view and basic motion alerts work without one. A subscription is only needed for cloud video storage and Person Detection.
Q4: What batteries should I use in the Blink Outdoor 4?
Standard 1.5V lithium AA batteries. Rechargeable NiMH batteries run at a lower voltage and can trigger low-battery warnings or reduce runtime significantly.
Q5: How far away can the Blink Outdoor 4 detect motion?
Up to 30 feet under default settings, though actual range depends on the sensitivity level and any obstructions in the camera’s field of view.
Q6: Can I add a Blink Outdoor 4 to an existing Blink system?
Yes. It’s compatible with any existing Blink Sync Module, so you can mix it with older Blink cameras already set up in your app.
About the Author
M Bilal holds a Bachelor’s degree in Criminology and writes about home security, surveillance technology, and burglar deterrence for CrimTechHub. His background in criminology shapes how he evaluates security products — less about spec sheets, more about what actually stops or catches an intrusion in real conditions. He tests and covers cameras, sensors, and access-control systems with a focus on practical, everyday protection for homeowners across the US.