Introduction
You press the remote, the garage door starts coming down… then suddenly reverses and heads back up. No warning. No obvious reason. Just that familiar frustration most American homeowners know too well.
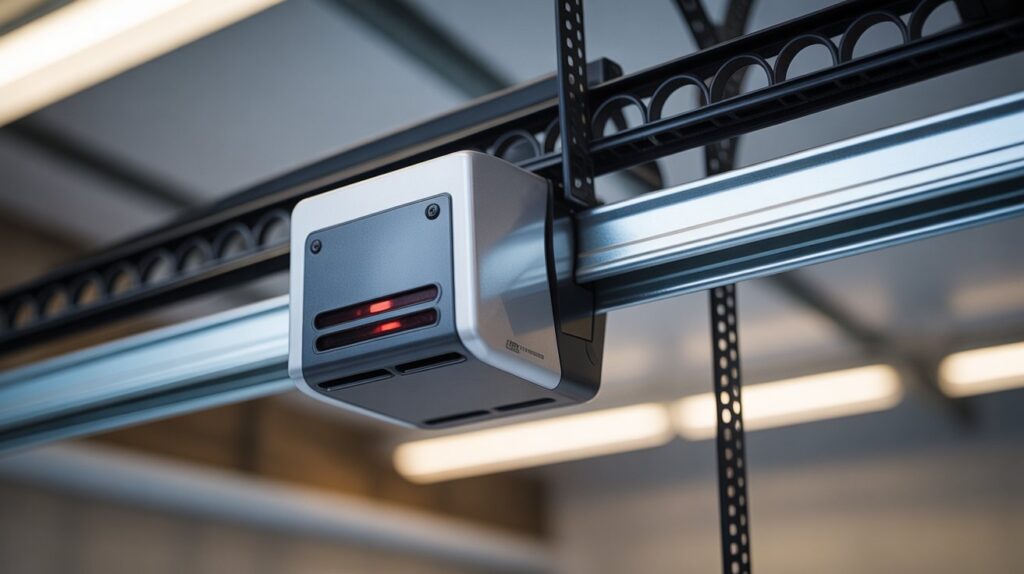
Nine times out of ten, the culprit isn’t a broken opener or an expensive repair. It’s the two small safety sensors sitting near the bottom of your garage door tracks. These sensors shoot an invisible infrared beam across the doorway. When that beam gets even slightly out of line, the door thinks something is in the way and refuses to close.
The good news? Realigning those sensors is one of the quickest and cheapest fixes you’ll ever do around the house. Most people finish the job in under five minutes once they know exactly what to look for.
Table of Contents
What It Means When Garage Door Sensors Are Out of Alignment
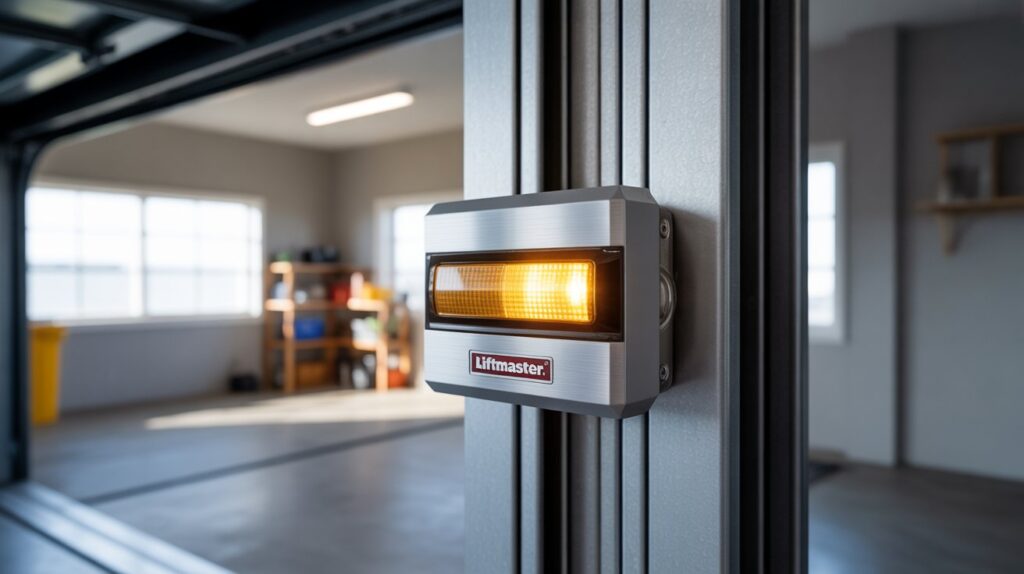
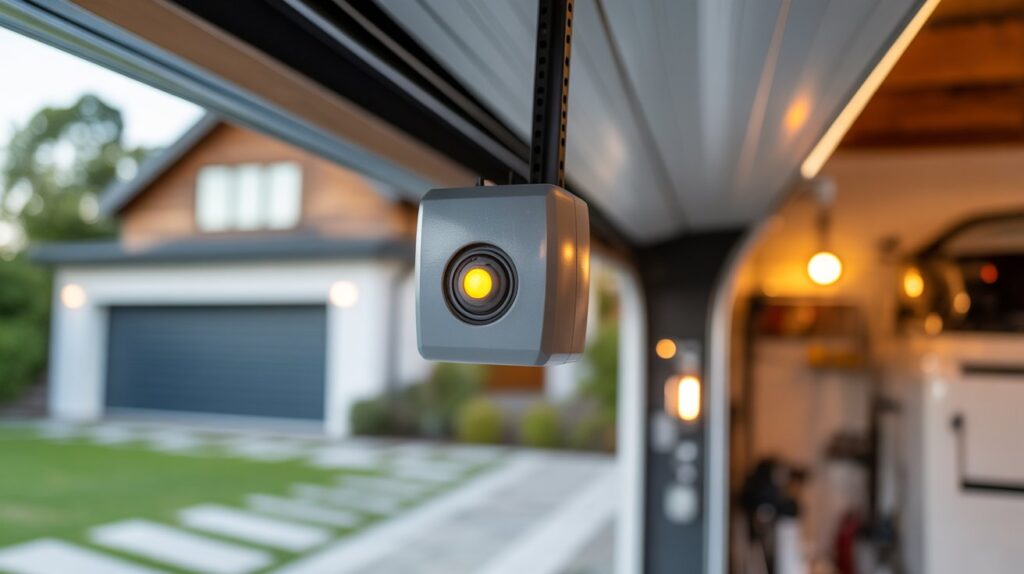
Every modern garage door safety system works the same way. Two small photo-eye sensors sit across from each other near the bottom of the tracks. One sends an invisible infrared beam. The other receives it. As long as that safety beam travels straight across without interruption, the opener knows the path is clear and lets the door close.
The second that beam misses its target — even by a fraction of an inch — the system treats it as a safety hazard. The door either refuses to close or reverses halfway down. This is the most common reason garage doors reverse in American homes, and it rarely means anything is broken.
The sensors themselves don’t need to fail. They just need to shift a few degrees out of position. Everyday things cause it:
- A bike, ladder, or trash can bumping the sensor
- A mounting bracket that loosens over time
- Constant vibration from the door opening and closing every day
From a quick glance, both sensors can look perfectly fine — lights on, brackets still attached, nothing obviously wrong. But a working LED only tells you the sensor has power. It does not confirm the infrared beam is actually lined up with its partner across the garage. (If one light is blinking, check our guide on garage door sensor blinking green.)
Think of it like aiming a flashlight at a small target on the opposite wall in a dark room. Shift the flashlight even slightly and the beam misses, even though the flashlight still works. Garage door sensors follow the same logic, except the light is infrared — completely invisible to the human eye. That’s why so many homeowners assume the sensors are fine when the lights are on, only to keep dealing with a door that won’t close.
Proper garage door sensor alignment is what keeps the safety beam solid and the door working the way it should
Common Signs Your Garage Door Sensors Need Realignment
Most homeowners don’t start looking at the sensors until the garage door starts acting up in ways that feel random. You hit the remote, the door begins to close, then suddenly reverses and goes back up. It happens again the next day. Then again. Before long, you start thinking the opener itself is failing.
In a lot of cases, the motor and remote are fine. The real problem is the two small safety sensors near the floor that have quietly drifted out of alignment.
Here are the most common signs that your garage door sensors need realignment:
- The door closes partway, then stops or reverses before it reaches the ground
- The door won’t close at all, no matter how many times you press the button
- One sensor’s LED light blinks instead of staying solid
- The door works fine some days and acts up on others, especially when sunlight hits the sensors
That last one catches a lot of people off guard. Sensors can work perfectly in the evening, then refuse to cooperate the next afternoon simply because direct sunlight interferes with the infrared beam. This is different from true misalignment, but the symptoms often look the same.
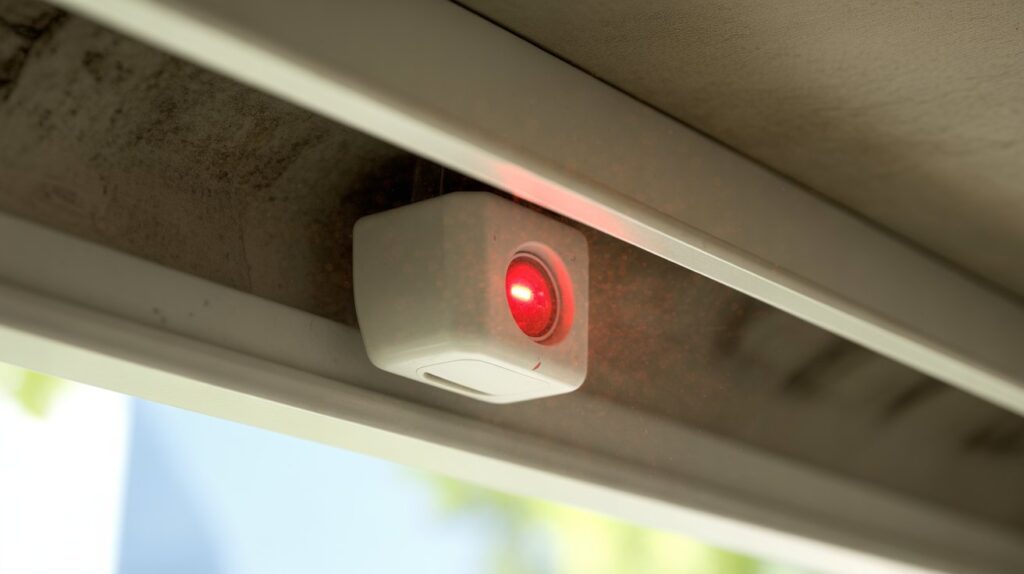
A flashing or steady red light on one of the sensors is another clear signal. If you’re seeing that, it’s worth checking our guide on garage door sensor flashing red for the specific fixes.
The frustrating part is how inconsistent these problems feel. A door that closes fine on Monday and refuses on Tuesday doesn’t immediately scream “sensor issue.” It feels like the whole system is unreliable. But that inconsistency is actually a strong clue. Real mechanical failures tend to be constant. Alignment problems are different — they’re sensitive to tiny shifts, temperature changes, and even someone brushing past the sensor while parking.
If your garage door’s behavior keeps changing with no clear pattern, checking the sensor alignment is one of the smartest first steps before assuming something more expensive is wrong.
What Causes Garage Door Sensors to Go Out of Line
Garage door sensors almost never shift by themselves. Something always nudges them — even if no one notices it at the time. The garage is one of the busiest spaces in most American homes. Bikes roll in and out, lawn equipment gets pulled past the tracks, and cars pull in close enough that a mirror or bumper can tap a sensor without anyone realizing it. Each of these small moments can move a sensor just enough to break the infrared safety beam.
Accidental Bumps and Everyday Knocks
This is by far the most common cause, and it’s rarely dramatic enough to remember later. Everyday culprits include:
- A bicycle handlebar brushing the sensor while being walked past
- A car bumper or side mirror tapping the bracket while parking
- Lawn equipment, trash cans, or storage bins knocked into the sensor area
None of these feel like a big deal in the moment. That’s why the real cause often gets overlooked when the door starts acting up days later.
Loose or Settling Mounting Brackets
Most sensors are held in place with a simple wing nut and bracket. That design makes them easy to adjust, but it also makes them easy to loosen. Over time, the repeated opening and closing of the door creates enough vibration to gradually shift the bracket — even without a direct bump. In older garages with slightly uneven concrete, small shifts in the slab can also tilt the sensor base just enough to throw the beam out of line. A sturdy garage door sensor bracket can help reduce this problem.
Daily Vibration From the Door Itself
Every time the garage door opens and closes, the track and surrounding frame absorb a little vibration. One cycle means nothing. But across hundreds of open-and-close cycles a year, that repeated motion can slowly work a sensor loose — especially if it wasn’t tightened firmly to begin with. This is why sensors that worked perfectly for months can suddenly start causing problems with no single obvious trigger. The misalignment built up gradually rather than happening all at once.
Step-by-Step: How to Line Up Garage Door Sensors Correctly
The good news is that lining up garage door sensors is one of the simplest fixes in home maintenance, even though it feels intimidating the first time you try it. You don’t need to call a technician or replace any parts. Most of the time, this is a five-minute job once you understand exactly where to look and what you’re checking for. Working through it methodically, rather than randomly nudging sensors and hoping for the best, makes the difference between a permanent fix and the same problem coming back next week.
Step 1: Check the LED Indicators First
Before touching anything, look at both sensor units. Most models have a small LED light that signals whether the beam connection is solid:
- A steady, solid light usually means the beam is connecting properly
- A blinking or flickering light usually signals a broken or weak connection
- No light at all may point to a power issue rather than alignment
This quick visual check tells you whether you’re actually dealing with an alignment problem or something else entirely, so you’re not wasting time adjusting sensors that were never the real issue.
Step 2: Loosen the Wing Nuts Without Fully Removing Them
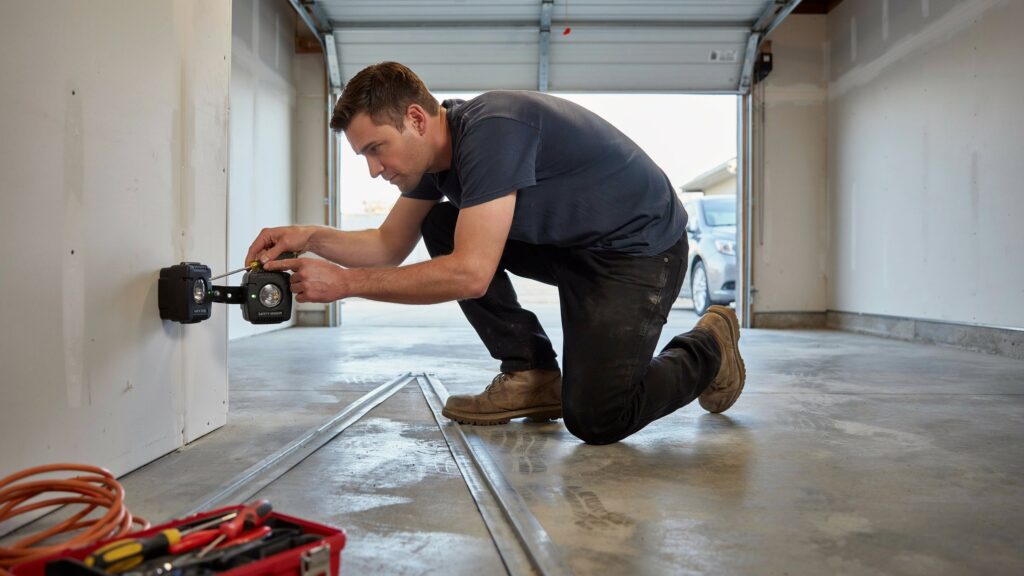
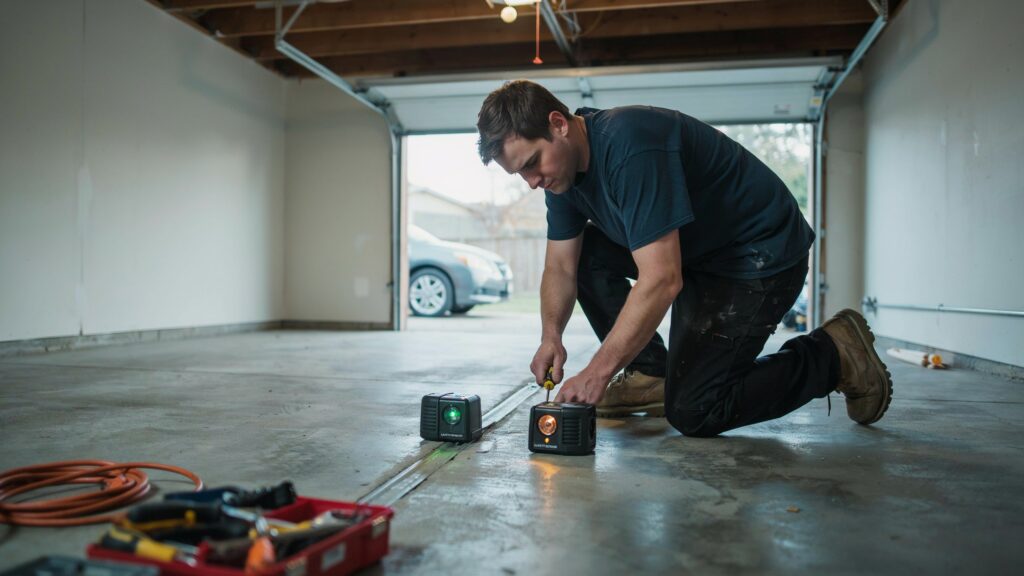
Each sensor is typically held in place by a wing nut on a mounting bracket. Loosen this nut just enough that the sensor can move slightly by hand, but not so much that it falls loose. This gives you the flexibility to adjust the angle without losing track of where the sensor was originally pointed, which matters if you need to compare its position to the other unit across the door.
Step 3: Adjust the Height and Angle to Match
Both sensors need to sit at the same height and face each other directly for the infrared beam to connect. If one sensor sits noticeably higher or lower than the other, the beam simply won’t line up no matter how carefully you angle it. This is also where proper mounting height becomes important from the start, since correct placement helps prevent this same issue from happening again. Gently tilt the sensor side to side and up and down in small movements, checking the LED light after each small adjustment rather than making big changes at once.
Step 4: Confirm the Beam Connection
Once the LED indicator shows a steady, solid light on both sensors, test the door using the wall switch or remote. The door should close smoothly all the way to the ground without stopping, reversing, or hesitating partway through. If it closes properly without issue, the beam connection has been restored.
Step 5: Retighten the Wing Nuts Securely
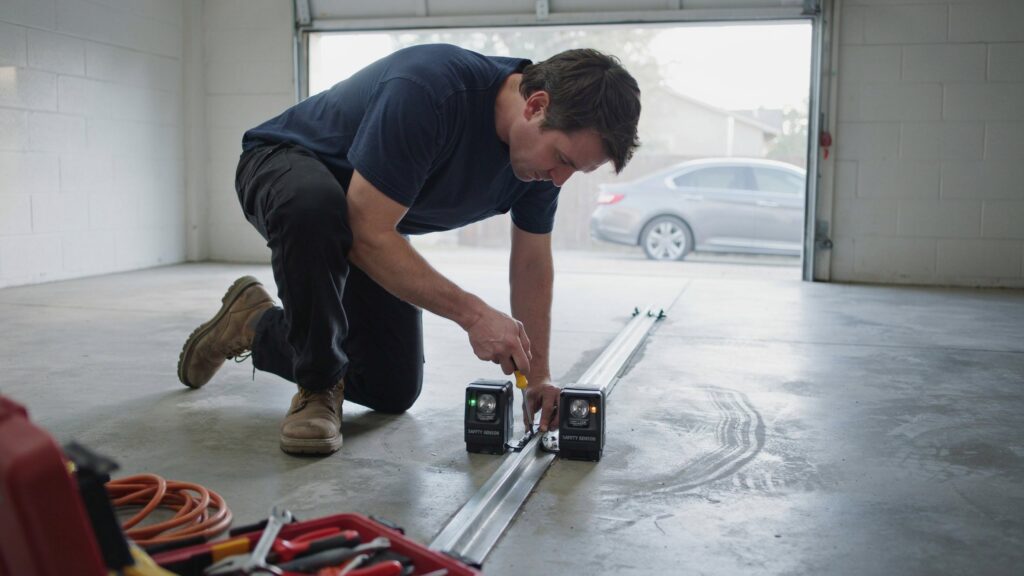
This last step is the one people skip, and it’s often why the problem returns within days. Once both sensors are aligned and the door is closing normally, tighten the wing nuts firmly so the sensors can’t shift again from everyday vibration or an accidental bump. A properly tightened bracket is what turns a temporary fix into a lasting one.
Tools You’ll Need
One of the best parts about lining up garage door sensors is how little equipment it actually takes. Most homeowners already have everything they need in a kitchen drawer or on a garage shelf. Gathering these few items before you start keeps the job smooth and prevents you from walking back and forth while a sensor sits half-adjusted.
Here’s what to have ready:
- A screwdriver — to loosen and retighten the wing nuts on each sensor bracket
- A small level — to confirm both sensors sit at the same height and angle
- A soft cloth — to wipe dust or debris from the sensor lenses (buildup can block the infrared beam just as easily as misalignment)
- A flashlight — to get a clear view of the LED indicators and mounting brackets, especially in garages with limited light near the floor
None of these tools are expensive or hard to find. That’s the point. This is meant to be a quick, do-it-yourself fix that takes only a few minutes — not a project that sends you to the hardware store. With these four items on hand, you’re fully prepared to realign the sensors without any unnecessary delays.
How to Prevent Sensors From Misaligning Again
Fixing the alignment once feels good, but nobody wants to repeat the same five-minute job every few weeks. The real goal is keeping your garage door sensors lined up long enough that you forget they’re even there — which is exactly how they’re supposed to work. A few simple habits can stretch the time between adjustments from weeks to years.
Mount Sensors Securely From the Start
A sensor that’s only loosely tightened will drift again no matter how carefully you align it the first time. After the LED lights stay solid and the door closes normally, make sure the wing nuts are snug enough that the bracket doesn’t wiggle when you gently push it by hand. Some homeowners also put a small dab of thread-locking adhesive on the bolt. This helps stop everyday vibration from slowly working the hardware loose over months of use.
Keep the Sensor Area Clear of Obstructions
A surprising number of repeat problems come from objects stored too close to the sensors rather than the brackets shifting on their own. Keep these areas clear:
- Bikes, ladders, and tools near the garage door track
- Trash cans or storage bins sitting close to either sensor
- Plants, hoses, or seasonal decorations near the floor-level units
Even something leaning against the wall nearby can eventually get bumped into the sensor path. A little extra spacing goes a long way.
Build In Periodic Checks
Most people only think about their sensors once the door starts acting up. A quick monthly glance at the LED indicators takes just a few seconds and can catch small shifts before they turn into a garage door that won’t close at the worst possible time. This is especially worth doing after seasonal cleaning, rearranging storage, or any work done near the garage that might have bumped a bracket without you noticing.
Consider Protective Brackets for High-Traffic Garages
If your garage sees a lot of daily activity — bikes, sports gear, or frequent parking in tight spaces — protective sensor brackets add an extra layer of durability. These guards help shield the sensors from accidental knocks while still letting the infrared beam pass through clearly. They’re a practical upgrade for homes where bumps keep causing the same problem. You can learn more about sturdy options in our garage door sensor bracket guide.
Conclusion
A garage door that won’t close is rarely a major breakdown. Most of the time, it’s simply two small safety sensors that have drifted a few degrees out of line. Realigning them takes just a few minutes, a screwdriver, and a little patience until the LED lights stay solid.
You don’t need a technician or an expensive service call. The next time your garage door reverses or refuses to close, check the sensors first. Proper garage door sensor alignment is one of the quickest ways to keep your door working safely and reliably for your home and family.
FAQs
Is there a trick to lining up garage door sensors?
Loosen the wing nut, tilt the sensor in small steps, and stop once the LED holds a steady light.
Do garage door sensors need to be aligned?
Yes — both units must face each other directly for the safety beam to connect and let the door close.
How do I fix misaligned sensors on my garage door?
Loosen the mounting brackets, adjust the height and angle until the indicator light turns solid, then retighten.
How do I test the sensors after aligning?
Run the door with the wall switch or remote and confirm it closes fully without stopping or reversing.
How do I know if my sensors are misaligned?
Watch for a blinking LED, a door that reverses midway, or one that won’t close at all.
About the Author
M. Bilal is the founder and editor of CrimTechHub. With a background in criminology and years of practical experience in home security and safety systems, he focuses on helping everyday American homeowners solve real problems around the house — from garage door sensors to smart home protection. His guides are written from hands-on testing and clear, step-by-step advice that prioritizes safety and reliability.