Introduction
Standing in the driveway wondering why the garage door won’t close, even though everything looks fine — it’s a frustrating moment plenty of U.S. homeowners run into. Often, the real cause is something small: a loose or misaligned sensor bracket.
A properly done garage door sensor bracket installation is the difference between a door that closes smoothly and one that keeps reversing or refusing to shut. These small brackets hold the safety sensors in place, protecting your family, pets, and vehicle every single day — but once one shifts out of position, the whole system starts to fail.
The fix is usually simple. In most cases, it’s a quick alignment or reinstall that restores full safety and performance. This guide walks through exactly why it matters and how to set it up right the first time.
Table of Contents
Why Garage Door Sensors Matter More Than You Think
Press the remote and the door won’t close — or worse, it reverses for no clear reason. It’s annoying, but it can also be dangerous. For many U.S. homeowners, the cause comes down to something simple: misaligned sensors or a loose bracket.
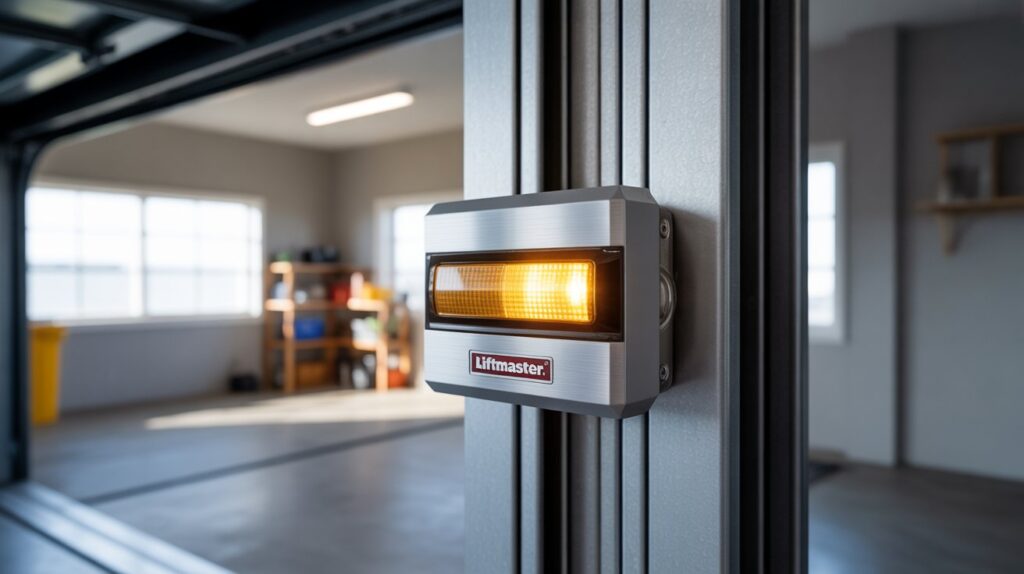
Garage door sensors protect your family, pets, and vehicle by creating an invisible beam near the floor — if anything blocks it, the door stops instantly. But once the bracket isn’t seated properly, the sensors lose alignment and the whole safety system stops doing its job. That’s often the same root cause behind a yellow warning light on the sensor that won’t go steady.
That’s why proper bracket installation matters more than most people realize. A small adjustment restores safety, prevents accidents, and keeps the door working the way it should, every time.
Signs Your Garage Door Sensor Bracket Needs Installation or Adjustment
Most garage door problems don’t show up suddenly — they give small warning signs first that are easy to brush off. If your door starts acting unpredictable, there’s a good chance a loose bracket or misaligned sensor is behind it.
Watch for:
- The door reversing right before touching the ground
- Sensor lights blinking instead of staying solid
- The door refusing to close completely
These usually trace back to a bracket that’s slightly out of place. Even a small shift throws off sensor alignment and stops the whole system from working correctly.
Ignoring these signs lets the problem grow — and get costlier to fix. A door that won’t close leaves your home exposed, while a malfunctioning sensor can become a real safety hazard for kids, pets, or your vehicle. Catching it early with a proper bracket fix saves money and keeps your garage safe and secure.
Tools and Preparation for Garage Door Sensor Bracket Installation
Before starting your garage door sensor bracket installation, a little preparation can save you time and frustration. The good news? This is a simple, DIY-friendly task that most homeowners in the U.S. can handle with basic tools.
Essential Tools You’ll Need
- Screwdriver or drill
- Level tool (to keep sensors perfectly aligned)
- Measuring tape (for accurate positioning)
Safety Tips Before You Begin
- Disconnect the garage door opener power to avoid accidents
- Clear the area around the door for easy movement
- Make sure the garage door is fully closed before working
Taking a few minutes to prepare properly makes the installation smoother and safer. It also helps ensure your sensors work correctly the first time—no guesswork, no repeat fixes.
Step-by-Step Garage Door Sensor Bracket Installation Guide
A proper install doesn’t take long, but doing it right makes all the difference. Follow these steps to get the door working safely and smoothly again.
Step 1 – Position the Bracket Correctly
Place the bracket close to the floor, usually a few inches above ground level — this is where garage door safety sensors work best. Keep both sides at the same height; even a small difference in alignment can cause the sensors to fail.
Step 2 – Secure the Bracket Firmly
Attach the bracket to the garage door track or wall with a screwdriver or drill. It should feel solid and stable, not loose or shaky. Avoid over-tightening, but make sure it doesn’t shift when touched — a secure bracket keeps the sensor positioned correctly over time.
Step 3 – Attach and Align the Sensor
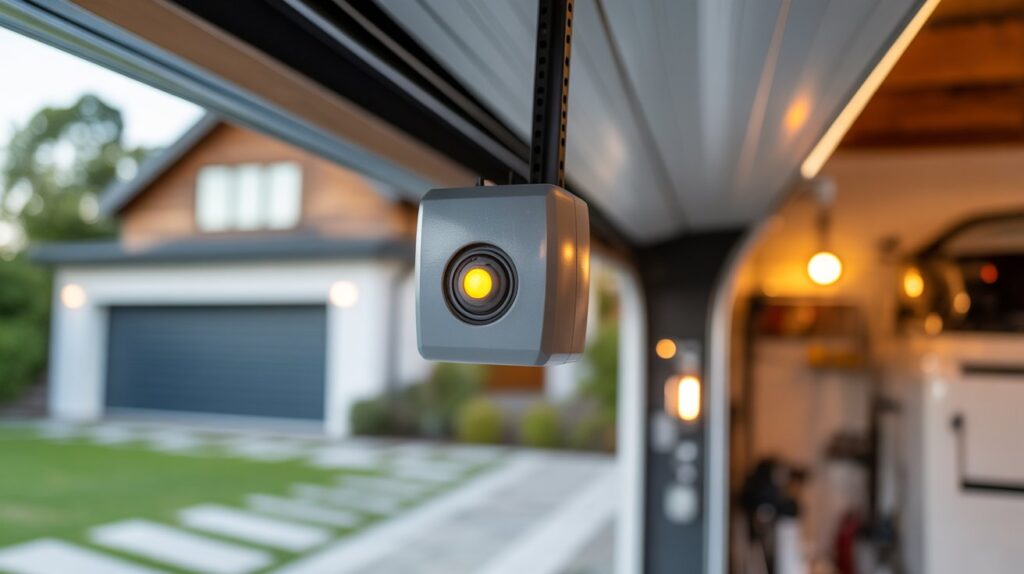
Mount the sensors onto the brackets, pointing them directly at each other. When aligned correctly, the indicator lights stay steady instead of blinking — confirming both sensors are connected and communicating.
Step 4 – Test the System for Safety
Step 4 – Test the System for Safety
Restore power and test the system. Place an object like a box in the door’s path and try closing it — the door should stop or reverse immediately. Family Handyman’s auto-reverse test guide recommends this same monthly check as standard safety practice. If the door doesn’t reverse properly, recheck the alignment before using the door normally.
Taking these steps carefully now keeps the door safe and reliable every day going forward.
Common Mistakes to Avoid During Installation
Even a simple garage door sensor bracket installation can go wrong if small details are ignored. Many homeowners in the U.S. run into issues not because the process is hard, but because of a few common mistakes that affect sensor performance and safety.
One of the biggest problems is sensor misalignment. If the sensors are not perfectly facing each other, the system will not work properly, and the garage door may refuse to close.
Another mistake is placing the brackets too high or too low. Incorrect height can break the sensor’s line of sight, leading to false signals or constant blinking lights.
Some people also ignore wiring placement, which can cause loose connections or damaged wires over time. Keeping wires neat and secure is important for long-term reliability.
Lastly, improper tightening of screws is a common issue. Over-tightening can damage the bracket, while under-tightening makes it unstable and likely to shift out of place.
Avoiding these simple mistakes ensures your garage door system works smoothly, stays safe, and reduces the need for repeated fixes after installation.
Conclusion
A properly done garage door sensor bracket installation is more than just a home improvement task—it’s about safety, comfort, and peace of mind. When your sensors are aligned and secure, your garage door works smoothly without surprises, protecting your family, pets, and everything you value.
Small issues like loose brackets or misaligned sensors may seem minor, but they can quickly turn into bigger safety risks if ignored. That’s why paying attention to proper installation and regular checks truly matters.
Now take a moment to think — how does this apply to your life?
Because sometimes, the smallest fix in your home can make the biggest difference in your everyday safety.
FAQs
1. Where should garage door sensor brackets be mounted?
About 4–6 inches above the floor on both sides of the track, positioned so the sensors face each other directly.
2. Why does my garage door sensor keep losing alignment?
A loose or shifted bracket is the most common cause — tighten the mounting screws and recheck both sensor heights match.
3. What does a blinking light mean after bracket installation?
It usually means the sensors aren’t facing each other correctly — recheck alignment until the light turns steady.
4. Can I install a garage door sensor bracket myself?
Yes, it’s a DIY-friendly task with basic tools like a screwdriver, level, and measuring tape.
5. How do I know if the bracket installation worked?
Test it by blocking the sensor beam with an object while closing the door — it should stop or reverse immediately.
About the Author
M. Bilal holds a BS in Criminology and writes about home security, garage door safety, and smart access systems at CrimTechHub. His background in criminology shapes a practical, risk-aware lens on physical security topics — from sensor alignment to burglar deterrence — grounded in how these systems actually hold up in real homes, not just spec sheets.