Introduction
You press the remote, the door starts down, then jerks back up for no clear reason. If this keeps happening, learning how to align garage door sensors LiftMaster style is usually the fix, not a call to the repair shop. In this guide, you’ll see exactly why this happens, how to spot a misaligned sensor, and the simple steps to get your door closing smoothly again.
Table of Contents
What Do LiftMaster Garage Door Sensors Actually Do?
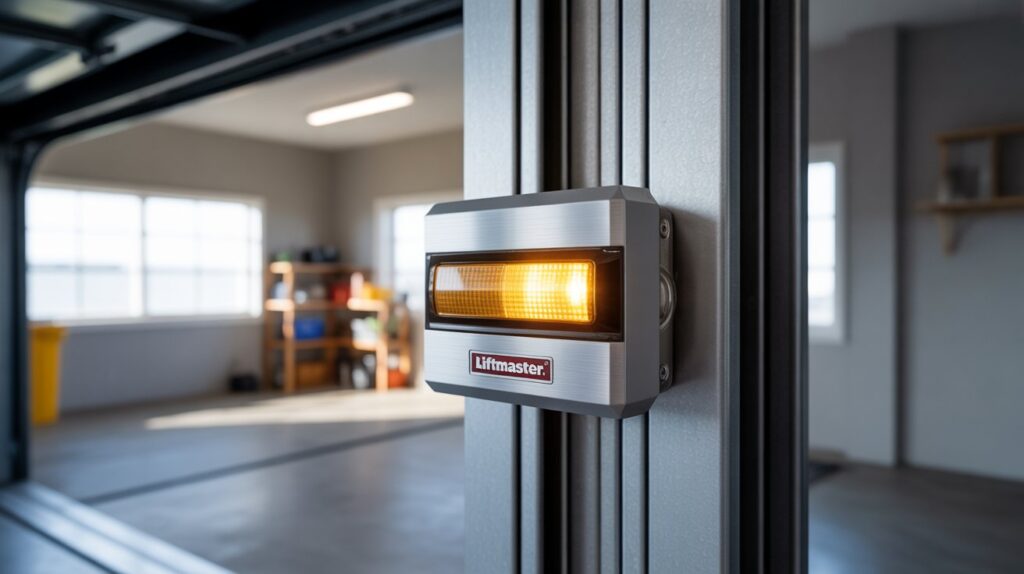
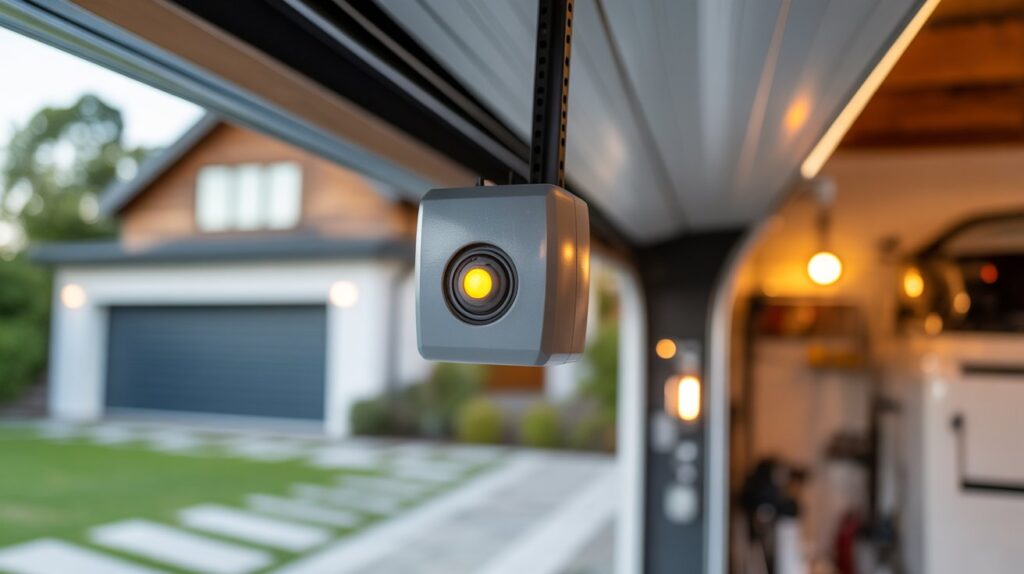
LiftMaster garage door sensors work as a pair of safety eyes that stop your door from closing on anything in its path. One sensor sends out an invisible infrared beam, the other receives it, and if that beam breaks, the opener reverses the door instead of letting it close.
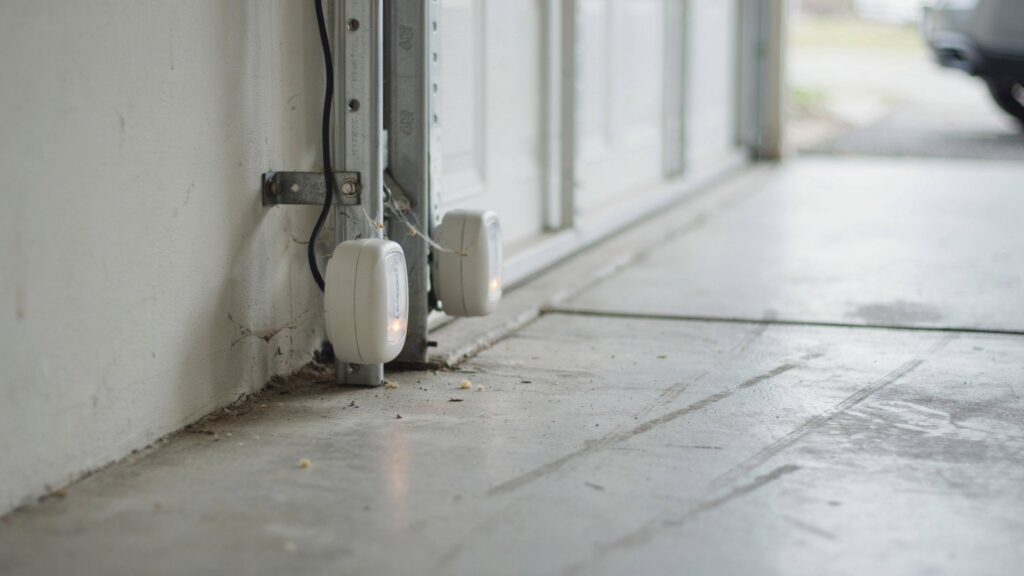
You’ll usually find these sensors mounted low near the garage floor, one on each side of the track, facing directly toward each other. This isn’t random placement — federal safety law has required this kind of reversal system on residential garage door openers since 1993, after the sensors became a standard response to accidents involving children and pets. LiftMaster carries this exact safety approach across its full opener lineup, whether you’re running a basic model or one of their newer smart setups:
- Chain-drive and belt-drive units — the classic setup, using two wired sensors connected straight to the opener’s control board
- Smart Wi-Fi models with MyQ — same sensor logic, but with app alerts when the beam is blocked or the sensors lose alignment
- Older LiftMaster models (pre-2000s) — may use slightly different wiring but still rely on the same facing-sensor beam design
Here’s the part most homeowners don’t realize: the sensors aren’t checking the door itself, they’re checking the space between them. So if your dog walks through at the exact moment the door starts closing, or a stray box gets left in that space, the beam breaks and the door pops back open, even though nothing is technically touching the door. This is why a LiftMaster door that “won’t close” is often working exactly as designed.
Once you understand that the sensors are watching a beam, not the door, alignment problems make a lot more sense. Even a slight tilt of one sensor can shift the receiving lens just enough to lose that beam entirely, which is exactly what we’ll walk through fixing in the next section.
If your garage door runs on a different brand instead of LiftMaster, the same beam-and-reversal principle still applies, even though the exact adjustment steps might look a little different. — our guide on how to align garage door sensors covers that general process in more detail.
How to Tell If Your LiftMaster Sensors Are Misaligned
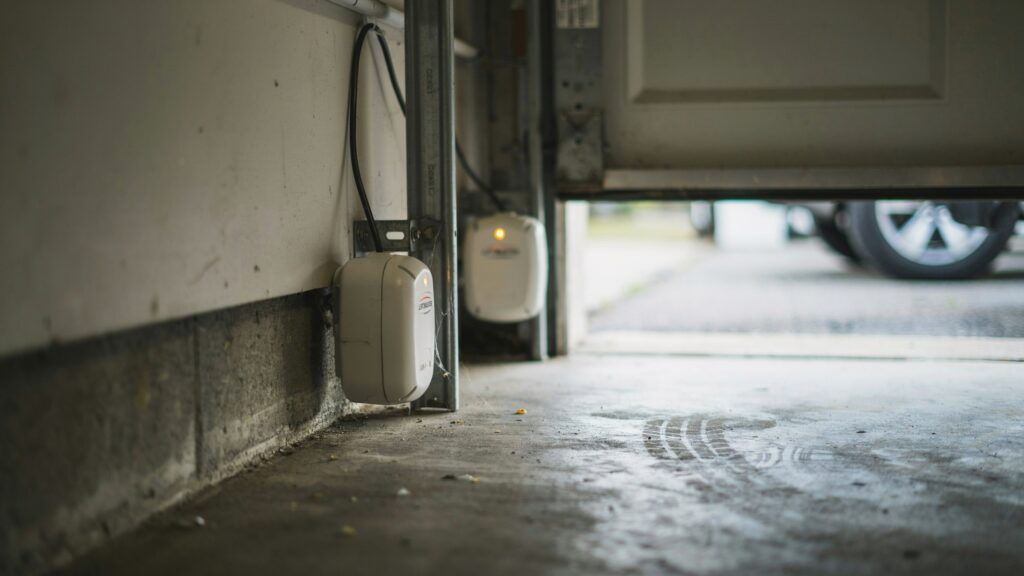
The quickest way to tell if your LiftMaster sensors are misaligned is by checking the LED light on each sensor — a steady solid green light means proper alignment, while a blinking or flickering light means the beam is broken. This single detail solves most “why won’t my garage door close” calls before a technician even shows up.
Most LiftMaster sensor units have a small LED built into the housing, and reading it correctly saves you from guessing:
Reading the LiftMaster Sensor Lights
- Solid green on both sensors — the beam is connected and the sensors are properly aligned
- Blinking or flickering green — the beam is weak or intermittent, usually from a slight tilt rather than a full break
- No light at all — points to a power or wiring issue rather than alignment, since a misaligned sensor still lights up, it just won’t stay solid
Visual Cues Beyond the LED
Even without checking the light, you can often spot misalignment just by looking at the sensor brackets themselves. A sensor that’s been bumped by a bike, a car bumper, or even a garden hose reel tends to sit at a slight angle compared to its partner across the track. If one sensor is tilted even 5 to 10 degrees off from facing its pair directly, that’s usually enough to break the beam, even though both units look perfectly fine otherwise.
A common real-world scenario: you back your car out, hear a soft clink as the bumper grazes the sensor bracket, and don’t think twice about it. Days later, the door starts reversing at random, and the cause traces right back to that small nudge. The sensor didn’t break, it just shifted out of line with its receiver.
If you’re also noticing a specific colored light rather than blinking green, our guide on why your garage door sensor is orange breaks down what that particular signal means.
Tools You’ll Need Before You Start
You don’t need a toolbox full of gear to align garage door sensors LiftMaster style — a Phillips screwdriver, a small level, and a soft dry cloth handle almost every job. This is a 5-minute fix for most homeowners, not a project that requires calling in a pro or buying special equipment.
Here’s what actually gets used, and why:
- Phillips screwdriver — used to loosen the wing nut or bracket screw that holds each sensor, giving you room to shift the angle
- Small level or level app on your phone — confirms both sensors sit at the same height, since even a half-inch difference can throw off the beam
- Soft, dry cloth — wipes dust, pollen, or spider webs off the lens before you assume the problem is alignment and not just dirt
- Flashlight (optional) — helpful if your garage is dim near the floor, since that’s exactly where LiftMaster mounts these sensors
Most people already have these lying around in a kitchen drawer or garage shelf, which is part of why this fix rarely needs a service call. The one thing worth skipping is any kind of lubricant or spray near the sensor lens itself — that’s a common mistake, and it usually creates more haze on the lens than it removes.
If cleaning turns out to be your actual issue rather than physical alignment, our guide on cleaning garage door sensors walks through that process in more detail.
Step-by-Step: How to Align Garage Door Sensors LiftMaster
To align garage door sensors LiftMaster style, loosen the mounting bracket on each sensor, angle both sensors so they face each other directly, then tighten them back down while checking for a solid green LED. The whole process usually takes less than 10 minutes and doesn’t require removing anything from the track.
Here’s the full process, step by step:
Step 1: Locate Both Sensors and Check Their Height
Find the two sensors near the bottom of your garage door track, typically 4 to 6 inches off the floor. Use your level to confirm both sensors sit at roughly the same height. If one side has shifted lower or higher than the other, even by an inch, that’s often the first sign of your alignment problem.
Step 2: Loosen the Mounting Bracket
Using your Phillips screwdriver, loosen the wing nut or bracket screw on each sensor just enough that you can rotate and angle it by hand. You don’t need to remove the sensor completely, just enough play to adjust the angle without it snapping back into place.
Step 3: Angle the Sensors to Face Each Other Directly
Gently rotate each sensor until it points straight across the garage opening toward its partner. A helpful trick many technicians use: stand at one sensor and look through it toward the other side. If you can see the opposite lens dead-center, the angle is close to correct.
Step 4: Tighten and Check the LED
Once both sensors are lined up, tighten the bracket screws back down without over-torquing them, since overtightening can shift the angle again as the plastic housing flexes. Then check the LED light on each unit. A solid green light on both sides confirms the beam is connected, which matters more than convenience alone — these sensors exist because the Consumer Product Safety Commission requires every residential garage door opener to include this kind of entrapment protection, so a solid LED means your door is closing both correctly and safely.
Step 5: Test the Door
Close the garage door using the wall button or remote and watch it complete a full cycle without reversing. If it closes smoothly, the alignment is fixed. If it still reverses, the sensors may have shifted again during tightening, and repeating steps 2 through 4 usually resolves it.
A common real-world mistake happens right here: people tighten one sensor first, assume it’s done, then move to the second one without rechecking the first. Since tightening can nudge the angle slightly, it’s worth glancing back at both LEDs together once you’re finished, not just one at a time.
If your existing bracket feels loose, cracked, or won’t hold its angle even after tightening, it may be worth replacing rather than continuing to readjust it — a stable garage door sensor bracket keeps the sensors from drifting out of alignment again after every bump or vibration.
Real-World Scenario: Fixing Alignment After a Bump or Storm
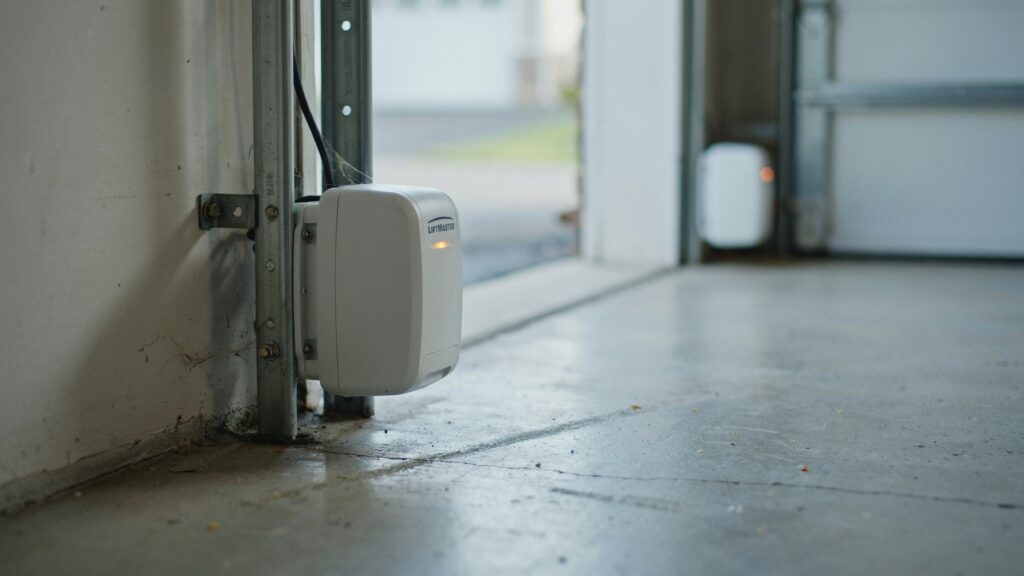
A LiftMaster garage door often stops closing right after a storm or a small bump because the vibration or impact nudges the sensor bracket just enough to break the beam, not because anything is actually broken. This is one of the most common reasons homeowners call for service when a quick alignment check would have solved it in minutes.
Think about a typical scenario: a strong windstorm rolls through overnight, rattling the garage door in its tracks. The wind itself doesn’t touch the sensors directly, but the repeated vibration works the mounting screws loose over time, and by morning, one sensor has sagged just enough to lose its lock on the beam. The homeowner presses the remote, watches the door start down, then reverses halfway, and assumes the storm damaged the opener. In most cases, the opener is fine. It’s the sensor bracket that shifted.
The same thing happens with a car bumper or a lawn mower bumping into the sensor housing. Since these units are mounted low, near the floor where cars back in and yard tools get stored, they’re in a spot that takes more physical contact than people realize. Even a light tap can rotate the housing a few degrees, which is enough to send the beam off target.
Here’s the practical logic worth remembering: garage door sensors don’t need a hard hit to fail, they just need to be nudged out of their exact facing position. That’s why, after any storm, high wind event, or bump near the garage, checking sensor alignment should be one of the first things you do, before assuming a bigger repair is needed. It takes the same few minutes covered in the alignment steps above, and it rules out the most common cause first.
If your sensors keep drifting out of alignment every time this happens, the bracket itself may be the real problem. Our guide on garage door sensor brackets covers sturdier options that hold their position better through wind, vibration, and everyday bumps.
Common Mistakes That Cause Sensors to Misalign Again
Most sensors go out of alignment again because of a loose bracket, an ignored small tilt, or the wrong tool used during a quick fix — not because the sensor itself failed. Knowing these three mistakes ahead of time saves you from repeating the same repair every few weeks.
Leaving the Bracket Loose After Adjusting
Once you align garage door sensors LiftMaster style, the bracket screw needs to hold that exact position under daily vibration from the door opening and closing. If the screw is only snug rather than properly tightened, normal door movement will slowly walk the sensor out of position again, sometimes within days. This is why a quick wiggle test after tightening matters: if the sensor moves at all with light hand pressure, it isn’t secure enough yet.
Ignoring a Small Tilt Because “It Still Works”
A sensor that’s tilted just a couple of degrees can still catch the beam some of the time, which tricks homeowners into thinking everything is fine. But an inconsistent connection like this usually gets worse, not better, especially once dust, temperature changes, or the next storm adds even more strain.Catching that small tilt today and treating it as a real problem is what keeps it from turning into a full sensor failure down the road.
Using the Wrong Tool or Excess Force
Common mistakes here include:
- Over-tightening the bracket screw, which can crack the plastic housing or shift the angle right as you tighten it
- Using pliers instead of a screwdriver, which often strips the screw head or bends the bracket
- Skipping the level check, adjusting by eye alone instead of confirming both sensors sit at the same height
Each of these turns a 5-minute fix into a repeat visit to the garage, simply because the tool or technique added a new problem while solving the original one.
If your sensors keep slipping no matter how carefully you tighten them, the bracket hardware itself may be worn out rather than the alignment technique being wrong. Our guide on garage door sensor brackets covers more durable replacement options built to hold their position.
When to Call a LiftMaster Professional Instead of DIY
Call a LiftMaster professional when the sensor LED stays off completely, the wiring looks damaged, or the circuit board itself seems affected — because at that point, no amount of realignment will fix the real problem. It’s worth being upfront about this limit, since not every sensor issue is a simple angle adjustment.
If you’ve followed the alignment steps above and both sensors are level, facing each other, and tightened properly, but the LED still won’t turn solid green, the issue has likely moved past alignment. A few signs point clearly toward a wiring or electrical problem rather than a physical one:
- No LED light at all, even after checking the power connection, which usually means a wiring break somewhere between the sensor and the opener
- Frayed, chewed, or exposed wiring, often caused by rodents or age, especially in garages where wires run along the floor or baseboards
- The door still won’t close after a full alignment and cleaning, suggesting the control board isn’t receiving the sensor signal correctly
Here’s a real scenario that plays out often: a homeowner aligns the sensors perfectly, confirms both LEDs are solid, yet the door still reverses every time. In cases like this, the sensors are working, but the signal isn’t making it back to the opener’s control board, which points to a wiring fault rather than anything the homeowner did wrong.
This is also where safety matters more than saving a service call. Garage door openers run on both low-voltage sensor wiring and higher-voltage components near the motor unit, and the National Fire Protection Association points out that home electrical work carries real fire and shock risks when handled without proper training. A LiftMaster technician has the tools to test the board directly and confirm whether it’s a wiring issue, a sensor failure, or something with the opener’s internal electronics.
Conclusion
A garage door that won’t close rarely means something is truly broken — most of the time, it’s just two small sensors asking to be looked at again. Once you know how to align garage door sensors LiftMaster style, it stops feeling like a repair and starts feeling like routine upkeep, the same way you’d check tire pressure or replace a smoke detector battery.
So next time your door hesitates or reverses without reason, before assuming the worst, take a moment to check the simplest thing first.
Frequently Asked Questions
How do I fix misaligned garage door sensors?
Loosen the bracket screw on each sensor, angle both units until they face each other directly, then tighten and check for a solid green LED on both sides.
Do garage door sensors need to be perfectly aligned?
Yes, even a slight tilt of a few degrees can break the infrared beam, so both sensors need to face each other directly to work properly.
What does it mean if one garage door sensor is green and one is yellow?
A yellow or amber light usually points to a wiring or power issue on that sensor, while the green side confirms it’s receiving power and holding its position.
How do I know if my sensors are misaligned?
Check the LED on each sensor — a blinking or flickering light instead of solid green almost always means the beam is broken due to misalignment.
Should both garage door sensors be lit up?
Yes, both sensors should show a steady light when the system is working correctly, and any unlit sensor points to a power or wiring problem instead of alignment.
How do I reset my garage door sensors?
Unplug the opener for about 10 seconds, plug it back in, then recheck the sensor alignment and LED lights before testing the door again.