Introduction
A loose or misaligned bracket can prevent garage door safety sensors from working properly. If your garage door keeps reversing or refuses to close, the sensor bracket may need adjustment or replacement.
A proper garage door sensor bracket installation keeps both safety sensors securely positioned and facing each other across the garage door opening. These brackets help maintain the infrared safety beam that detects people, pets, and objects in the door’s path.
Fortunately, fixing a loose or incorrectly positioned bracket is often straightforward. In this guide, you’ll learn how to install garage door sensor brackets, choose the correct mounting position, avoid common installation mistakes, and keep your safety sensors properly aligned.
Table of Contents
Why Garage Door Sensors Matter More Than You Think
Garage door safety sensors do more than help your door close properly. They prevent the door from closing when a person, pet, vehicle, or object blocks its path. If the sensors lose alignment or stop working, the garage door may reverse, refuse to close, or behave unpredictably.
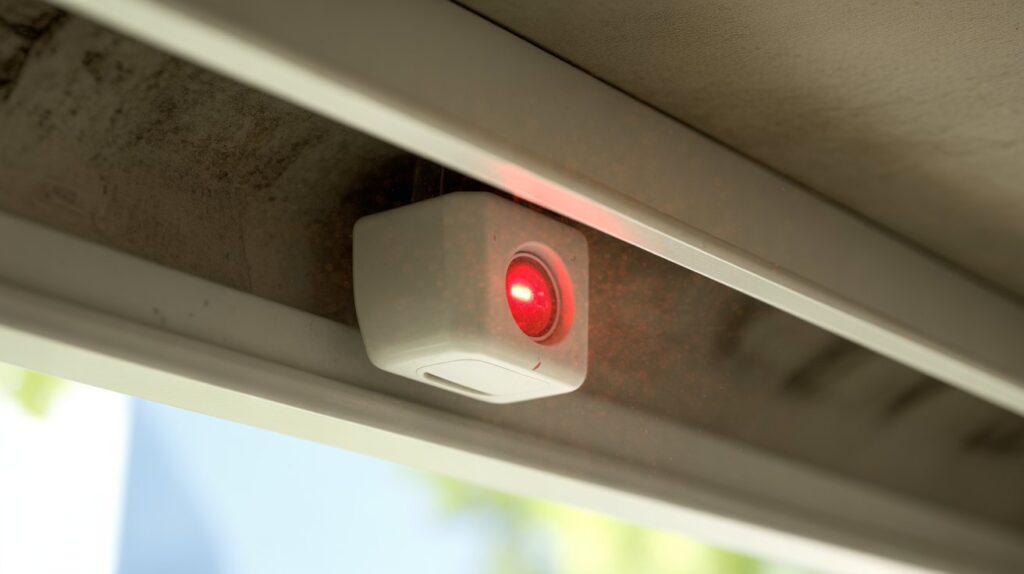
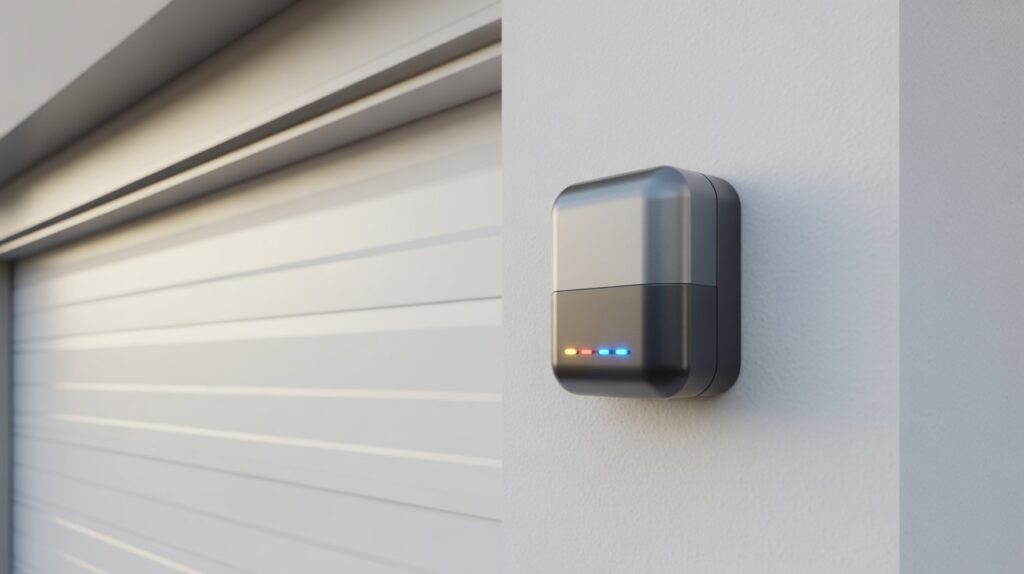
Most modern garage door openers use two photo-eye sensors mounted near the bottom of the garage door tracks. One sensor sends an invisible infrared beam, while the other receives it. When something interrupts that beam, the opener should stop the closing cycle or reverse the door.
A loose mounting bracket can shift one sensor out of position. Even a small movement may interrupt the beam and affect the entire safety system.
Here is why correctly positioned sensors matter:
- Protect children and pets: The sensors help prevent the closing door from coming down when someone crosses its path.
- Prevent property damage: They help detect objects such as bicycles, trash cans, tools, and vehicles.
- Maintain proper door operation: Correct sensor alignment helps prevent unnecessary reversing and closing problems.
- Keep the safety beam connected: Secure brackets prevent sensors from moving out of position due to vibration or accidental contact.
- Reduce repeated adjustments: Proper mounting helps keep both photo eyes facing each other.
Sensor problems can also appear through unusual indicator lights. For example, a yellow warning light on a garage door sensor may indicate a particular sensor status, depending on the opener model.
One important point: A steady indicator light does not automatically prove that the entire safety system is working correctly. Test the sensors according to your garage door opener manufacturer’s instructions. Never bypass or disable them to make the door close.
Proper sensor positioning and secure mounting help maintain reliable operation. If a bracket is bent, loose, or damaged, inspect it and replace it when necessary rather than repeatedly adjusting a faulty mount.
Signs Your Garage Door Sensor Bracket Needs Installation or Adjustment
Garage door safety sensor problems often start with small changes in the mounting position. A bracket may become loose, bent, or damaged because of regular garage door vibrations, accidental bumps, or corrosion. When this happens, the photo-eye sensors may no longer face each other correctly.
You may notice that the garage door reverses, refuses to close, or the sensor indicator lights begin blinking. These symptoms can point to a mounting or alignment problem, although damaged wiring, dirty lenses, and faulty sensors can cause similar issues.
Common Warning Signs to Watch For
Here are some signs that your sensor mounting brackets may need inspection, adjustment, or replacement:
- Garage door reverses before closing: The door starts moving down but reverses when the infrared safety beam is interrupted or lost. A shifted bracket may be preventing proper sensor alignment.
- Sensor indicator lights blink: Flashing or flickering lights may indicate an alignment issue, blocked beam, loose connection, or sensor fault. The exact meaning depends on your garage door opener model.
- Garage door refuses to close: The opener may prevent the door from closing when it cannot detect a clear signal between the sending and receiving sensors.
- One sensor looks lower than the other: If the photo eyes are not at the same height or are pointing away from each other, the safety beam may not connect properly.
- Sensor bracket feels loose: A loose mounting screw or damaged bracket can allow the sensor to move whenever the garage door operates.
- Sensors move after alignment: If the sensors keep shifting out of position, the mounting hardware may be worn, bent, or improperly secured.
- Visible bracket damage: Rust, cracks, bending, or broken mounting tabs can prevent the sensor from staying in its correct position.
Quick Guide to Sensor Bracket Problems
| Warning sign | Possible bracket-related cause | What to inspect |
|---|---|---|
| Door reverses | Sensor misalignment | Position of both photo eyes |
| Blinking lights | Bracket movement or beam interruption | Sensor alignment and indicator status |
| Door will not close | Sensors cannot maintain the safety beam | Mounting position and wiring |
| One sensor sits lower | Loose or incorrectly installed bracket | Sensor height |
| Sensors keep shifting | Weak mounting hardware | Screws, brackets, and mounting surface |
| Bent or rusty bracket | Physical damage or corrosion | Bracket condition |
Why You Should Not Ignore These Warning Signs
A garage door that refuses to close can leave your home and belongings exposed. More importantly, a malfunctioning safety sensor may fail to detect an obstruction in the door’s path.
Fixing a loose bracket early can prevent repeated alignment problems and unnecessary adjustments. If the bracket is cracked or badly bent, replacing it is usually more reliable than trying to straighten damaged metal.
Before making adjustments, disconnect power to the opener according to the manufacturer’s instructions. Never bypass the photo-eye sensors or force the garage door to close when the safety system is not working.
Important: These symptoms do not always mean the bracket is faulty. Check for dirty sensor lenses, objects blocking the infrared beam, damaged wiring, and sensor defects before replacing mounting hardware. If the sensors have shifted out of position, follow our guide on how to align garage door sensors for proper alignment.
Tools and Preparation for Garage Door Sensor Bracket Installation
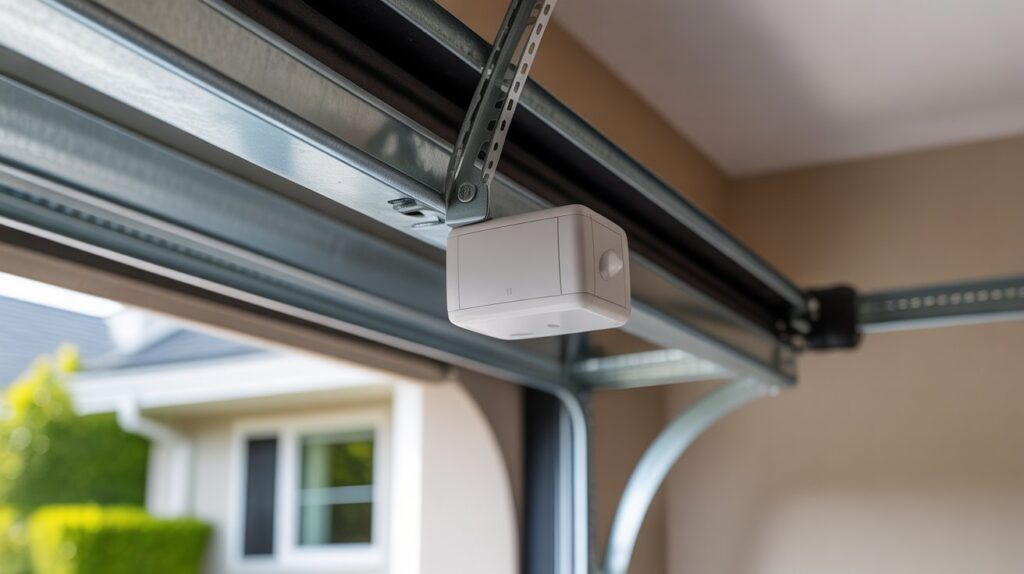
Before working on your garage door safety sensors, gather the necessary tools and check the mounting area. Proper preparation helps prevent incorrect measurements, loose mounting hardware, and repeated alignment problems.
Most basic sensor bracket adjustments require common household tools. However, the exact equipment depends on the bracket type, mounting surface, and garage door opener model.
Essential Tools and Materials You’ll Need
Keep these tools and supplies nearby before starting:
| Tool or material | Purpose |
|---|---|
| Screwdriver set | Tightens or removes bracket mounting screws |
| Power drill and suitable bits | Creates mounting holes when required |
| Measuring tape | Checks sensor height and spacing |
| Small level | Helps position both photo-eye sensors evenly |
| Adjustable wrench | Tightens compatible nuts and bolts |
| Replacement screws and nuts | Secures loose or damaged mounting hardware |
| Compatible sensor brackets | Replaces bent, cracked, or damaged mounts |
| Work gloves | Protects hands from sharp metal edges |
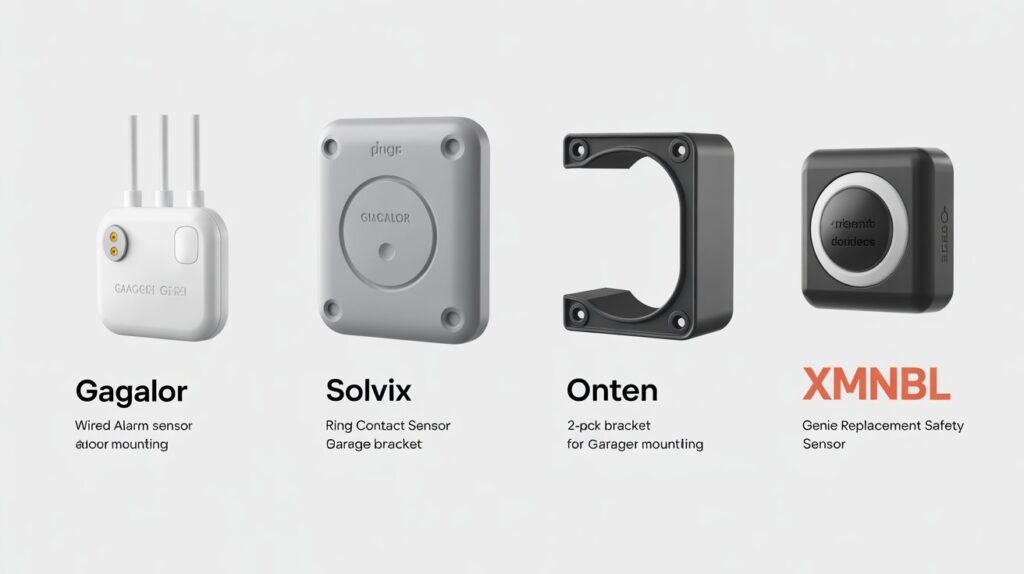
Check bracket compatibility: Garage door sensor brackets come in different designs, including universal replacement brackets, angle brackets, and manufacturer-specific mounting brackets. Before purchasing replacements, check the sensor housing, mounting holes, and opener manufacturer’s recommendations.
Check the Mounting Area Before Starting
Inspect both sides of the garage door opening before removing any existing hardware.
Pay attention to these areas:
- Garage door tracks: Check whether the existing bracket attaches securely to the vertical track without interfering with door rollers or moving parts.
- Mounting surface: Look for loose metal, damaged wood, cracks, or rust that could prevent the bracket from staying firmly attached.
- Existing hardware: Check mounting screws, nuts, bolts, and washers for damage or missing parts.
- Sensor condition: Inspect both photo-eye lenses and housings for dirt, cracks, or visible damage.
- Wire condition: Look for loose connections, exposed insulation, or damaged sensor wires.
If the existing mounting surface is damaged, correct that problem before installing replacement hardware. A new bracket will not remain secure if its mounting point is weak.
Safety Precautions Before Working
Follow these precautions to reduce the risk of injury:
- Disconnect opener power: Unplug the garage door opener before handling sensor wiring or mounting hardware. Follow the manufacturer’s instructions for electrical isolation.
- Keep the door fully closed: Make sure the garage door is completely closed before beginning work.
- Clear the work area: Remove vehicles, bicycles, tools, and other objects from around the sensor mounting points.
- Avoid moving door components: Do not loosen cables, springs, rollers, or other parts of the garage door lifting system.
- Protect sensor wiring: Avoid pulling, twisting, or pinching the low-voltage wires during removal or installation.
Know the Correct Sensor Position
Most residential garage door openers require photo-eye safety sensors to be installed no higher than 6 inches above the garage floor. However, always follow the instructions for your specific opener model.
Both sensors should face each other across the garage door opening, with their lenses at the correct height and unobstructed. Their mounting brackets must hold them securely without allowing movement during normal door operation.
Taking these measurements before mounting helps reduce alignment problems later. For a better understanding of sensor placement and wiring connections, see our garage door sensor wiring schematic guide.
Important: Never bypass the safety sensors or attempt to make the garage door operate with a disconnected safety system. If the mounting location requires work near damaged structural components or electrical wiring, contact a qualified garage door technician.
Step-by-Step Garage Door Sensor Bracket Installation Guide
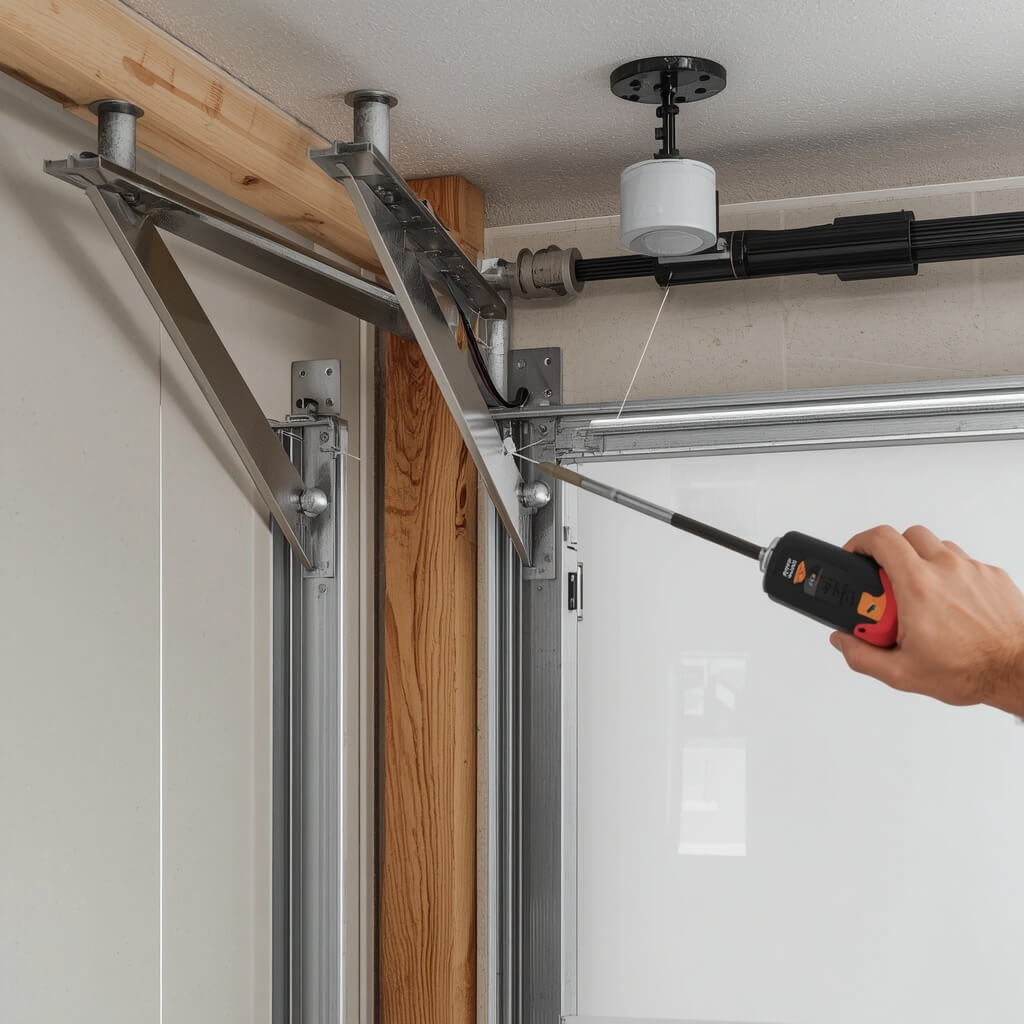
Installing garage door safety sensor brackets correctly helps keep both photo-eye sensors secure and properly aligned. A loose bracket, incorrect mounting height, or damaged mounting surface can interrupt the infrared safety beam and prevent the garage door from closing.
Follow these steps to position the brackets, secure the sensors, connect the wiring, and test the safety system.
Step 1 – Choose the Correct Mounting Position
Start by identifying where both safety sensor brackets will sit. Most residential garage door openers require photo-eye sensors to be mounted no higher than 6 inches above the garage floor. Check your opener’s installation manual for the exact requirement.
According to the DASMA technical guidance on photoelectric sensor installation, sensor lenses should be positioned no higher than 6 inches above the garage floor to help provide proper entrapment protection.
You can usually attach the brackets to the vertical garage door tracks or an approved wall mounting point, depending on the bracket design.
Before drilling or attaching anything:
- Measure the height on both sides of the garage door opening.
- Make sure both mounting points provide a clear line of sight.
- Keep the sensors away from moving rollers and other door components.
- Check that the mounting surface is strong enough to support the brackets.
- Avoid positions where vehicles or stored items can easily knock the sensors out of place.
Mark the mounting points with a pencil before securing the hardware.
Step 2 – Secure the Mounting Brackets
Position each bracket at its marked location and attach it using the correct screws, bolts, or mounting hardware.
The installation method depends on the bracket type:
- Track-mounted brackets: Attach the compatible bracket to the designated mounting point on the vertical door track.
- Wall-mounted brackets: Use suitable fasteners for the wall material and follow the manufacturer’s mounting instructions.
- Replacement brackets: Match the new bracket to the sensor housing and existing mounting arrangement.
Tighten the hardware until the bracket feels stable. Avoid excessive force that could bend the bracket, damage the mounting surface, or strip the screw holes.
After tightening, gently check each bracket for movement. A secure mount helps prevent repeated sensor misalignment caused by normal garage door vibration.
ab ismai external link dalo ok , high rank website ka jsi mai products ka zikar nahu ok , only Information based ok , EEAT based ok
Step 3 – Attach the Safety Sensors
Once both brackets are secure, place the sending and receiving photo-eye sensors into their mounting holders.
Make sure each sensor fits properly and can be adjusted according to the bracket design.
Check the following:
- Both sensor lenses face directly toward each other.
- Neither sensor is tilted upward or downward.
- The infrared beam has a clear path across the garage door opening.
- Sensor wires are not stretched, pinched, or caught against sharp metal edges.
- Mounting clips and retaining screws hold the sensor housings securely.
Do not force a sensor into an incompatible bracket. Use mounting hardware designed for your particular sensor model.
Step 4 – Connect and Protect the Sensor Wiring
Inspect the low-voltage sensor wires before restoring power. If the wiring was disconnected during the work, reconnect it according to the opener manufacturer’s wiring diagram.
Keep these points in mind:
- Match the correct terminals and wire connections.
- Check for loose connections at the opener motor unit.
- Keep wires away from moving door components.
- Secure excess wiring neatly without pulling it too tightly.
- Replace damaged or exposed wires instead of covering serious damage with tape.
Proper wire routing prevents accidental disconnection and helps maintain a reliable connection between the safety sensors and the garage door opener.
Step 5 – Align Both Sensors and Check the Indicator Lights
Restore power according to the manufacturer’s instructions. Adjust the sensor brackets slowly until both photo-eye lenses point directly toward each other.
Watch the indicator lights while making small adjustments. On many garage door openers, steady lights indicate that the sensors have power and the safety beam is properly aligned. However, light colors and patterns vary by manufacturer and model.
If the lights continue blinking:
- Check whether anything blocks the infrared beam.
- Clean both sensor lenses with a soft, dry cloth.
- Make small adjustments to the sensor angle.
- Inspect the wiring for loose or damaged connections.
- Check the opener manual for the meaning of its indicator lights.
Do not assume that every blinking light means the bracket is incorrectly installed. The problem could also involve wiring, a faulty sensor, or another opener issue.
Step 6 – Test the Garage Door Safety System
After installation and alignment, test the safety sensors before returning the garage door to normal use.
Follow these checks:
- Make sure the garage door opening is clear.
- Use the wall control to close the garage door.
- Carefully interrupt the infrared beam by placing a suitable object between the two photo-eye sensors.
- The garage door should stop closing or reverse, depending on the opener model.
- Remove the object and confirm that the sensor indicator lights return to their normal operating condition.
Also perform the separate automatic reversal test described in your opener’s manual. This test checks the door’s response to physical contact with an obstruction and is not replaced by the photo-eye test.
If either safety test fails, stop using the opener until the problem is corrected. Never bypass the safety sensors to make the door close. If the sensor indicator lights remain off after testing, see our guide on why there are no lights on garage door sensors to investigate possible causes.
Final Inspection After Installation
Before considering the job complete, check that:
- Both brackets are firmly attached.
- The sensors remain at the manufacturer’s specified height.
- Both photo-eye lenses face each other.
- The wiring is secure and protected.
- Indicator lights show the normal operating status.
- Both required safety tests pass.
A careful final inspection helps prevent loose mounting hardware, repeated alignment problems, and unexpected garage door operation.
Common Mistakes to Avoid During Installation
Small installation mistakes can affect how garage door safety sensors operate. Incorrect mounting positions, loose hardware, and poor wire management may cause repeated alignment problems or prevent the garage door from closing.
Understanding these mistakes before starting helps you avoid unnecessary adjustments and maintain a reliable safety system.
1. Mounting Sensors at the Wrong Height
Installing photo-eye sensors too high or too low can affect their ability to detect objects near the garage floor. Most residential systems require the sensors to be mounted no higher than 6 inches above the floor, but always check the opener manufacturer’s instructions.
How to avoid it: Measure both mounting points before drilling or attaching the brackets. Keep both sensors at the specified height and make sure they face each other.
2. Ignoring Sensor Alignment
Both photo-eye lenses must point directly toward each other to maintain a clear infrared safety beam. Even a slight change in angle can interrupt the connection and cause the garage door to reverse or refuse to close.
How to avoid it: Adjust the sensor angle gradually and check the indicator lights. Confirm that the beam path is clear before testing the opener.
3. Using Incompatible Mounting Brackets
Not every replacement bracket fits every garage door sensor. Using an incompatible mount can leave the sensor loose, tilted, or unable to stay in its correct position.
How to avoid it: Check the sensor model, bracket design, mounting holes, and manufacturer’s compatibility instructions before purchasing replacement hardware.
4. Over-Tightening or Leaving Screws Loose
Tightening screws too much can bend a metal bracket, damage plastic mounting parts, or strip the screw holes. Loose screws create the opposite problem by allowing the bracket to move during normal garage door operation.
How to avoid it: Use the correct screws and tighten them securely without applying excessive force. Check that each bracket remains stable after installation.
5. Poor Sensor Wire Management
Loose or improperly routed low-voltage wires can become caught in moving garage door components. Damaged insulation, loose terminal connections, and stretched wiring can also interrupt sensor communication.
How to avoid it: Route the wires along a suitable protected path and secure them with appropriate clips or fasteners. Keep them away from rollers, hinges, sharp edges, and moving door sections.
6. Mounting Brackets on a Weak Surface
Attaching a bracket to loose metal, cracked wood, or a damaged mounting point can make the entire assembly unstable. Even correctly aligned sensors may shift after the garage door operates several times.
How to avoid it: Inspect the vertical track or approved wall mounting surface before attaching the hardware. Repair damaged mounting points or seek professional help if the mounting area is unsafe.
7. Ignoring Dirt and Obstructions
Dust, cobwebs, dirt, and stored items can block the infrared beam. Homeowners sometimes keep adjusting the brackets when the actual problem is simply a dirty lens or an object in the sensor’s path.
How to avoid it: Clean both photo-eye lenses with a soft, dry cloth. Remove anything blocking the space between the sensors before changing their position. For detailed cleaning instructions, see our guide on how to clean garage door sensors.
8. Skipping the Final Safety Test
A sensor indicator light may appear normal, but that alone does not confirm that the complete safety system works correctly. Skipping the obstruction test can leave an installation problem unnoticed.
How to avoid it: Test the photo-eye safety response and perform the separate automatic reversal test according to the garage door opener manufacturer’s instructions. Do not use the door normally if either required safety test fails. If your sensors still show problems after installation, read our guide on how to reset garage door sensors for additional troubleshooting steps.
Final Tip
After completing the work, inspect the mounting screws, bracket stability, sensor height, wire routing, and infrared beam alignment. Avoid repeatedly adjusting a damaged bracket when replacement is necessary. Proper mounting and regular inspection help reduce recurring sensor problems and keep the garage door safety system working as intended.
Conclusion
A proper garage door sensor bracket installation helps keep both safety sensors securely mounted, correctly aligned, and working as intended. When the brackets are stable and the infrared beam remains uninterrupted, your garage door can respond properly to people, pets, and objects in its path.
Before considering the job complete, check the mounting screws, sensor height, wiring connections, and indicator lights. Also, test the photo-eye safety system and automatic reversal function according to your opener manufacturer’s instructions.
If a bracket is bent, damaged, or unable to hold its position, replace it with a compatible mounting bracket instead of repeatedly adjusting it. Regular inspection can help prevent recurring alignment problems and keep your garage door safety system reliable.
FAQs
1. Where should garage door safety sensor brackets be mounted?
Most residential garage door safety sensors should be mounted no higher than 6 inches above the garage floor, on opposite sides of the garage door opening. Both photo-eye sensors must face each other with a clear infrared beam between them. Always follow your opener manufacturer’s installation instructions.
2. Why do my garage door sensors keep losing alignment?
Loose mounting screws, bent brackets, accidental bumps, and garage door vibrations can cause sensors to shift out of position. Check the mounting hardware, bracket stability, and sensor height. Replace damaged brackets if they cannot hold the sensors securely.
3. What does a blinking garage door sensor light mean?
A blinking indicator light may indicate sensor misalignment, an interrupted infrared beam, loose wiring, or a sensor problem. Check both photo-eye lenses and remove any obstructions. The exact meaning of the light depends on your garage door opener model.
4. Can I install garage door sensor brackets myself?
Yes, many basic bracket replacements and adjustments are suitable for homeowners with the right tools and compatible mounting hardware. You may need a screwdriver, measuring tape, level, and suitable replacement screws. Follow the manufacturer’s instructions and avoid working on springs, cables, or other high-tension door components.
5. How do I know if my garage door sensor bracket installation was successful?
Check that both brackets are secure, the photo-eye sensors face each other, and the indicator lights show their normal operating status. Then perform the manufacturer’s recommended photo-eye obstruction test and separate automatic reversal test. Both safety tests must work correctly before returning the door to normal use.
6. Can I use universal brackets for garage door safety sensors?
Some universal replacement brackets fit multiple sensor designs, but not every bracket is compatible with every opener. Check the sensor housing, mounting arrangement, and manufacturer’s compatibility requirements before purchasing replacement hardware.
7. Do garage door sensor brackets need to be replaced?
Yes, replacement may be necessary if a bracket is bent, cracked, badly rusted, or unable to hold the sensor in position. A compatible replacement bracket provides a more reliable mounting point than repeatedly adjusting damaged hardware.
8. Can a loose sensor bracket prevent my garage door from closing?
Yes. If a loose bracket causes the photo-eye sensors to lose alignment, the infrared safety beam may be interrupted. The opener may then refuse to close the door or reverse it during operation. However, damaged wiring, dirty lenses, and faulty sensors can cause similar symptoms.
About the Author
M. Bilal holds a BS in Criminology and is interested in home security, residential safety, and modern protection technology. He writes practical, research-based content for CrimTechHub, covering topics such as garage door safety sensors, home security systems, smart access solutions, and crime prevention.
His criminology background helps him explore security-related topics from a risk-awareness perspective, with a focus on clear explanations, practical information, and helping homeowners make informed decisions.