Introduction
Have you ever pressed the garage door button, only to watch it start closing and then suddenly stop or reverse for no reason? It’s a small moment, but it can instantly ruin your morning or make you late for work. Most homeowners in the U.S. don’t realize that the culprit is often something as simple as dirty sensors. Cleaning garage door sensors may seem minor, but it’s one of the easiest ways to keep your door running smoothly, protect your family, and avoid frustrating repairs. In this guide, we’ll walk you step by step through why sensors matter, how to spot issues, and the simple cleaning routine that can save you time and stress.
Table of Contents
Why Your Garage Door Suddenly Stops Working
It usually happens at the worst time. You’re in a rush, you press the button, and your garage door starts to close—then suddenly stops or reverses for no clear reason. Maybe you try again, thinking it’s just a one-time glitch, but the same thing happens. It’s frustrating, confusing, and honestly a little stressful when you just want to get on with your day.
What many homeowners in the U.S. don’t realize is that this kind of issue is often caused by something very small. Your garage door system relies on sensors to detect anything in its path. When those sensors aren’t working properly, the door automatically stops or reverses as a safety measure. Even a tiny problem can interrupt the entire system.
In many cases, the real issue isn’t a broken part—it’s simply dirt, dust, or buildup on the sensor lenses. That’s why cleaning garage door sensors can make such a big difference. A quick, careful clean is often all it takes to restore normal operation and avoid unnecessary repairs.
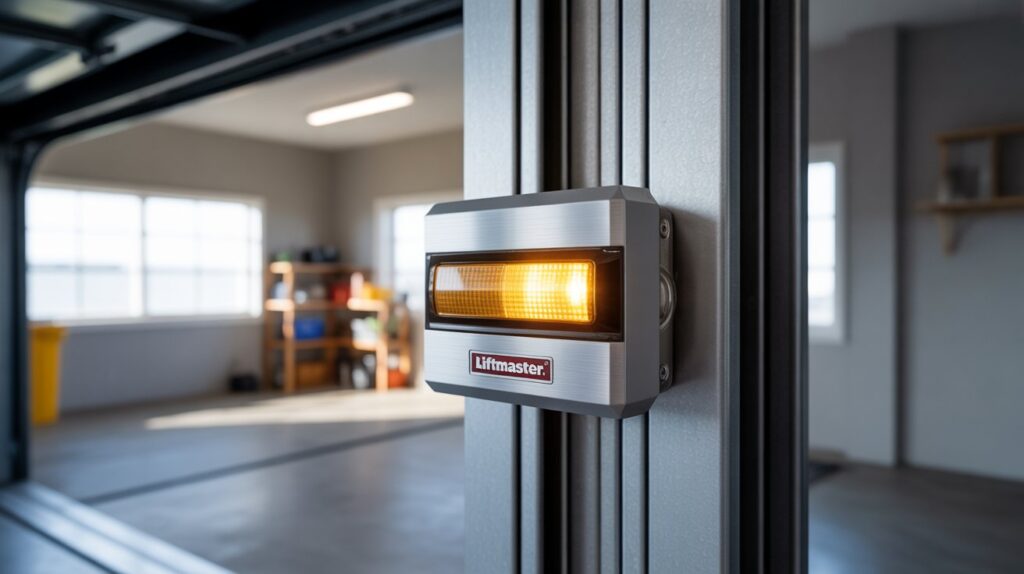
what Garage Door Sensors Do and Why They Matter
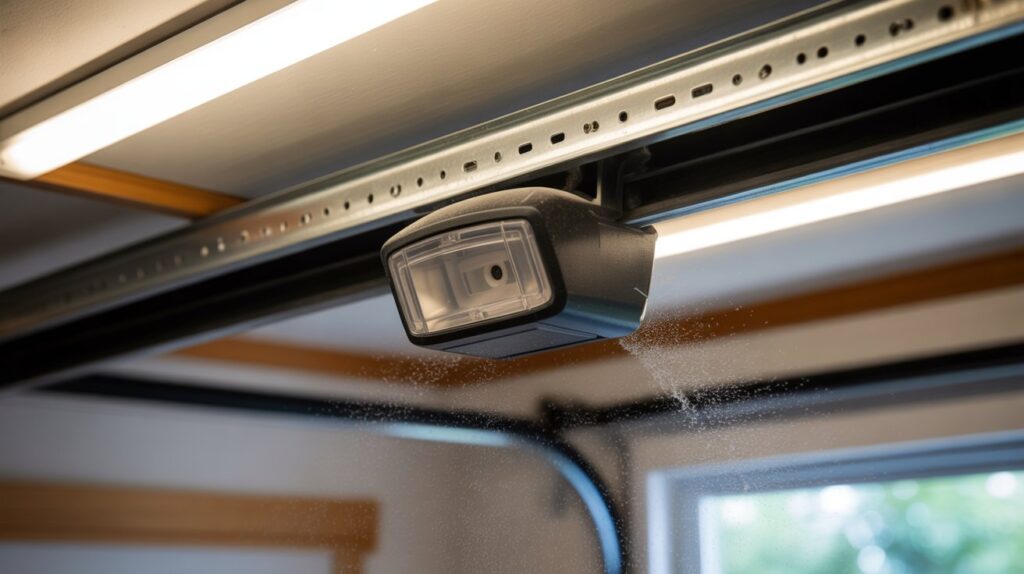
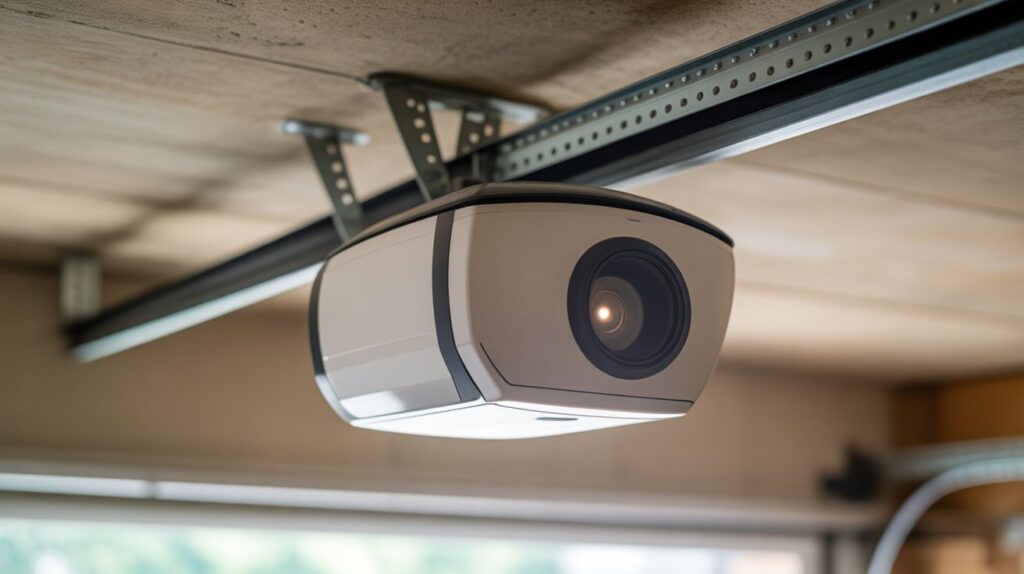
Garage door sensors may look small, but they play a big role in how your system works every day. These sensors are placed near the bottom of the door track and create an invisible beam between them. When that beam is clear, your garage door closes normally. But if something breaks the connection—even for a second—the door stops and reverses to prevent damage or injury.
This safety feature is especially important for families. It helps protect:
- Children who may run under the door
- Pets moving in and out of the garage
- Your car from accidental damage
- Anyone standing near the closing door
That’s why these sensors are not just a convenience—they’re a built-in safety system you rely on without even thinking about it.
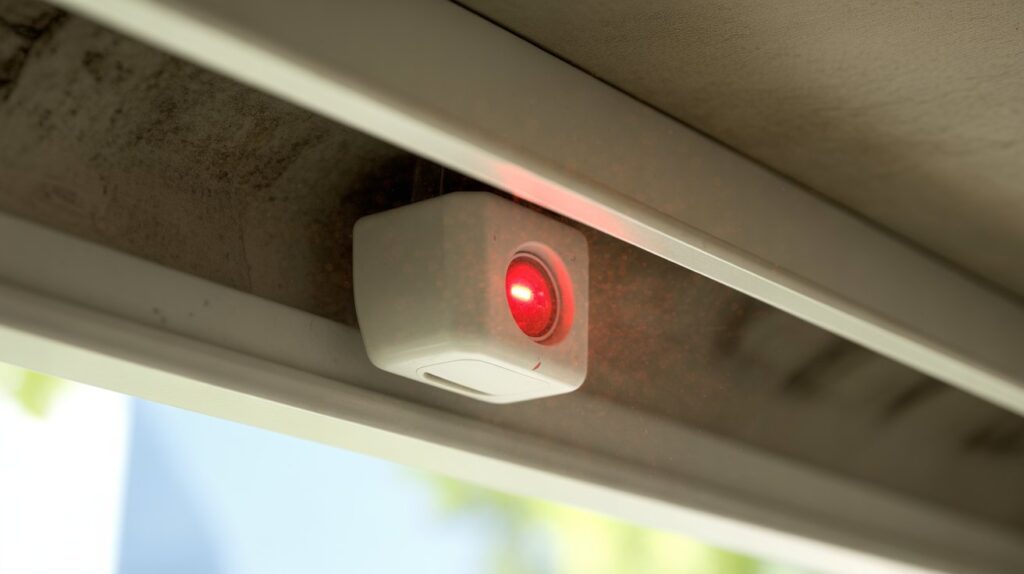
However, because they sit so close to the ground, they easily collect dust, dirt, or even spider webs. It doesn’t take much to block or weaken the signal. Even a thin layer of grime can confuse the system and cause your garage door to act up. This is where cleaning garage door sensors becomes important. A simple cleaning routine can keep the sensors accurate, reliable, and working exactly as they should.
Signs Your Garage Door Sensors Need Cleaning
Sometimes your garage door gives clear warning signs before it completely stops working. The tricky part is that these signs often seem like bigger mechanical problems, when in reality, the issue can be fixed with simple cleaning garage door sensors. Knowing what to look for can save you time, stress, and unnecessary repair costs.
Door Won’t Close Properly
One of the most common signs is when your garage door refuses to close all the way. It may start closing, then suddenly reverse without anything in the way. This usually means the sensors aren’t reading the path correctly, often due to dirt or buildup on the lenses.
Blinking or Inconsistent Sensor Lights
Most garage door sensors have small LED lights that show if they’re working correctly. If you notice blinking, flickering, or one light going out, it’s often a signal issue. Dust or debris can weaken the connection, making the system think something is blocking the door.
Random Reversing Without Obstruction
If your garage door randomly goes back up even when the area is completely clear, the sensors may be “confused.” A dirty lens can distort the beam, causing false signals. This is a strong sign that cleaning is needed rather than a full repair.
Intermittent Operation
Sometimes the door works fine, and other times it doesn’t. This inconsistency can be frustrating, especially when you’re in a hurry. In many cases, this happens because the sensor signal is partially blocked—something as simple as dust or grime can cause this behavior.
Recognizing these signs early makes a big difference. In most cases, a quick check and proper cleaning can restore smooth, reliable operation without calling a professional.
Step-by-Step Guide to Cleaning Garage Door Sensors
Taking a few minutes for cleaning garage door sensors can save you from bigger headaches later. You don’t need special skills or tools—just a careful approach and a little attention to detail.
Tools You’ll Need
You likely already have everything at home. Keep it simple and safe:
- A soft cloth or microfiber towel (to avoid scratches)
- A mild cleaner (only if there’s stubborn dirt or grease)
Safe Cleaning Process
Start by putting safety first, then follow a gentle cleaning routine:
- Turn off power to the garage door opener to avoid any accidental movement
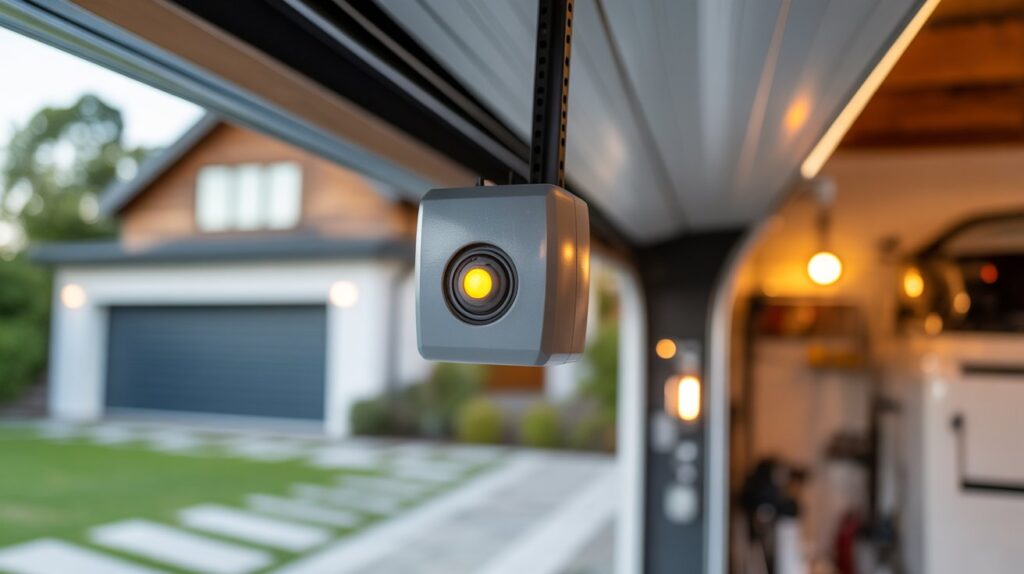
- Locate the sensors near the bottom of both sides of the door track
- Gently wipe each sensor lens with a clean, dry microfiber cloth
- If needed, lightly dampen the cloth with a mild cleaner—never spray directly on the sensor
- Avoid using rough materials or strong chemicals that could damage the lens
- After cleaning, check that both sensors are facing each other properly and aligned
Once you’re done, restore power and test the door. In most cases, this simple process restores smooth operation right away. Keeping the sensors clean not only improves performance but also ensures your garage door safety system works when it matters most.
Common Mistakes to Avoid When Cleaning Sensors
While cleaning garage door sensors is simple, small mistakes can lead to bigger problems or keep the issue from getting fixed. Many homeowners think a quick wipe is enough, but how you clean—and what you avoid—makes all the difference.
- Using rough materials
It might be tempting to grab a paper towel or any cloth nearby, but rough surfaces can scratch the sensor lens. Even tiny scratches can affect how the sensor reads the beam, leading to ongoing performance issues. - Ignoring alignment issues
Cleaning helps, but it won’t fix everything if the sensors are not properly aligned. If the lenses aren’t facing each other directly, the signal won’t connect. After cleaning, always take a second to check alignment—it’s just as important as the cleaning itself. - Cleaning only one sensor
Garage door sensors work as a pair. If you clean one and ignore the other, you may still have the same problem. Dust and buildup can affect both sides, so it’s important to clean each sensor evenly. - Skipping regular maintenance
Many people only think about their sensors when something goes wrong. Waiting too long allows dirt and debris to build up again. A quick check and light cleaning every now and then can prevent repeat issues and keep your garage door running smoothly.
Avoiding these common mistakes ensures your effort actually solves the problem. With the right approach, cleaning becomes a quick, reliable fix instead of a temporary solution.
Keep Your Garage Door Working Smoothly (Conclusion)
Sometimes, the biggest problems have the simplest solutions. When it comes to your garage door, regular care like cleaning garage door sensors can prevent frustrating issues before they even start. Instead of dealing with a door that won’t close or calling for repairs, a quick check and gentle cleaning can keep everything running the way it should.
Making this a small part of your routine goes a long way. Every now and then, take a moment to look at your sensors, wipe away any dust, and make sure they’re aligned properly. It only takes a few minutes, but it helps protect your system, your time, and your peace of mind.
At the end of the day, a smooth-working garage door isn’t about complicated fixes—it’s about simple habits. Stay consistent, pay attention to the small details, and your garage door will stay reliable when you need it most.
FAQs
Q: What should I use to clean sensors?
A: A soft microfiber cloth and a mild cleaner if needed—never spray directly on the sensor.
Q: How do I tell if my garage door sensors are bad?
A: Look for blinking lights, doors reversing randomly, or inconsistent operation.
Q: Is WD-40 good for garage doors?
A: WD-40 is not recommended for sensors; use it only on metal tracks or rollers for lubrication.
Q: How to adjust garage door sensors?
A: Loosen the mounting brackets, realign the sensors so they face each other directly, then tighten.
Q: How to reset garage door sensors?
A: Turn off power, check alignment, clean the sensors, then turn the opener back on.
Q: Should both garage door sensors be green?
A: Ideally, yes—both lights should be solid green when properly aligned and working.
Q: Why is one of my garage door sensors yellow and one green?
A: A yellow or red light usually indicates misalignment, dirt, or a wiring issue.
Q: How to reset automatic door sensor?
A: Power off the opener, clean and realign the sensors, then power back on to reset.
Q: Does unplugging the garage door reset it?
A: Unplugging can reset the opener’s electronics, but it won’t fix sensor alignment issues.
Q: Why won’t my garage door close even though the sensors are aligned?
A: Dirt on the lenses, loose wiring, or a weak sensor signal may still block proper operation.