Introduction
Ever pressed the garage door button and watched it stop halfway, with one sensor sitting completely dark? That’s not just annoying — it means the safety system is doing exactly what it’s built to do.
One garage door sensor not lighting up means the infrared safety beam isn’t complete, so the opener refuses to close the door. It’s a built-in fail-safe, not a malfunction of the whole unit — but it still needs fixing before you can use the garage normally.
Below, we’ll cover how these sensors actually work, the real causes behind a dark sensor light, and the exact steps to get it working again — safely and without guesswork.
Table of Contents
Why Is One Garage Door Sensor Not Lighting Up?
You press the wall button, the door starts moving — then stops. One sensor glows steady, the other stays dark. Now you’re stuck standing there, already late, staring at a door that won’t budge.
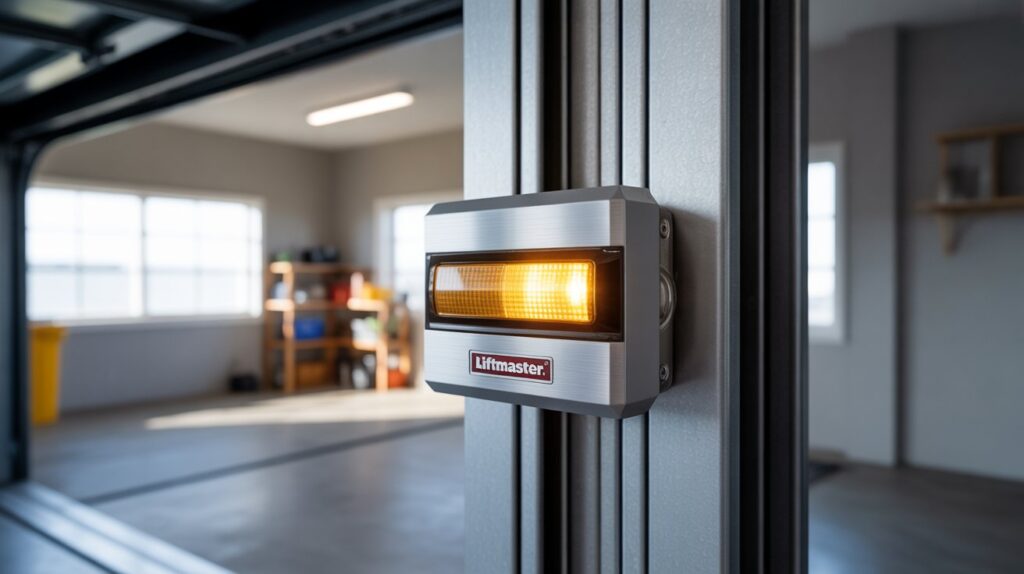
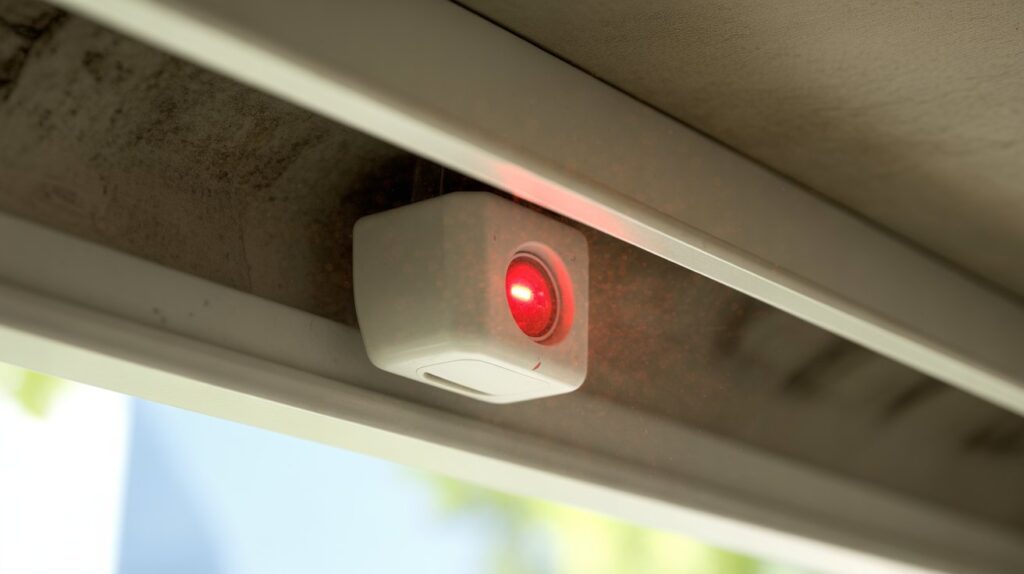
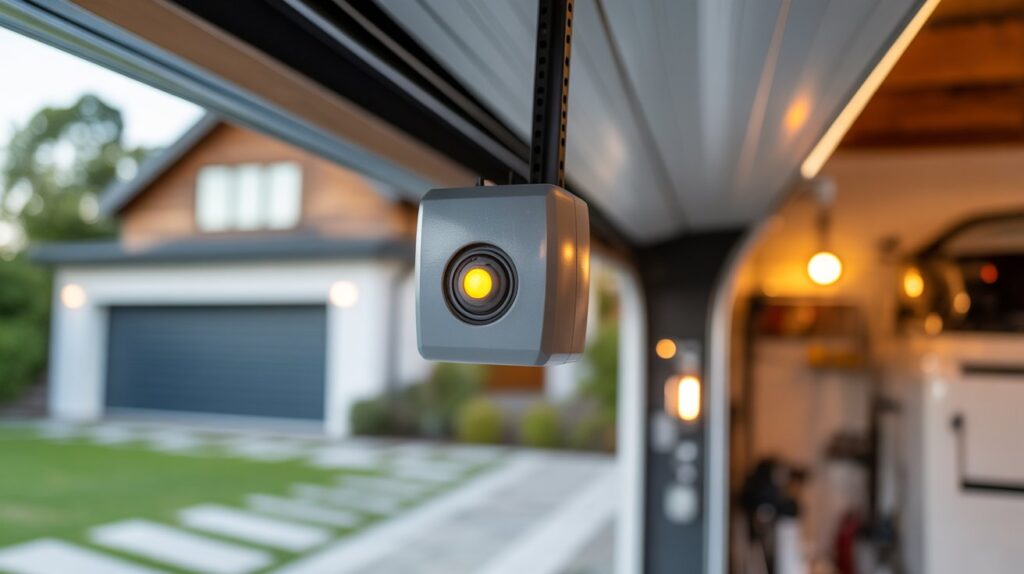
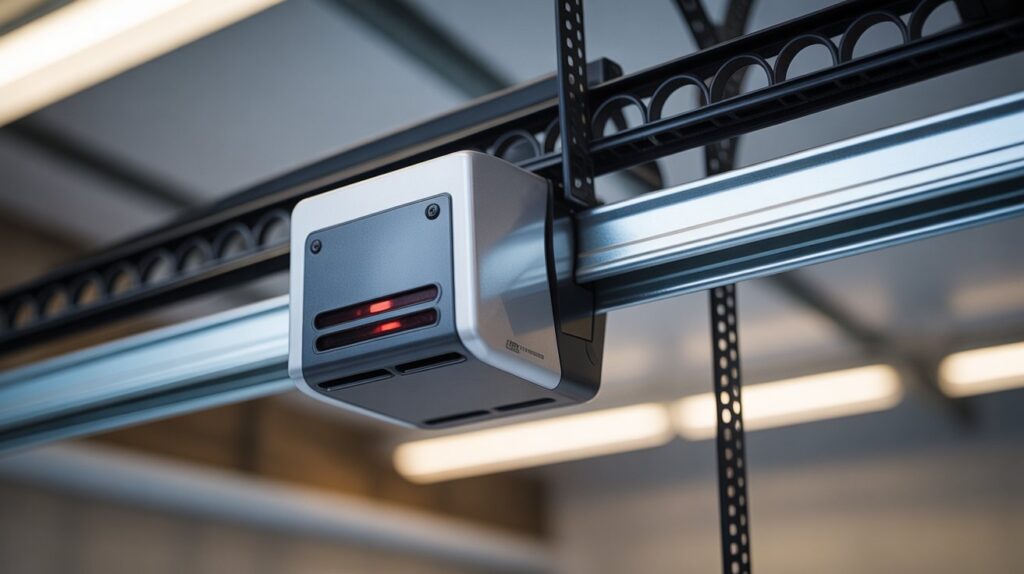
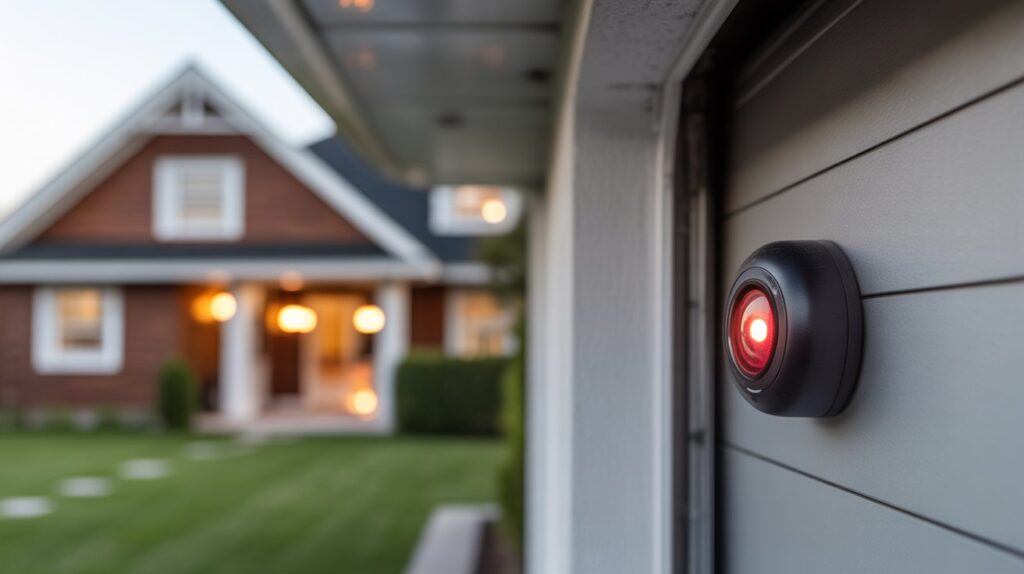
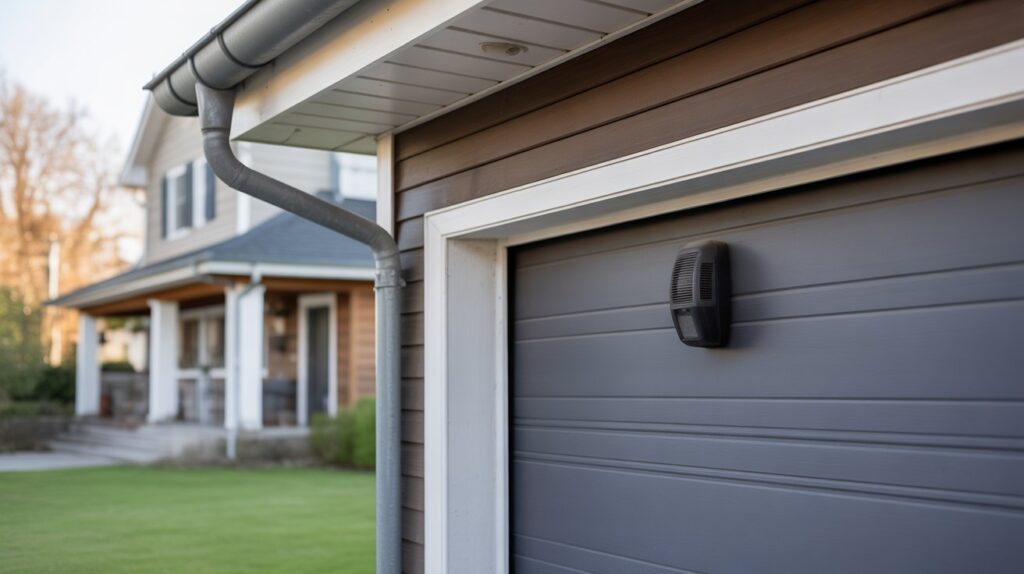
One garage door sensor not lighting up means the safety circuit is incomplete. Modern openers in the U.S. use photo-eye sensors mounted near the bottom of each track, sending an invisible infrared beam across the doorway. If that beam breaks — or one sensor loses power — the opener stops closing on purpose.
If your current sensor keeps failing or you’re due for a replacement, it’s worth comparing a few reliable options in our garage door sensor guide.
This matters because a garage door is one of the heaviest moving parts in your home. With garages used daily for cars, storage, or even as a main entry point, a malfunctioning sensor isn’t just inconvenient — it’s a genuine risk to children, pets, and vehicles.
A dark garage door sensor light usually points to one of four things: a power issue, a wiring fault, misalignment, or internal sensor failure. Whatever the cause, the system is built to fail safely — if something’s wrong, the door simply won’t close.
Once you know why that sensor isn’t powering on, fixing it is straightforward.
How Garage Door Safety Sensors Actually Work
- Two sensors sit near the bottom of each track — one transmits an infrared beam, the other receives it.
- If anything blocks that beam, the opener stops closing. That’s the system working, not glitching.
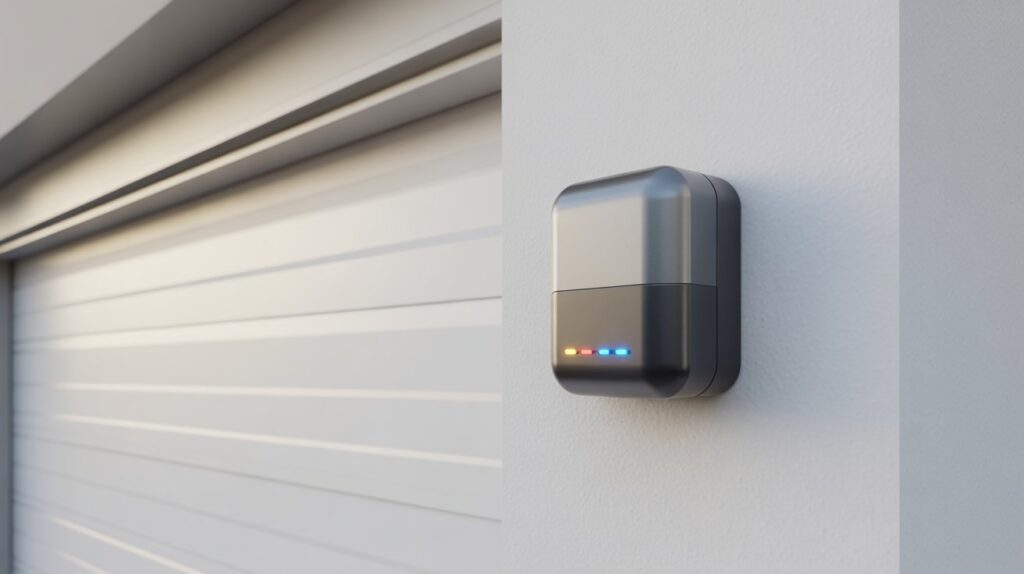
- Each sensor shows two things through its light: whether it’s getting power, and whether the beam is properly aligned.
- Power light – confirms low-voltage current is reaching the sensor.
- Alignment light – confirms the beam is lined up and being received correctly.
- LiftMaster, Chamberlain, Genie, and most other U.S. opener brands all rely on this same photo-eye setup — so the fix is usually similar regardless of brand.
Think of it like a tripwire: both ends need to “see” each other constantly. The moment one side goes dark, the circuit breaks, and the door stays open until that connection is restored.
If your existing sensor unit is old or keeps losing connection, replacing it is often simpler than repeated repairs — see our picks in the best garage door alarm sensor guide.
Common Reasons One Garage Door Sensor Is Not Lighting Up
A dark sensor light usually comes down to three things: power, physical damage, or alignment. Once you know which one you’re dealing with, the fix is usually quick.
Power Supply Issues
Sensors run on low-voltage wiring connected to the opener motor, so most power failures trace back to:
- Loose wiring – terminal connections can shake loose over time
- A pulled cable – daily door vibration can work a wire free
- A tripped breaker – a surge can cut power to the whole unit
No light at all almost always means no power reaching that sensor — and without power, the beam simply can’t work.
Sensor Damage or Failure
Sometimes the wiring is fine and the sensor itself has worn out:
- Moisture damage – rain or humidity getting into the housing
- Age – years of daily cycles eventually take a toll
- Internal component failure – a small part fails with no visible warning
If wiring checks out clean and the light’s still dark, replacement is usually the next step.
Misalignment or Obstruction
The two sensors have to face each other precisely to hold the beam:
- Bent brackets – a bump from a car tire or trash can can shift the angle
- Dirt or debris on the lens – dust or spider webs block the signal
- Direct sunlight – strong glare can interfere with the beam in some setups
A blinking or weak light usually points here first, before assuming it’s wiring or a failed unit.
For context on why this matters beyond convenience, the U.S. Consumer Product Safety Commission’s entrapment-protection rules explain why these sensors became mandatory in the first place.
Here’s a case that comes up more often than people expect: a homeowner backs their trash bin into the garage every collection day, brushing against one sensor bracket just enough to nudge it out of alignment — not enough to notice by eye, but enough to break the beam. The door still opens fine, closes fine most days, then randomly refuses to shut on trash day. No wiring fault, no dead sensor — just a fraction of an inch of misalignment from a recurring habit most people never connect to the problem.
Step-by-Step Troubleshooting Guide (Safe DIY Checks)
Before calling a professional, run through these checks — most take just a few minutes.
1. Cut the power first
Unplug the opener or flip the breaker. This keeps you safe while handling low-voltage wiring.
2. Inspect the wiring
Check both sensors for loose or disconnected wires at the terminals and the opener unit. Look for pinched, chewed, or frayed cable. If you’re unsure what the wiring should look like, our garage door sensor wiring schematic guide breaks it down visually.
3. Clean the lenses
Wipe both photo-eye lenses with a soft, dry cloth to clear dust, dirt, or spider webs blocking the beam.
4. Check alignment
Make sure both sensors face each other directly, and tighten any loose or bent brackets until both lights turn solid.
5. Reset the opener
Restore power, then press the reset button or cycle the breaker. Test the door to confirm both sensors are working.
If the light is still dark after all this, the sensor itself is likely faulty and needs replacing — the system is designed to stay open rather than risk closing on something.
When to Call a Professional in the USA
If you’ve tried basic troubleshooting and still have one garage door sensor not lighting up, it may be time to involve a trained technician. While many sensor issues are simple, some problems require professional tools and experience.
Signs the Problem Is Beyond DIY
You should consider calling a garage door professional if:
- Wiring appears damaged inside the wall or ceiling
- The garage door opener motor unit is malfunctioning
- Both sensors fail to power on after reset
- The door behaves unpredictably or reverses suddenly
In these cases, continuing to test the system yourself could create safety risks or cause further damage.
Why Safety Sensors Are Not Optional
Garage door safety sensors aren’t just a convenience feature — under CPSC rules, automatic residential garage door openers manufactured after 1993 are required to include entrapment protection such as photo-eye sensors, meeting Underwriters Laboratories (UL 325) safety standards.
If one garage door sensor is not lighting up, the system is intentionally preventing the door from closing. That fail-safe design protects children, pets, vehicles, and anyone walking underneath the door. Bypassing or ignoring the issue is never recommended.
Cost Expectations in the U.S.
Sensor repairs are generally affordable:
- $75–$150 for a service call plus minor wiring fixes
- $100–$250 for full sensor replacement, depending on brand and local labor rates
Prices vary by region, but they’re typically far less than the cost of a damaged door or a preventable accident.
A licensed technician can properly test, align, and confirm the system meets current safety standards — worth it when you’re dealing with a heavy door operating above your car and family every day.
.
Final Thoughts: Don’t Ignore a Dark Sensor Light
A dark sensor light isn’t a random glitch — it’s your garage door’s safety system doing its job. Take a few minutes to check the wiring, clean the lenses, or adjust alignment, and most cases resolve quickly. If it doesn’t, a technician can confirm the system still meets current safety standards.
Not sure your current sensor is worth repairing again? Compare a few solid replacement options in our best garage door alarm sensor guide.
FAQs
Why is one of my garage door sensors not lighting up?
It’s usually a power, alignment, or sensor issue preventing the safety beam from activating.
Should both garage door sensors be lit up?
Yes, both lights indicate proper power and alignment for safe operation.
Why is my sensor light not coming on?
The sensor may have a loose wire, misalignment, or internal fault.
How to reset garage sensor light?
Power off the opener, check connections, then restore power to reset the sensors.
How to test a garage door sensor?
Block the beam and see if the door stops closing; a working sensor responds instantly.
How to set sensor light?
Adjust the sensor until both lights are solid, indicating proper alignment and power.
How do I turn my sensor light back on?
Inspect wiring, clean lenses, and ensure the sensor is correctly aligned to restore the light.
How to check if a light sensor is working?
Observe the indicator light and test the door; it should reverse when the beam is blocked.
What are the three settings on a sensor light?
Power on, alignment (beam active), and fault/blinking mode indicating a problem.
About the Author
M Bilal holds a BS in Criminology and writes about home security systems, garage door safety, and access-control technology for CrimTechHub. His background in criminology shapes how he approaches these topics — focusing on how security systems are meant to prevent harm, not just how they’re installed.
Every guide is researched using manufacturer documentation, CPSC (Consumer Product Safety Commission) safety regulations, and UL 325 standards, then reviewed for accuracy before publishing. For hands-on repairs or electrical work, always consult a licensed garage door technician.