Introduction
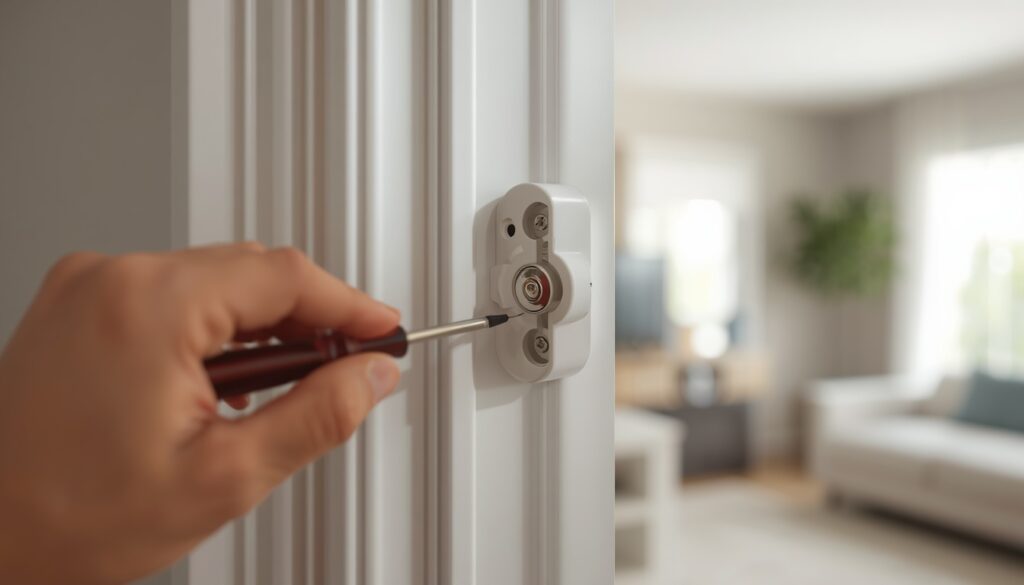
If your alarm sensor starts beeping or chirping, a low battery may be the reason. But opening a door or window sensor is not always obvious, especially when there are no visible screws or the sensor uses a slide-off cover.
If you’re wondering how to open an alarm sensor to change the battery, this guide explains the common ways to access the battery compartment, how to identify the correct replacement battery, and how to put the sensor back in place safely.
Because alarm sensors vary by brand and model, always check the manufacturer’s instructions before removing the cover or replacing the battery.
Table of Contents
Why Your Alarm Sensor Needs a New Battery
An alarm sensor may need a new battery when it starts showing low-battery warnings, producing repeated chirps, or displaying a low-battery indicator. These alerts can appear on the sensor, alarm panel, or connected mobile app, depending on the security system.
Common signs of a low alarm sensor battery include:
- Repeated beeping or chirping
- A low-battery notification on the alarm panel
- A warning in the security system’s mobile app
- A flashing or changing LED indicator on some sensor models
- The sensor becoming less reliable or failing to communicate with the alarm system
Check the Battery Type Before Replacing It
Wireless door and window sensors do not all use the same battery. The correct battery depends on the brand and model. Some sensors use coin-cell batteries, while others use AAA, AA, or other battery types.
Before opening the sensor, check:
- The manufacturer’s instructions
- The sensor label or battery compartment
- The security system’s app or control panel
- The exact model number
Do not replace a battery based only on the sensor’s appearance. Using the wrong battery can cause problems or prevent the sensor from working correctly.
If your system uses a magnetic door sensor, you can also learn more about how these sensors monitor doors and windows in our guide to magnetic door sensors.
Why You Should Replace a Low Sensor Battery
A weak or dead battery can prevent a wireless sensor from communicating properly with the alarm system. This can leave a monitored door or window without reliable detection until the battery is replaced.
Replacing the battery when the system gives a warning is usually easier than waiting until the sensor stops responding completely. Once you identify the correct battery, the next step is to learn how to open the alarm sensor safely without damaging its cover or mounting.
What You’ll Need Before You Start
Before you open an alarm sensor to change the battery, gather the basic tools and confirm the correct replacement battery for your specific sensor. The exact tools can vary by brand and model.
Things to Have Ready
- Small screwdriver: Some alarm sensors have a small screw securing the cover, while others use a snap-on or slide-off design and do not require a screwdriver.
- Correct replacement battery: Battery type and size vary between alarm sensors. Check the manufacturer’s instructions, sensor label, or existing battery before buying a replacement.
- Soft, dry cloth: Use a clean cloth to wipe dust from the outside of the sensor if needed. Avoid getting moisture inside the housing.
Check the Sensor Model First
Before opening the sensor, look for the model number on the device or check your security system’s documentation or mobile app. This can help you identify the correct battery and the proper way to remove the sensor cover.
Do not assume that two sensors use the same battery just because they look similar. Using the wrong battery can prevent the wireless alarm sensor from working properly.
Once you have the correct battery and any required tools ready, you can move on to opening the door or window alarm sensor and accessing its battery compartment.
How to Open a Door and Window Alarm Sensor
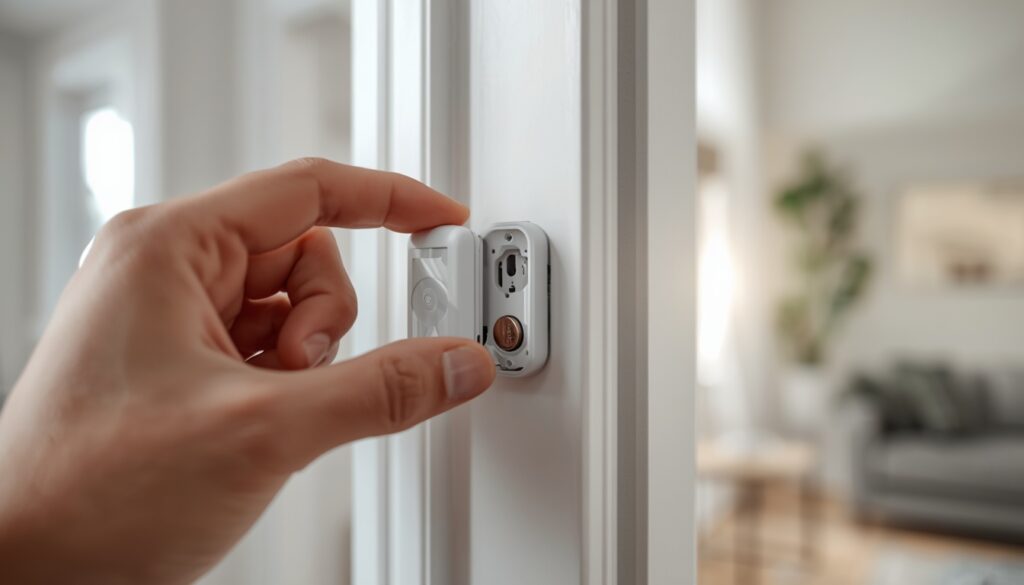
The way you open an alarm sensor depends on its brand and model. Some door and window sensors have a slide-off cover, while others use a small release tab, screws, or a removable mounting plate.
Before applying force, check the sensor’s model number and manufacturer instructions. For example, Honeywell’s sensor documentation shows that some sensors are removed from their wall plate before the batteries are replaced.
Steps to Open the Sensor
- Check the sensor housing. Look for a seam, release tab, screw, or removable cover around the edges of the sensor.
- Remove the sensor from its mounting plate if required. Some models are designed to come off the wall plate before you can access the battery compartment.
- Release the cover gently. If the sensor has a release tab or sliding cover, follow the direction shown in the manufacturer’s instructions. Do not force the plastic housing.
- Open the battery compartment. Once the cover is removed, locate the battery and check how it is positioned before taking it out.
- Remove the old battery carefully. Avoid bending the battery contacts or damaging the sensor housing.
- Check the replacement battery. Use the battery type specified for your exact sensor model. Battery sizes are not universal, so do not assume that a CR2032 or CR2 will fit your sensor.
- Install the new battery correctly. Match the positive (+) and negative (−) markings shown inside the battery compartment.
- Close and remount the sensor. Make sure the cover is fully secured and the sensor is properly positioned on its mounting plate.
Check the Manufacturer’s Instructions
If the sensor does not open easily, stop rather than forcing the casing. A damaged cover, battery contact, or tamper mechanism can affect how the wireless alarm sensor communicates with the security system.
For additional technical guidance, you can check Honeywell Home’s official sensor documentation for an example of model-specific battery replacement instructions.
The safest approach is simple: identify the exact sensor model first, then follow its specific opening and battery-replacement instructions.
How Battery Removal Differs for Motion and Glass-Break Sensors
Motion detectors and glass-break sensors can use a different battery-access method from basic door and window contact sensors. Depending on the model, the housing may have a screw, release tab, removable cover, or mounting plate.
Because designs vary, do not pry open a motion or glass-break sensor until you know how its cover is secured.
How to Access the Battery
- Check the sensor housing. Look around the edges for screws, release tabs, or a removable cover.
- Remove the sensor from its mounting plate if required. Some models need to be detached from the bracket before the battery compartment can be accessed.
- Use the correct screwdriver if a screw is present. Loosen the screw carefully and keep it in a safe place.
- Open the housing gently. Follow the direction indicated by the manufacturer instead of forcing the cover.
- Check the existing battery. Battery type varies by sensor, so use the replacement specified for your exact model.
- Match the polarity. Install the new battery according to the positive (+) and negative (−) markings.
- Test the sensor. After replacing the battery, follow the manufacturer’s testing procedure to confirm that the sensor communicates with the alarm system.
Why Motion Sensors Need Extra Care
Motion and glass-break sensors contain internal components that can be damaged if the housing is forced open. Some models also include tamper switches or other components that can trigger an alarm when the sensor is removed.
If you have a separate indoor motion sensor, you can also read our guide on indoor motion sensor lights to learn more about motion detection and sensor placement.
The important point is that there is no single opening method or battery type for every motion or glass-break sensor. Check the exact model before removing the cover or replacing the battery.
Practical Tips for Replacing an Alarm Sensor Battery
Replacing an alarm sensor battery is usually straightforward, but a few simple precautions can help prevent false alarms, battery errors, or communication problems.
Helpful Tips to Keep in Mind
- Check the alarm system first. If your security system is professionally monitored, follow the manufacturer’s instructions before removing a sensor. Some systems have a test or maintenance mode that can help prevent unnecessary alerts.
- Avoid touching the internal components. Handle the battery and sensor housing carefully, especially when the cover is open.
- Check the battery polarity. If the sensor does not work after replacement, first check that the positive (+) and negative (−) ends are positioned correctly.
- Use the correct battery type. Follow the sensor manufacturer’s specifications rather than choosing a replacement based only on appearance or price.
- Test the sensor after replacement. Confirm that the alarm panel or security app recognizes the sensor and that it is communicating normally.
- Secure the sensor properly. Make sure the cover and mounting position are restored correctly after the battery change.
If the sensor continues showing a low battery warning or goes offline after installing the correct battery, the problem may require further troubleshooting rather than another battery replacement.
Taking a few minutes to check the sensor after a battery change can help keep your home security system working reliably.
How to Reset and Test the Sensor After Replacing the Battery
After replacing the battery and closing the sensor cover, the next step is to make sure the alarm sensor is communicating with your security system. Depending on the brand and model, the sensor may reconnect automatically or require a specific reset or pairing procedure.
Do not assume the sensor is working just because the cover is closed. Always test it before considering the battery replacement complete.
Reconnect the Sensor to Your Security System
The reconnection process depends on your alarm system and sensor model. Follow these steps:
- Restore the sensor to its normal position. Make sure the cover is fully closed and the sensor is securely mounted.
- Check the alarm panel or security app. Look for the sensor and confirm whether it shows as active, connected, or ready.
- Allow time for the sensor to reconnect. Some wireless sensors reconnect automatically after the battery is installed.
- Follow the manufacturer’s reset instructions if needed. Some systems may require a specific button, pairing procedure, or system command.
- Check for low-battery or communication warnings. If an alert remains, verify that the correct battery was installed and that the battery contacts are positioned properly.
Avoid using a generic reset procedure unless it is specifically supported by your security system. An incorrect reset can remove the sensor from the system or require you to pair it again.
Test a Door or Window Contact Sensor
Once the sensor appears connected, test its basic function.
- Open the protected door or window and check whether the alarm panel or app detects the change.
- Close the door or window and confirm that the sensor returns to its normal status.
- Check that the sensor and magnet are positioned correctly when the door or window is closed.
- If your system provides a chime or notification, confirm that it responds as expected.
A successful test confirms that the door sensor battery replacement did not interrupt normal communication.
Test Motion and Other Alarm Sensors
Motion detectors and other wireless security sensors may use a different testing procedure. Follow the manufacturer’s instructions rather than assuming the same test works for every sensor.
For a motion sensor, normal movement within its detection area may trigger a motion event. If the system has a dedicated test mode, use that mode when available.
If the sensor was removed from its mounting bracket, also check for a tamper warning. The warning should clear once the sensor is correctly installed, depending on the system.
If the Alarm Sensor Still Shows Offline
If the sensor does not report correctly after the battery change, check the basics before replacing another battery:
- Confirm the battery type and polarity.
- Make sure the battery is seated correctly.
- Check that the sensor cover is fully closed.
- Reinstall the sensor securely if it was removed.
- Check the alarm panel or app for a communication or tamper warning.
- Follow the manufacturer’s troubleshooting instructions.
For two-piece contact sensors, also check the position of the sensor and magnet. A small change in alignment can prevent the system from detecting when a door or window opens.
If you want to understand how magnetic contact sensors detect an opening, see our guide to magnetic door sensors.
When the Sensor Works but the Problem Keeps Returning
If the sensor works immediately after the battery replacement but later becomes offline again, the issue may not be the battery alone. Possible causes include poor battery contact, a loose sensor cover, weak wireless communication, or a problem with the sensor itself.
For garage-related sensors, proper alignment can also affect detection. Our guide on lining up garage door sensors explains how sensor alignment problems can affect normal operation.
Once the sensor shows the correct status and responds properly during testing, the battery replacement is complete.
What to Do If the Alarm Sensor Still Won’t Work
If your alarm sensor still does not work after replacing the battery, do not assume it needs to be replaced immediately. Check the battery installation, contacts, sensor cover, tamper status, and wireless connection first.
The exact troubleshooting process depends on the sensor and security system, so always follow the manufacturer’s instructions for your specific model.
Check the Battery Type and Polarity
Make sure you installed the correct battery type recommended for your sensor. Different alarm sensors can use different batteries, so do not choose a replacement based only on appearance.
Also check the battery polarity. The positive (+) and negative (−) ends must match the markings inside the battery compartment. An incorrectly installed battery can prevent the sensor from working properly.
Inspect the Battery Contacts
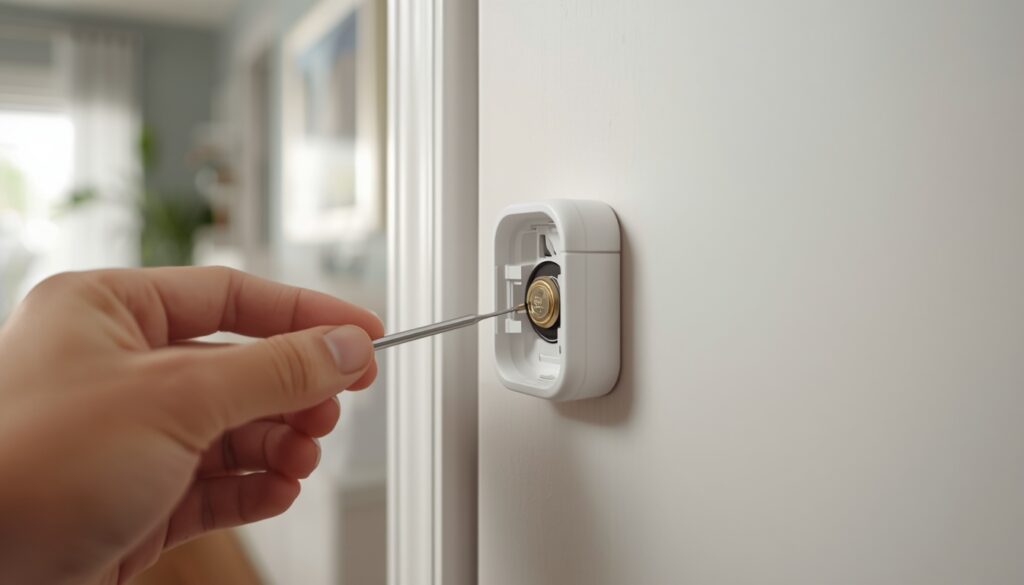
If the sensor still shows a low-battery warning after installing a new battery, inspect the metal contacts inside the battery compartment.
Look for:
- Dirt or residue on the contacts
- Signs of corrosion or damage
- A battery that is not seated correctly
- Loose or bent contact points
If the contacts are dirty, clean them only as recommended by the manufacturer. ADT’s sensor troubleshooting guide also recommends checking the battery and metal contact points when a low-battery warning remains after replacement.
Check the Sensor Cover and Tamper Status
Some alarm sensors include a tamper switch that detects when the sensor housing or mounting plate has been disturbed.
Make sure:
- The sensor cover is fully closed.
- The sensor is securely mounted.
- No tamper warning remains on the alarm panel or app.
- The sensor is positioned correctly on its mounting plate.
Do not press or reset a tamper switch unless the manufacturer’s instructions specifically recommend it. Reset procedures can vary between sensor models.
Check the Wireless Connection
A fresh battery does not always solve a communication problem. A wireless sensor may still show as offline if it cannot communicate properly with the alarm panel or base station.
Check the sensor status in your alarm app or control panel. If the system reports a communication problem, follow the manufacturer’s troubleshooting instructions and check whether the sensor is within the recommended communication range.
Test the Sensor Again
After checking the battery, contacts, cover, and connection, test the sensor again.
For a door or window contact sensor:
- Confirm the sensor is connected to the system.
- Close the door or window.
- Open it and check whether the system detects the change.
- Close it again and confirm that the sensor returns to its normal status.
If the sensor still does not respond after these checks, the problem may involve the sensor itself, its mounting position, wireless communication, or another system fault.
If the sensor repeatedly fails with the correct battery and proper installation, replacing the sensor may be the more practical option. For a persistent system error, contact the manufacturer or a qualified security professional instead of repeatedly resetting the device.
How Often Should You Replace an Alarm Sensor Battery?
The battery life of an alarm sensor depends on the sensor model, battery type, usage, and security system settings. Some wireless sensors can operate for years on one battery, while others may require replacement sooner.
Instead of relying on a fixed replacement schedule, pay attention to low-battery alerts, warning messages, and changes in sensor performance.
Door and Window Sensors
Wireless door and window sensors generally use very little power because they mainly monitor whether the protected opening is open or closed. However, frequent use can affect battery life over time.
A front door that opens and closes many times each day may use its battery faster than a window that remains closed most of the time.
Check your security app or alarm panel for low-battery notifications, and replace the battery when the system recommends it.
Motion and Glass-Break Sensors
Motion detectors and glass-break sensors can have different battery requirements because they continuously monitor their surroundings.
Battery life can vary based on the sensor design, detection settings, battery type, and how often the device is triggered. Always check the manufacturer’s specifications instead of assuming every motion or glass-break sensor will have the same battery life.
Keep Track of Your Battery Replacement Date
A simple way to keep track of alarm sensor battery replacement is to write the installation date on a small label near the battery compartment, if the manufacturer allows it.
You can also record the date in your phone or home maintenance notes. This makes it easier to notice when a battery may be approaching the end of its expected service period.
Regularly checking wireless alarm sensors, door contacts, motion detectors, and other security devices can help you catch battery or communication problems before they affect your home security system.
Final Thoughts
Knowing how to open an alarm sensor to change the battery can save you from unnecessary service calls or replacing a sensor that simply needs a fresh battery. The key is to use the correct battery, open the sensor carefully, check the polarity, and test the sensor after installation.
If your system uses a magnetic contact sensor, you can also learn more about how these devices detect doors and windows in our guide to magnetic door sensors.
Taking a few minutes to check your alarm sensors regularly can help you catch low-battery warnings, communication issues, and other problems before they affect your home security system.
FAQs
How to open alarm sensor to replace battery?
Find the seam along the sensor’s edge, press or twist gently to pop the casing open, then slide out the old battery and replace it with the correct type.
How to remove alarm sensor cover?
Most covers slide off after light thumb pressure on the seam; if it resists, check for a small release tab near the base before pulling.
How to change battery on alarm motion sensor?
Unscrew the small Phillips screw on the back panel, lift the cover, and swap in a fresh AAA or CR123A battery depending on the model.
How to open an ADT sensor for a battery?
ADT sensors typically use the same slide-and-pop design as other contact sensors — locate the seam near the mounting base and gently twist to release it.
How do I open an ADT alarm panel?
The main panel usually requires a small screwdriver to remove a back cover secured by screws; avoid forcing it, since panels are wired and not meant to fully detach like sensors.
Can I replace my alarm battery myself?
Yes, most door, window, and motion sensor batteries are designed for easy DIY replacement with just a screwdriver and the correct battery type.
How to remove alarm panel to replace battery?
Power down the system first, then unscrew the back cover carefully, since panels often have wired connections that shouldn’t be pulled loose.