Introduction
It is 11 PM, and you are settled in bed. You open your Vivint app to double-check your home security—only to see a frustrating message: Garage Door Sensor Offline. No warning chime. No advance notification. Just a dead sensor battery that quietly failed days ago.
This scenario happens to homeowners across the US more often than you think.
Performing a Vivint garage door sensor battery replacement is a simple 2-minute maintenance task, yet many people overlook it until their system goes blind. Your Vivint tilt sensor relies on a single CR123A 3V lithium battery to send real-time open/close signals to your Vivint Smart Hub. When that battery dies, your garage door remains completely unmonitored.
Whether you are dealing with a low-battery panel alert, a persistent offline status, or false tamper warnings, this step-by-step guide covers everything you need: the exact battery type, safe replacement steps without triggering panel alarms, app syncing fixes, and essential troubleshooting tips.
Table of Contents
How the Vivint Garage Door Sensor Actually Works
Most homeowners install a Vivint garage door sensor and assume it operates endlessly in the background. However, understanding the underlying technology behind your sensor makes it easy to spot early signs of battery failure before your home security system is compromised.
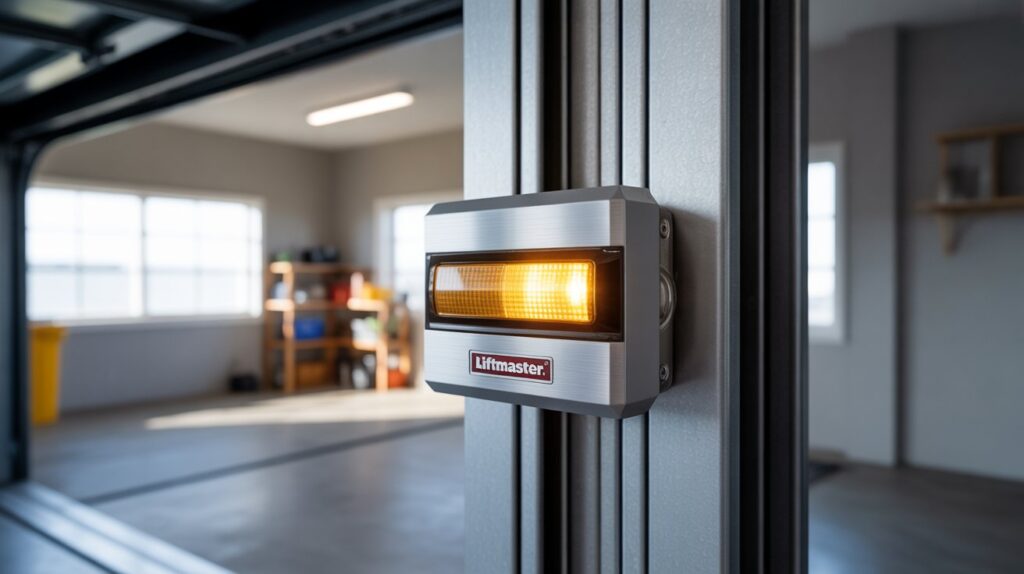
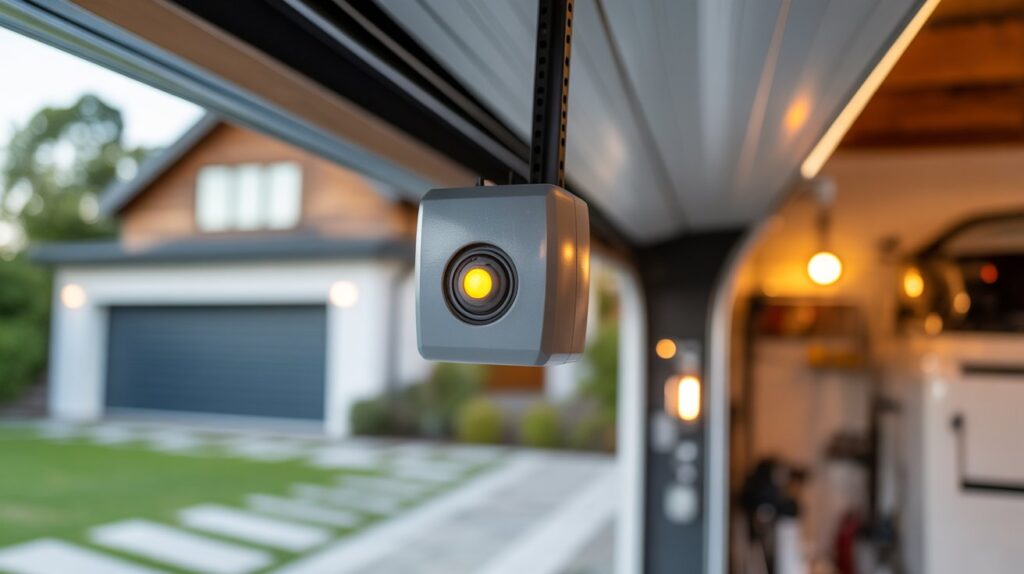
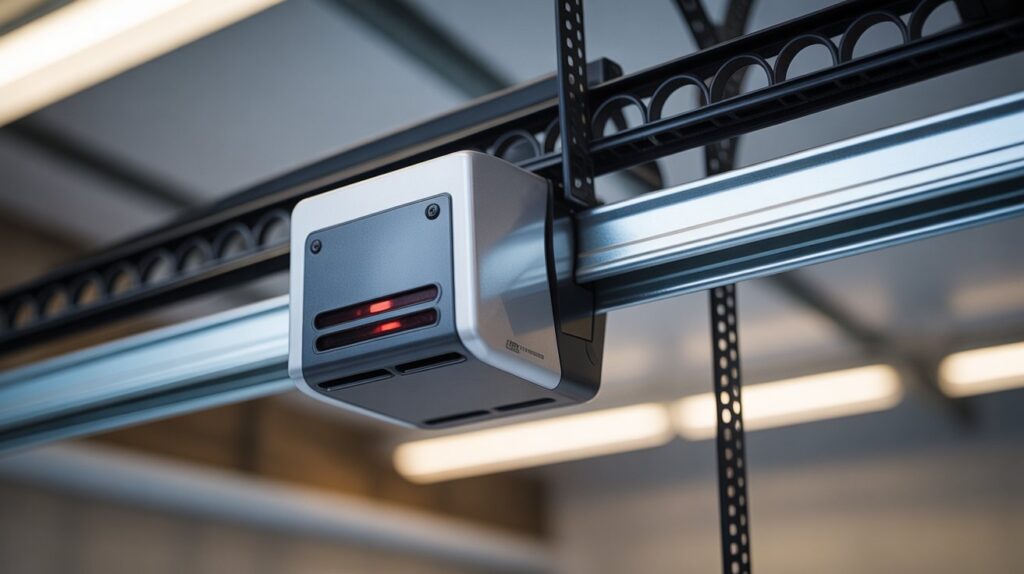
A Vivint garage door sensor (typically a Vivint Tilt Sensor RE206 mounted on the top door panel, or a magnetic contact sensor mounted on the frame) operates as a critical wireless endpoint in your smart home network.
The Real-Time Signal Loop
The moment your garage door opens or closes, an automated sequence occurs within seconds:
- Physical Movement Detection: A gravity-activated tilt switch (or magnetic reed switch) detects the vertical orientation shift as the garage door rolls up.
- Wireless Signal Transmission: The sensor immediately transmits an encrypted radio frequency (RF/Z-Wave) signal to your Vivint Smart Hub panel.
- App & Gateway Notification: The Smart Hub processes the signal and sends an instant push notification to your Vivint mobile app.
- System Event Logging: Your security panel logs the exact time stamp of the entry or exit for historical monitoring.
How Low Battery Voltage Disrupts System Security
Every step in this communication chain depends entirely on stable DC voltage from an internal battery. As the battery drains, the sensor cannot generate enough RF signal power to communicate reliably with the central panel.
A dying battery causes several severe system vulnerabilities:
- Delayed Signal Transmission: Your Vivint panel receives open/close alerts minutes late—or misses them entirely.
- Offline Status & False Disconnections: The Smart Hub displays a persistent “Sensor Offline” or “Loss of Supervision” error message.
- False Tamper & Open State Errors: Voltage drops cause signal bounce, leaving your panel reporting the garage door as open when it is securely shut.
Dealing with Other Garage Door Light & Sensor Issues? If your garage door opener is malfunctioning beyond the Vivint security sensor—such as safety eye alignment or flashing LED indicators—check out our detailed troubleshooting guide on garage door sensor flashing red to diagnose optical sensor faults fast.
Maintaining a fresh battery isn’t just routine home maintenance—it ensures your Vivint perimeter security stays active 24/7 without silent blind spots.
What Battery Does a Vivint Garage Door Sensor Use?
Before purchasing a replacement battery, you must verify your specific Vivint sensor model. Installing the incorrect battery cell is a common mistake that leads to false low-voltage warnings, improper sensor closing, and unnecessary store returns.
Fortunately, Vivint garage door sensor batteries are affordable, widely available across the US, and easy to replace.
Vivint Garage Door Sensor Battery Compatibility Chart
Depending on the hardware version installed on your garage door, your unit will require one of two primary lithium battery types:
| Sensor Model | Battery Type | Voltage | Average Battery Life | Primary Function |
| Vivint Tilt Sensor (RE206) | 1x CR123A Lithium | 3V | 3 – 5 Years | Standard garage tilt detection |
| Vivint Door/Window Contact | 1x CR2032 Coin Cell | 3V | 2 – 3 Years | Frame-mounted magnetic contact |
Pro Tip to Confirm Your Battery Model: Pop off the front cover of your sensor or check your Vivint Smart Home App under Devices > Garage Door > Battery Status to view your specific hardware profile.
Best Retailers to Buy CR123A & CR2032 Batteries in the USA
You can find replacement 3V lithium batteries at major retail chains and online distributors nationwide:
- Online (Fastest Bulk Pricing): Amazon, Battery Junction
- Big-Box Retailers (Same-Day Pickup): Walmart, Target
- Home Improvement Stores: The Home Depot, Lowe’s
- Pharmacies & Convenience: CVS, Walgreens, Rite Aid
Critical Mistakes to Avoid When Purchasing Replacement Batteries
To maintain uninterrupted signal power to your Vivint Smart Hub, avoid these three common battery purchasing traps:
- Avoid Generic or Off-Brand Battery Cells: Cheap generic batteries suffer from severe voltage drops in cold weather, causing your panel to report “Sensor Offline” errors prematurely.
- Never Use Rechargeable CR123A / CR2032 Batteries: Rechargeable lithium-ion cells operate at inconsistent voltage curves, which confuses Vivint’s internal battery gauge and triggers false low-battery alerts.
- Always Check the Expiration Date: Purchase fresh stock with a shelf life extending at least 8 to 10 years into the future.
Stick with industry-trusted brands like Energizer Lithium, Duracell, or Panasonic. These manufacturers deliver steady 3-volt output, ensuring your garage door sensor remains fully operational through extreme winter and summer temperature fluctuations.
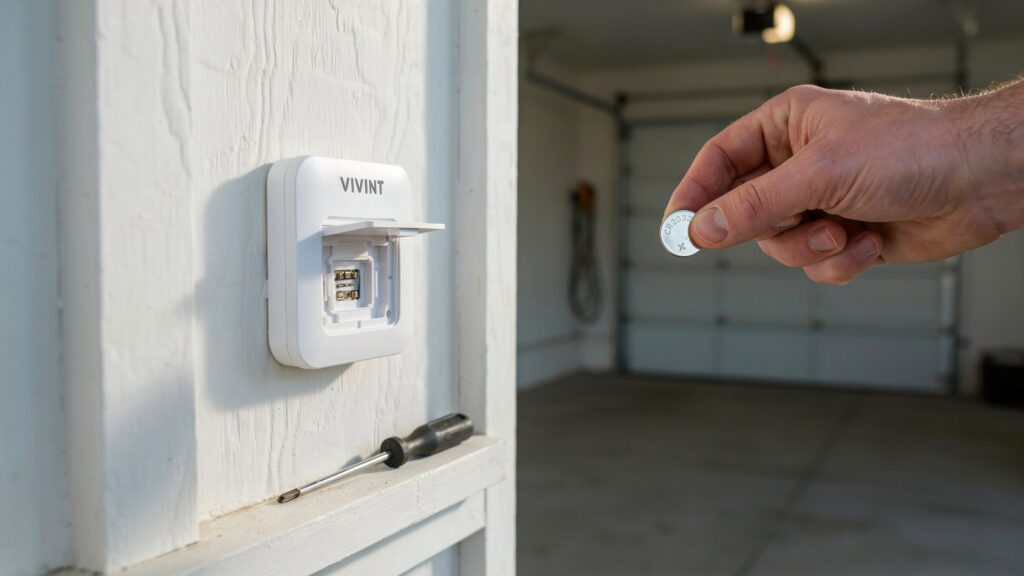
How to Replace a Vivint Garage Door Sensor Battery (Step-by-Step)
Replacing the battery in your Vivint tilt or door sensor is a quick, 5-minute task that requires zero special technical skills. Following the correct procedure prevents false tamper alarms on your central panel and ensures instant synchronization with your smart home hub.
Tools & Items Required
- Fresh Replacement Battery: 1x CR123A (for Tilt Sensor RE206) or 1x CR2032 (for standard contact sensors).
- Flathead Screwdriver or Precision Tool: Useful for gently releasing casing latches.
- Microfiber Cloth: For cleaning internal battery contacts if oxidation is present.
Step 1: Put Your Vivint Smart Hub into Test Mode
Before touching the sensor, you must disarm your system and place your panel in Test Mode. Opening the sensor casing without entering Test Mode triggers an immediate Tamper Alarm and alerts Vivint monitoring services.
- Go to your Vivint Smart Hub touchscreen.
- Tap the Menu icon (bottom right) > enter your 4-digit Master PIN.
- Select Devices > Smart Home Devices > System Test.
- Activate Test Mode to temporarily suppress tamper alerts while you perform hardware maintenance.
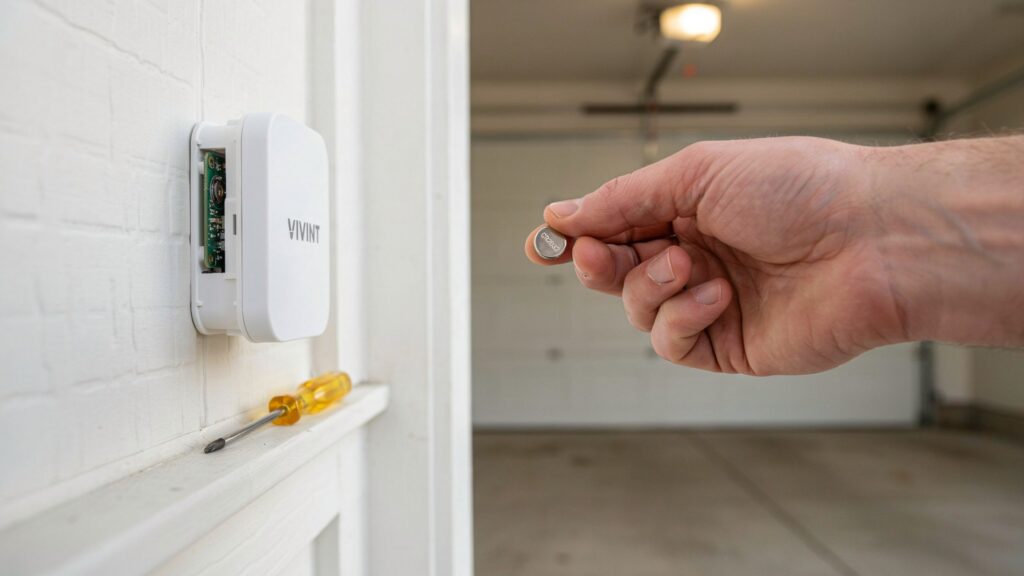
Step 2: Safely Remove the Sensor Casing
Vivint sensor enclosures feature a snap-latch mechanism that must be opened carefully to avoid cracking the plastic housing:
- Locate the small release notch along the side or bottom seam of the sensor casing.
- Insert a flathead screwdriver or fingernail into the slot and apply light pressure.
- Gently lift and remove the top cover, exposing the internal circuit board and battery compartment.
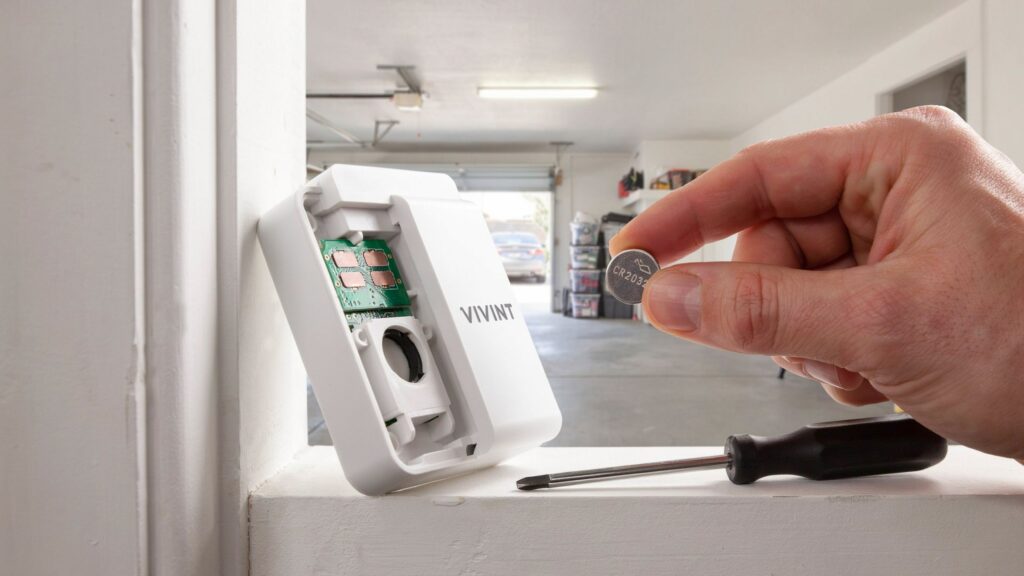
Step 3: Remove the Old Battery & Clean Contacts
- Note the battery polarity (+ positive and – negative orientation). Tip: Take a quick smartphone photo for reference.
- Carefully pop the depleted battery out of its retaining clip.
- Inspect the metal terminal contacts for dust, debris, or corrosion. Wipe the terminals clean using a dry microfiber cloth to maintain optimal electrical conductivity.
Step 4: Insert the New Battery & Secure the Cover
- Handle the new battery by its outer plastic edges—avoid touching the flat metal faces directly, as skin oils can degrade voltage transmission over time.
- Insert the fresh CR123A or CR2032 battery matching the original positive (+) side orientation.
- Press firmly until the battery snaps securely under the retention tab.
- Align the top cover over the sensor base and press until you hear a clear clicking sound, confirming the casing is fully sealed.
Step 5: Sync with Vivint App & Clear Low Battery Warnings
Once reassembled, test the sensor to confirm communication with your central control panel:
- Exit Test Mode on your Vivint Smart Hub panel.
- Open and close your garage door manually to trigger an orientation change.
- Check your Vivint Mobile App—verify that the door status updates in real time (Open / Closed) and that the “Low Battery” or “Sensor Offline” banner clears automatically.
Need a Visual Demonstration? If you want to see how to safely open the casing and replace the battery without damaging the internal tabs, watch this helpful Garage Door Tilt Sensor Battery Replacement Guide.
How Often Should You Replace a Vivint Garage Door Sensor Battery?
While most homeowners wait for a low-battery push notification on their Vivint app, relying entirely on automated warnings can leave your home vulnerable. Under normal operation, a 3V lithium battery (CR123A or CR2032) in a Vivint garage door sensor lasts between 1 to 3 years.
However, proactive maintenance dictates replacing the battery every 12 to 18 months to ensure continuous perimeter protection.
Factors That Accelerate Battery Drain
Several real-world environmental and usage factors directly influence how quickly your sensor battery depletes:
- Daily Door Cycles & Traffic: A busy household opening the garage 8 to 10 times daily consumes battery power much faster than a home using the door twice a day.
- Extreme Seasonal Temperature Fluctuations: Uninsulated garages experience severe thermal swings. Sub-zero winter temperatures in northern states (e.g., Minnesota) or extreme summer attic heat in southern states (e.g., Texas, Arizona) cause chemical voltage drop and rapid discharge in lithium cells.
- Wireless Signal Distance & Polling Frequency: If your garage sensor is mounted far from your central Vivint Smart Hub, it boosts its radio signal power output to maintain connection, accelerating energy consumption.
- Battery Brand & Chemical Composition: High-grade lithium cells from Energizer or Duracell sustain steady 3-volt delivery for up to 3 years, whereas generic carbon-zinc or alkaline cells degrade within 6 to 8 months.
Early Warning Signs Your Vivint Sensor Battery Is Dying
Your Vivint system will usually signal power degradation before the sensor goes completely dark. Recognizing these subtle signs allows you to perform a battery swap before a total loss of monitoring occurs.
- Delayed Vivint App Notifications: The physical garage door opens immediately, but the status change takes 10 to 30 seconds to reflect on your mobile app or Smart Hub display.
- Intermittent Signal Dropouts: The Vivint panel frequently reports brief “Loss of Supervision” or “Sensor Offline” alerts that resolve automatically after a few minutes.
- Inconsistent Door Status Reports: The app displays your garage door as securely closed when it is actually open (or vice versa).
- Flashing Yellow or Red LED Indicators: Certain sensor models display an intermittent onboard LED flash when internal voltage drops below operating thresholds.
- Fluctuating Low Battery Banners: Low battery warning alerts intermittently pop up and disappear on your panel as temperature changes cause temporary voltage fluctuations.
Troubleshooting Persistent Garage Door Errors? If replacing the sensor battery doesn’t resolve status errors on your main system—or if your opener’s optical safety sensors are malfunctioning—read our guide ongarage door sensor flashing redto isolate hardware issues fast.
Common Mistakes to Avoid During Vivint Battery Replacement
While replacing a Vivint garage door sensor battery is straightforward, small errors during the process can lead to persistent status faults, premature battery drain, or undetected security gaps.
1. Using Off-Brand or Generic Battery Cells
Installing cheap, non-brand batteries from dollar stores is the leading cause of early sensor failure. Generic batteries suffer from irregular voltage outputs that confuse the sensor’s internal battery gauge.
- The Problem: Inconsistent power output causes your Vivint Smart Hub to repeatedly display false “Low Battery” alerts—even with a brand-new cell installed.
- The Solution: Always choose high-grade Energizer Lithium, Duracell, or Panasonic 3V cells. Premium batteries maintain stable voltage curves across extreme hot and cold garage temperatures.
2. Failing to Put the Smart Hub into Test Mode
Opening the sensor casing without disarming your panel triggers an immediate tamper switch alert.
- The Problem: The central panel reads the open casing as physical tampering, sounding an internal chime or dispatching unintended monitoring alerts.
- The Solution: Always place your Vivint Smart Home Panel in Test Mode via system settings before opening the sensor housing.
3. Skipping Post-Replacement Verification
Many homeowners snap the sensor cover back on and walk away without testing communication. If the battery was installed with inverted polarity or the casing isn’t fully sealed, the sensor remains offline.
- The Solution: Perform a 30-second post-installation check:
- Manually open and close the garage door.
- Verify that the Vivint Mobile App updates state changes in real time.
- Ensure the low-battery warning banner clears from your device list.
4. Ignoring Rapid Battery Drain & Hardware Misalignment
If your replacement battery drains in 2 to 3 months instead of lasting 1 to 3 years, the battery itself isn’t the root issue. Rapid drain usually points to underlying hardware or signal problems:
- Sensor Misalignment: If the tilt sensor or magnetic contact is installed at an improper angle, the internal switch stays partially engaged, constantly drawing current.
- Wireless Signal Interference: Heavy metal structural beams, garage door motor housing, or high-power Wi-Fi routers can block the RF/Z-Wave signal. This forces the sensor to repeatedly boost power output to re-establish connection with the Smart Hub.
Need More Garage Security Troubleshooting? If your garage opener system continues to misbehave alongside sensor errors—such as safety light indicator faults—explore our step-by-step fix for garage door sensor flashing red to keep your entire setup running smoothly.
When Battery Replacement Isn’t Enough: Advanced Troubleshooting
If you have installed a fresh CR123A or CR2032 lithium battery and your system continues to report a “Sensor Offline”, “Loss of Supervision”, or low-voltage warning, the battery itself is likely not the root issue.
When power replacement fails to restore steady communication, inspect these three critical hardware and network components.
1. Mechanical Misalignment & Air-Gap Distance
For frame-mounted magnetic sensors, proper mechanical alignment is critical for signal stability.
- The Problem: The contact magnet and sensor housing must align within 0.5 inches (12mm) when the garage door is fully closed. Over time, heavy door vibration, loose mounting screws, or track shifting can increase this gap.
- The Security Impact: An excessive gap forces the internal reed switch to flutter between open and closed states. This constant state fluctuation triggers rapid signal transmissions, depleting a new battery in weeks.
- The Fix: Inspect the sensor alignment when the door is down. Re-tighten loose bracket screws and adjust the magnet position so both alignment marks face each other directly.
2. Z-Wave Wireless Signal Interference & Range Range Limits
Garage door sensors are often placed at the furthest perimeter boundary of a home, surrounded by signal-blocking obstacles like metal door panels, concrete walls, and heavy opener motors.
- RF Attenuation: High structural density reduces the 908.42 MHz Z-Wave radio signal strength traveling to your main Vivint Smart Hub.
- Signal Polling Loop: When the Hub loses connection, it repeatedly requests status updates (polling). This constant re-transmission drains battery power rapidly.
- The Fix: Install a Z-Wave Range Extender / Repeater plug halfway between your garage door and the Vivint control panel to boost signal reliability.
3. Internal Hardware Degradation or Moisture Damage
Garages experience severe environmental stress, including high humidity, airborne dust, and extreme seasonal temperature swings.
Consider a complete sensor unit replacement if you notice these degradation signs:
- Corroded Circuitry: Visible white oxidation or rust on the internal battery contacts.
- Cracked Plastic Enclosure: Damaged housing allowing moisture ingress during heavy rain.
- Hardware Lifespan Exceeded: The sensor is over 5 to 7 years old and fails to respond even after multiple system resets.
Experiencing Broad Garage Door Automation Failures? If your entire security and door automation system is acting up—such as garage door motor safety sensors misbehaving—check out our comprehensive guide ongarage door sensor flashing redto troubleshoot optical alignment and wiring issues fast.
4. When to Contact Vivint Technical Support
If hardware alignment and signal path checks fail to resolve the error banner, contact Vivint Customer Support for remote diagnostic testing:
Request a remote Z-Wave network repair or schedule a field technician visit to evaluate your Smart Hub’s RF receiver module.
Log into your Vivint Smart Home App and navigate to Support > Live Chat or call their support line directly.
Provide the representative with your Sensor Device ID and confirm the troubleshooting steps already completed (fresh Energizer/Duracell battery installed, Test Mode activated, alignment checked).
Conclusion
A dying battery should never be the weak link in your home’s perimeter security. Performing a Vivint garage door sensor battery replacement is one of the quickest, most cost-effective maintenance tasks you can do as a homeowner—taking under 5 minutes and requiring no professional technical assistance.
By taking a proactive approach and replacing your 3V CR123A or CR2032 lithium battery every 12 to 18 months, you eliminate unexpected “Sensor Offline” errors and ensure your Vivint Smart Hub provides 24/7 real-time monitoring.
Taking Care of Other Home Safety Gear? While keeping your home automation system updated is vital for perimeter security, personal safety on the go is just as important. Learn how acoustic non-lethal defense tools protect you outdoors in our guide onhow a personal alarm works.
Don’t wait for a low-battery alert to leave your garage unmonitored. Check your sensor status in the Vivint app today, install a fresh name-brand battery, and maintain complete peace of mind knowing your home is fully protected.
FAQs
Q: What kind of battery does Vivint garage door sensor use?
Most Vivint garage door sensors use a CR2032 coin battery or a CR123A battery depending on your specific model.
Q: How to change battery in Vivint garage door sensor?
Pop open the sensor casing, remove the old battery, insert a fresh CR2032 or CR123A in the correct orientation, and test it in your Vivint app.
Q: What kind of batteries do Vivint door sensors take?
Vivint door sensors typically take a CR2032 lithium coin battery — always check inside your sensor casing to confirm your exact model.
Q: How do I change the battery in my door sensor?
Open the sensor cover, swap the old battery with a new one, close it back securely, then verify the sensor is online in your Vivint app.
Q: How to open Vivint garage sensor?
Locate the small notch on the sensor casing, gently press or slide it open — never force it to avoid cracking the cover.
Q: How to change Vivint battery?
Remove the sensor cover, take out the old battery, insert a quality replacement like Energizer or Duracell, and confirm it works through your Vivint app.