Introduction
Have you ever come home and wondered if something unusual happened while you were away? In today’s world, that feeling is more common than you think. That’s exactly why learning how to install wireless security cameras outdoor: easy setup guide for safer homes has become so important for homeowners across the USA.
A simple setup outside your home can change how safe and confident you feel every day. Whether it’s protecting packages, watching over your driveway, or just knowing your family is secure, outdoor cameras give real peace of mind. And the good part is—you don’t need to be a tech expert to set them up.
In this guide, you’ll learn step by step how to install and optimize your system so your home stays protected without stress or confusion.
Table of Contents
Why Outdoor Wireless Security Cameras Matter More Than Ever
Home security has become a bigger priority for many families across the USA. Package theft, car break-ins, and unexpected activity around homes are concerns people talk about every day. Whether you live in a busy suburb, a quiet neighborhood, or a rental property, feeling safe at home matters. That is one reason more homeowners are learning how to install wireless security cameras outdoor and take control of their property protection.
Outdoor wireless security cameras help protect the things people care about most. A well-placed camera near the front door can monitor deliveries and visitors. A driveway camera can help watch parked vehicles. Backyard coverage can add peace of mind when children or pets are outside. Even the simple presence of visible cameras can discourage suspicious behavior before it becomes a real problem.
Many people choose wireless systems because they are easier to install than traditional wired setups. There is no need to run long cables through walls or hire expensive technicians in many cases. Battery-powered and solar-powered options make setup even more convenient. For homeowners, that means faster protection. For renters, it often means flexible security without permanent changes to the property.
Learning how to install wireless security cameras outdoor is not only about technology—it is about creating a safer daily life. When you can check alerts, view live footage, and know what is happening outside your home, you gain confidence and peace of mind that every family values.
What to Do Before You Install Anything
Before mounting any camera, take a few minutes to plan the setup. This small step can save time, prevent blind spots, and help you get better security coverage from day one. Many people rush the process, but smart preparation is the real secret behind learning how to install wireless security cameras outdoor the right way.
Choose the Best Camera Locations Around Your Home
Think about the areas where protection matters most. Focus on entry points and spaces where activity happens regularly. Good placement improves motion alerts, video quality, and overall safety.
Best places to consider:
- Front door for deliveries and visitors
- Driveway for cars and movement
- Backyard for children, pets, or rear access
- Side gates or walkways for hidden entry points
- Garage area for tools and storage protection
Place cameras high enough to avoid tampering, but low enough to capture clear faces and details.
Check Wi-Fi Signal Strength Outdoors
Wireless cameras depend on a stable internet connection. If the signal is weak outside, the camera may lag, disconnect, or miss alerts. Walk around your home with your phone and test Wi-Fi strength where you plan to install each camera.
If signal is poor, consider:
- Moving your router closer to the camera side of the home
- Using a Wi-Fi extender
- Reducing thick wall interference
- Choosing cameras with stronger wireless range
Reliable Wi-Fi is one of the most important parts of how to install wireless security cameras outdoor successfully.
Decide Between Battery-Powered vs Solar-Powered Cameras
Both options are popular in the USA, but the best choice depends on your routine and location.
- Battery-powered cameras are flexible and easy to place almost anywhere. Great for quick setup.
- Solar-powered cameras reduce charging needs and work well in sunny areas. Great for long-term convenience.
If you want less maintenance, solar may be the better option. If you need flexible placement, battery models are often ideal.
Review Local Privacy Laws and Neighborhood Considerations
Security cameras should protect your home while respecting others. In many areas, it is smart to avoid pointing cameras directly into a neighbor’s yard, window, or private space.
Keep these basics in mind:
- Aim cameras at your own property when possible
- Check HOA rules if you live in a managed community
- Review local laws about audio recording
- Use visible, respectful placement
A thoughtful setup protects your home and keeps good relationships with neighbors. Planning first makes the full installation process smoother, smarter, and more effective.

How to Install Wireless Security Cameras Outdoor Step by Step
Once you choose the right spots, the actual setup is usually easier than most people expect. Modern systems are designed for simple DIY installation. If you follow each step carefully, you can protect your home in less time and with less stress. This is the easiest way to understand how to install wireless security cameras outdoor for reliable daily use.
Step 1 – Charge and Prepare the Camera
Before mounting anything, fully charge the camera battery if needed. If your model uses a solar panel, charge the unit first so setup goes smoothly. Download the camera app, create your account, and check that all accessories are included.
Most boxes should contain:
- Camera unit
- Mounting bracket
- Screws and anchors
- Charging cable
- Quick start guide
Starting fully prepared saves time later.
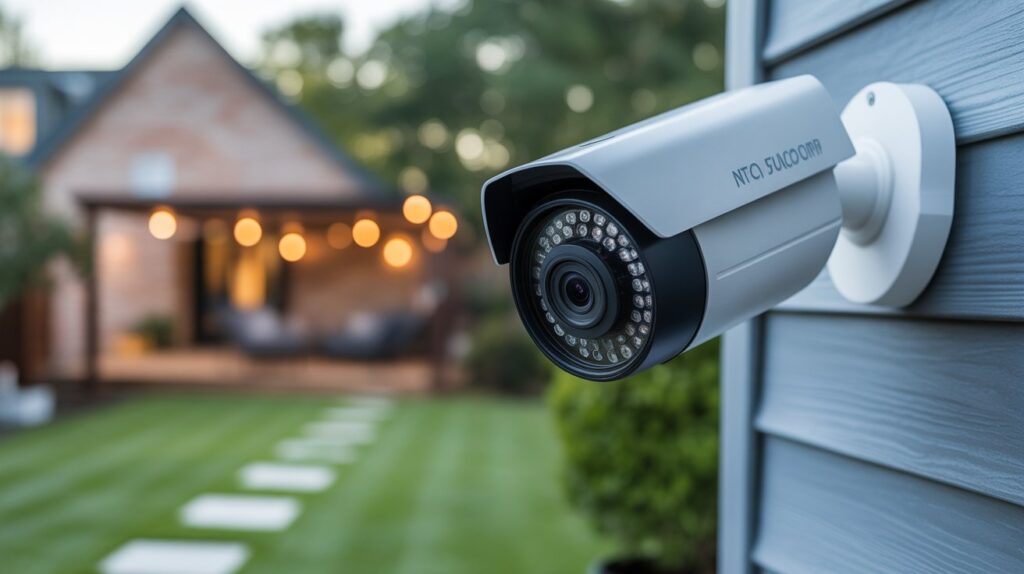
Step 2 – Mount the Bracket Securely
Hold the bracket against the wall, fence, garage, or porch area where you want coverage. Mark the screw holes, then drill carefully if required. Secure the bracket tightly so the camera stays stable during wind, rain, or temperature changes.
Choose a location that is:
- High enough to reduce tampering
- Low enough to capture faces clearly
- Protected from direct heavy weather when possible
- Close enough for strong Wi-Fi signal
A secure mount is one of the most important parts of how to install wireless security cameras outdoor correctly.
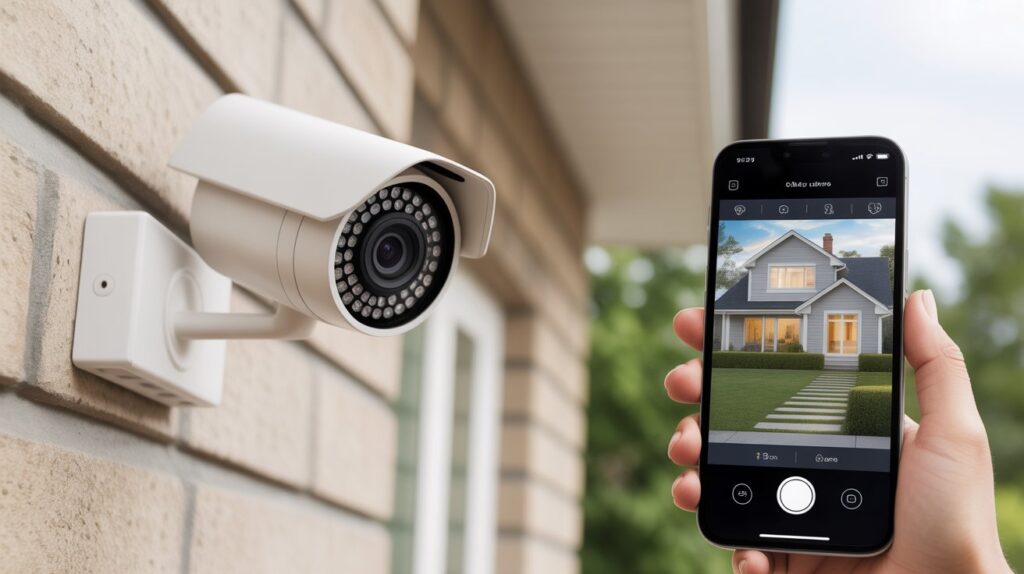
Step 3 – Connect the Camera to Wi-Fi
Once mounted or ready to mount, open the mobile app and follow the pairing steps. Most cameras connect by scanning a QR code or using Bluetooth during setup. Use your home Wi-Fi network and enter the password carefully.
For best results:
- Use a strong 2.4GHz network if supported
- Stand near the router during first setup
- Wait for firmware updates to finish
- Rename cameras by location, like Front Door or Driveway
Good connection means faster alerts and smoother live video.
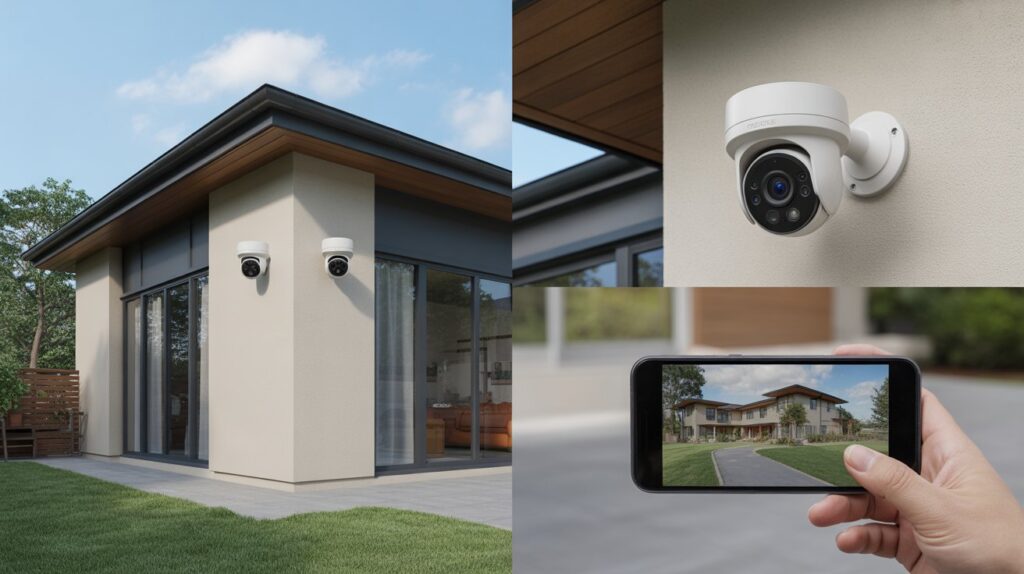
Step 4 – Adjust the Viewing Angle
After connecting, check the live feed in the app. Tilt or rotate the camera until you can clearly see the area you want to monitor. Avoid too much sky, walls, or bright sunlight in the frame.
Aim for views such as:
- Front steps and walkway
- Driveway entrance
- Backyard gate
- Garage door area
Small angle changes can make a big difference in coverage quality.
Step 5 – Test Motion Detection and Alerts
Walk through the camera zone and make sure motion alerts arrive on your phone. Check both daytime and nighttime performance. Adjust sensitivity if alerts are too frequent or too weak.
Test these features:
- Motion notifications
- Night vision clarity
- Two-way audio if included
- Recording playback
- App response speed
When everything works properly, you are done. Knowing how to install wireless security cameras outdoor gives you more control, more awareness, and greater peace of mind every day.
Common Outdoor Camera Installation Mistakes to Avoid
Even the best security camera can disappoint if it is installed the wrong way. Many homeowners spend money on smart cameras, then miss important footage because of simple setup mistakes. If you want the best results from how to install wireless security cameras outdoor, avoiding these common errors can save frustration and improve protection immediately.
Placing Cameras Too High or Too Low
Height matters more than people think. A camera placed too high may only capture the top of heads or wide empty space. Too low, and it can be easier to block, damage, or steal.
For better results:
- Install around 8 to 10 feet high in many cases
- Keep faces visible near entry points
- Test the live view before final tightening
- Avoid aiming only at the ground or sky
The right height creates clearer footage when it matters most.
Weak Wi-Fi Causing Disconnects
A wireless camera is only as strong as its connection. If your camera keeps going offline, delays alerts, or buffers constantly, weak Wi-Fi is often the cause.
Signs of poor signal:
- Live video loads slowly
- Missed motion alerts
- Random disconnects
- Delayed recordings
To fix it, move the router closer, use a Wi-Fi extender, or relocate the camera slightly. Strong signal is essential when learning how to install wireless security cameras outdoor properly.
Poor Angle Creating Blind Spots
Many people mount a camera and never check the full view. That can leave driveways, walkways, or side entrances outside the frame. A camera that misses the action cannot help when needed.
Avoid blind spots by checking:
- Front door approach path
- Package drop area
- Vehicle parking space
- Gates and side paths
- Corners near fences or walls
A small angle adjustment can turn weak coverage into smart coverage.
Ignoring Weather Exposure and Sunlight
Outdoor cameras face rain, heat, wind, snow, and direct sunlight. If placed in harsh conditions, video quality and battery life may suffer.
Smart placement tips:
- Avoid direct afternoon sun when possible
- Use shaded areas under eaves or porches
- Keep solar panels facing sunlight if included
- Check weatherproof seals after mounting
Protecting the camera itself helps protect your home long term.
Final Tip
The goal is not just to install a camera—it is to install it well. By avoiding these mistakes, your system becomes more reliable, more effective, and more valuable every day.

How to Get the Best Performance After Installation
Installing the camera is only the first step. To get real value from your system, you need to fine-tune it for daily use. A few smart adjustments can improve alerts, video quality, battery life, and long-term reliability. Once you learn how to install wireless security cameras outdoor, the next move is making them perform at their best.
Set Smart Motion Zones
Not every movement needs an alert. Cars passing on the street, waving trees, or neighborhood foot traffic can create unnecessary notifications. Motion zones let you focus only on important areas.
Set zones around:
- Front door and porch
- Driveway entrance
- Backyard gate
- Garage access points
- Package drop area
This helps reduce false alerts and keeps notifications meaningful.
Enable Night Vision and Instant Alerts
Most suspicious activity happens when visibility is low. Night vision and fast alerts help you stay aware even while sleeping or away from home.
Turn on these features:
- Infrared or color night vision
- Motion push notifications
- Person detection if available
- Sound alerts for unusual activity
- Emergency siren if included
These settings can make how to install wireless security cameras outdoor far more effective in real life.
Keep Batteries Charged or Solar Panel Clean
A camera with no power cannot protect anything. Battery-powered models need regular charging, while solar-powered cameras need clear sunlight to stay active.
Simple maintenance tips:
- Check battery levels weekly
- Recharge before power gets too low
- Wipe dust, leaves, or snow from solar panels
- Make sure solar panels face sunlight properly
- Keep charging ports dry and clean
Small maintenance habits prevent big problems later.
Update Firmware Regularly for Safety and Performance
Manufacturers release firmware updates to improve security, fix bugs, and add new features. Ignoring updates can lead to slower performance or security risks.
Benefits of updating:
- Better app connection
- Improved motion detection
- Stronger account security
- Faster live streaming
- New smart features over time
Turn on automatic updates if your system allows it.
Final Tip
A well-installed camera is good, but a well-maintained camera is better. With the right settings and simple upkeep, your outdoor security system can stay dependable every season of the year.
Conclusion
Learning how to install wireless security cameras outdoor is more than a home upgrade—it is a smart step toward protecting the people and things that matter most. With the right placement, strong Wi-Fi, and simple maintenance, you can create a safer and more confident daily life.
Real security often starts with small decisions made today. One camera, one smart setup, and one thoughtful action can bring lasting peace of mind tomorrow.
Now take a moment to think — if something happened outside your home tonight, would you be ready to see it coming?
FAQs
How do you power an outdoor wireless security camera?
Most outdoor wireless cameras run on rechargeable batteries or solar panels, so you don’t always need direct wiring. Some models can also be plugged into a standard power outlet.
Can wireless CCTV work without internet?
Yes, some cameras can record locally on SD cards without internet, but you won’t get live viewing or remote alerts without a connection.
How to install wireless CCTV camera in home?
You simply mount the camera, charge it, connect it to Wi-Fi through an app, and adjust the angle for proper coverage. It’s designed for easy DIY setup.
Can wireless CCTV work without electricity?
Yes, battery-powered or solar-powered CCTV cameras can work without direct electricity for a limited time depending on battery capacity.
What are the disadvantages of wireless CCTV cameras?
They can face Wi-Fi interruptions, battery maintenance needs, and limited storage if not connected to cloud or external storage.
How long does a CCTV camera record without electricity?
If it has a battery backup, it can record anywhere from a few hours to several days depending on battery size and usage.
How long does a battery last in a wireless security camera?
On average, batteries last from 1 to 6 months, depending on motion activity, settings, and camera model.
How do you know if a CCTV camera is watching you?
Most cameras show a small LED light or indicator when active, and you can also check live status through the connected mobile app.