Introduction
Pressed the button and watched your garage door refuse to close? If you’re seeing one garage door sensor red and the other green, you’re not alone. This is one of the most common garage door problems for homeowners across the USA, and it usually has a simple fix.
These safety sensors exist to protect your family, pets, and vehicles by stopping the door from closing on anything in its path. The two lights are how the system tells you whether it’s working properly or something is blocking the beam. In this guide, you’ll learn what the red and green lights mean, why they don’t always match, and how to fix common issues like misalignment, dirty lenses, and loose wiring, so you can get your garage secure again without an unnecessary repair bill.
Table of Contents
Why Is One Garage Door Sensor Red and the Other Green?
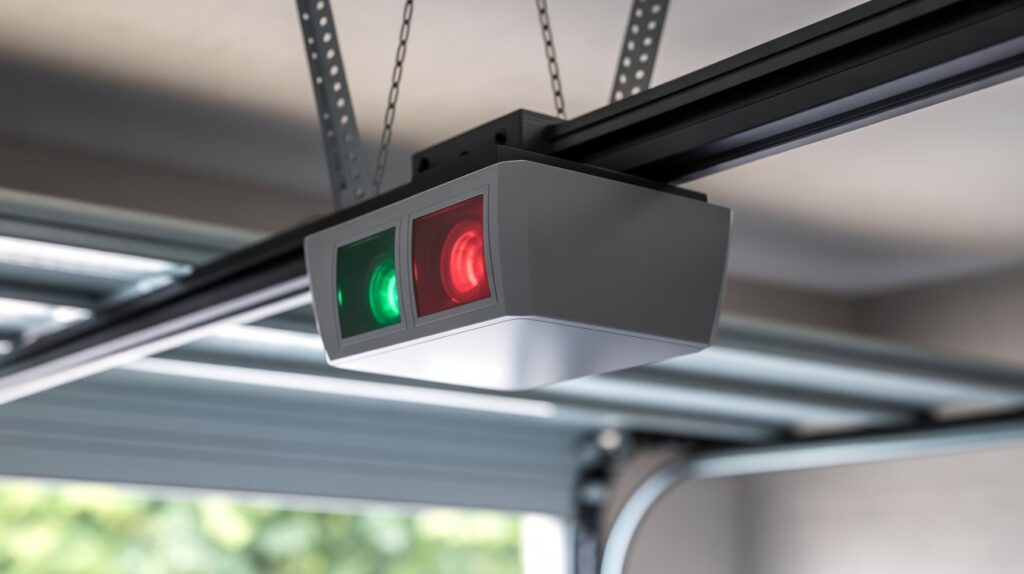
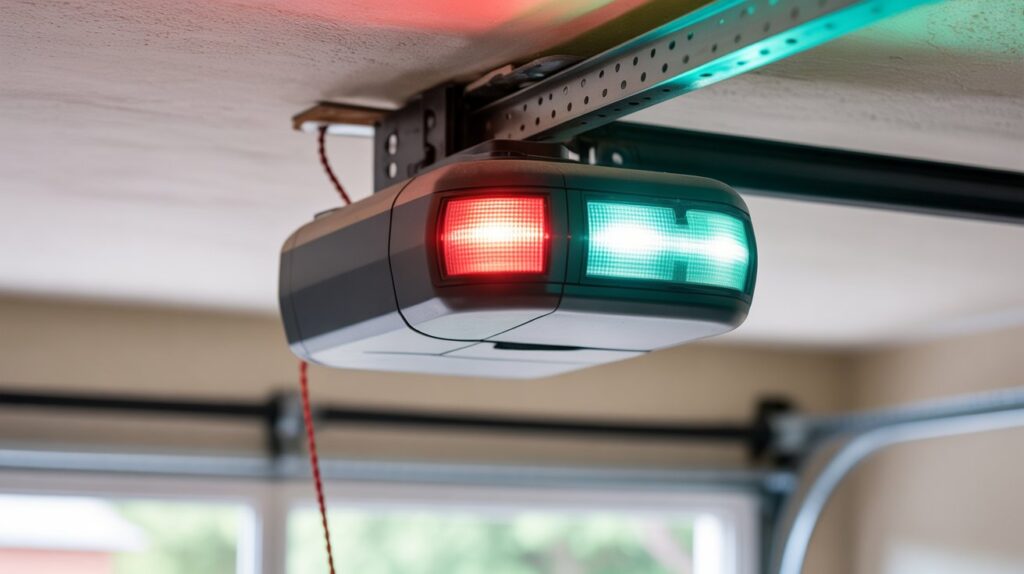
Short answer: if both lights are solid, it’s usually normal. A red and green garage door sensor pairing means the two sensors are doing different jobs: one sends an infrared beam and the other receives it.
The sending sensor (often the red or amber one) shoots an invisible beam across the garage door opening. The receiving sensor on the opposite side catches it and lights up green once it confirms a clear line of sight. When both lights stay solid, your opener is getting a “path is safe” signal, and the door should close normally.
Colors vary by brand. Chamberlain and LiftMaster sensors typically use amber and green, while some other brands use red and green. Check your opener’s manual to confirm which unit is the sender.
What Each Light Pattern Means
- Both lights solid: sensors are aligned and powered. Normal operation.
- One light blinking: the beam is blocked or the sensors are slightly misaligned.
- One light dim or flickering: a dirty lens or a weak connection.
- One light off: usually a power or wiring problem, not alignment.
Knowing which symptom you have tells you whether it’s a two-minute fix or something that needs a closer look. If the door still won’t close with both lights solid, check for a blocked beam, direct sunlight hitting the receiver, or a fault at the opener itself.
The system exists to stop the door the instant a pet, bike, or foot crosses the beam. A steady red-and-green pair is that safety system working as designed.
How Garage Door Safety Sensors Actually Work
- Photo-eye sensors are small safety devices installed near the bottom of both garage door tracks.
- They create an invisible infrared safety beam across the door opening.
- If something blocks that beam while the door is closing, the system immediately stops and reverses.
- Proper alignment is critical. Both sensors must face each other directly to maintain the beam connection.
- Even slight misalignment, dust, or a small obstruction (like a box, trash can, or toy) can interrupt the signal.
- When the safety beam is blocked, the garage door opener prevents the door from closing to avoid injury or damage.
- In most systems, the sending sensor shows a red or amber light and transmits the infrared signal.
- The receiving sensor usually displays a green light when it is correctly receiving the beam.
- If you notice garage door sensor one red one green, it often means the system is powered and communicating properly — unless one light is blinking or off.
- U.S. safety regulations require garage door openers to include these sensors to protect families, pets, and vehicles.
- These safety sensors are not optional — they are a federally mandated protection feature in modern homes.
- Understanding how the photo-eye and safety beam system works makes it easier to diagnose common garage door sensor issues quickly and safely.
What It Means When One Garage Door Sensor Is Red and the Other Is Green
Seeing two different colored lights on your garage door sensors can look alarming at first, but it isn’t a warning sign by itself. The colors simply show which unit is sending the infrared beam and which is receiving it. Once you understand that split, the “why won’t my garage door close” mystery usually clears up fast.
Most people assume the opener is broken. In reality, mismatched colors are part of the design. The real question isn’t why the lights are different colors, but whether each light is steady or blinking. That is what separates a normal setup from one that needs attention, and it can save you an unnecessary service call.
Normal Operation vs. Warning Signs
- Solid green + solid red: the sensors are aligned and communicating properly.
- Blinking light (either sensor): likely misalignment, a blocked beam, or a minor wiring issue.
- One light completely off: possible power problem or a disconnected wire.
If both lights are steady, your safety beam system is working as intended. A light that is off entirely may mean the sensor isn’t getting power, which can stop the door from closing.
These sensors matter for safety. Since 1993, U.S. rules have required new automatic openers to include entrapment protection, and the Door & Access Systems Manufacturers Association (DASMA) recommends testing your photo eyes and reversing mechanism every month.
Most Common Causes of Sensor Problems in U.S. Homes
Sensor issues are usually simple, not major mechanical failures:
- Dirty lenses: dust, spider webs, or garage debris blocking the photo eye.
- Slight misalignment: a bump from a trash bin, bike, or car tire can shift the angle.
- Sunlight interference: direct sun hitting the receiving sensor can disrupt the beam.
- Loose wiring: vibration over time can loosen low-voltage wires.
- Shifted brackets: sensor brackets can move slightly, especially with temperature changes.
Most of this happens during normal daily life, like moving storage boxes or kids bumping a sensor while playing. Mismatched sensor lights rarely mean a costly opener replacement. More often it’s a lens that needs wiping or a bracket that’s shifted a few degrees.
Step-by-Step: How to Fix the Red and Green Sensor Issue
If you’re seeing garage door sensor one red one green and the door won’t close properly, don’t panic. In most U.S. homes, this issue can be fixed in just a few simple steps. You don’t need advanced tools — just patience and careful inspection.
Start with the basics before assuming a major garage door opener failure.
1. Clean the Sensor Lenses
Dust, spider webs, or garage debris can block the safety beam.
- Use a soft, dry microfiber cloth.
- Gently wipe both photo-eye lenses.
- Avoid harsh cleaners that could scratch the surface.
Even a thin layer of dirt can interrupt the infrared signal and cause blinking lights.
2. Check Alignment and Adjust Gently
Even a slight shift in sensor alignment can prevent your garage door from closing properly.
- Make sure both sensors are facing each other directly.
- The green receiving light should stay solid when aligned.
- Slightly adjust the sensor until the blinking stops.
A small bump from a trash can or car tire can shift the angle just enough to break the safety beam.
3. Tighten the Mounting Brackets
Loose brackets can cause the sensor to move out of position over time.
- Inspect the metal brackets on both sides.
- Tighten screws carefully without over-tightening.
- Ensure the sensors remain level and steady.
Temperature changes in U.S. garages can sometimes loosen hardware gradually.
4. Inspect Wiring Safely
If one light is completely off, check the wiring.
- Look for loose or disconnected low-voltage wires.
- Ensure wires are firmly attached to the terminals.
- Do not handle exposed wiring with the power on.
If you notice damaged wires, it’s safer to contact a professional technician.
5. Test the Door After Adjustments
Once everything looks aligned and secure:
- Press the wall button or remote.
- Watch the sensor lights closely.
- Confirm the garage door closes smoothly without reversing.
Follow these steps in order, and most sensor mismatches sort themselves out before you even need to touch a screwdriver. Once you know what each light is actually reporting, a “door won’t close” moment stops being a mystery and turns into a two-minute check.
When to Call a Garage Door Professional
Most of the time, fixing a garage door sensor with one red and one green light is simple. But sometimes the problem goes beyond cleaning or alignment. Knowing when to stop troubleshooting and call a garage door professional can save you time and prevent bigger problems.
Signs It’s Time to Schedule a Service Visit
- Persistent blinking lights even after cleaning the lenses and realigning the sensors.
- The door reverses immediately every time you try to close it.
- Visible wiring damage, such as frayed, cut, or exposed low-voltage wires.
- An older opener with aging or failing safety sensors.
Your opener runs several times a day, and that constant movement adds up. Wiring loosens, brackets shift, and connections wear down over time. If the sensors keep misbehaving after cleaning and realigning, the cause may be deeper, such as damaged wiring along the run or a fault in the opener’s control board.
Why Professional Help Matters for Safety
A garage door is a heavy, spring-tensioned system, and a malfunctioning opener or safety sensor can cause serious injury. Once wiring or voltage is involved, a licensed technician is the safer choice over a DIY fix. A professional can test the circuit properly and confirm your sensors meet current safety standards.
Rule of thumb: cleaning a lens or nudging a bracket is fine to handle yourself. If the problem keeps coming back or you spot damaged wires, stop troubleshooting and call a qualified technician.
Conclusion
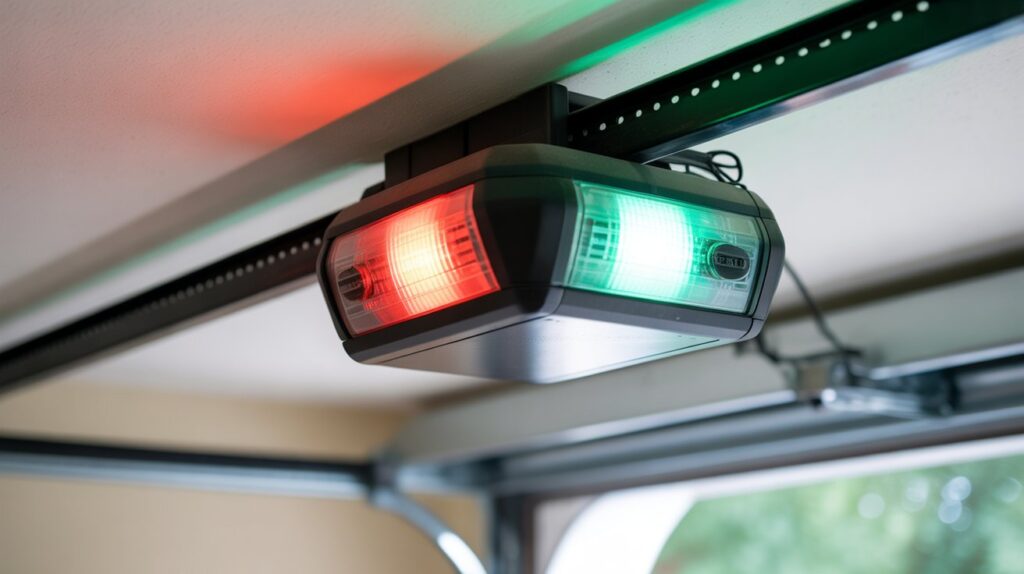
A mismatched red-and-green light isn’t a red flag — it’s your safety system doing its job. Most fixes come down to a clean lens, a straight bracket, or a quick alignment check; anything beyond that is worth handing to a professional.
If your sensors are older or keep acting up despite these fixes, it might be time to look at a replacement sensor kit built for more reliable detection. A five-minute check today is a lot cheaper than a repair bill later.
FAQs
Why is one of my garage door sensors red and the other is green?
It usually shows the sending sensor is active (red) and the receiving sensor is aligned (green).
Why are my garage door sensors two different colors?
Different colors indicate each sensor’s status — one sends the beam, the other receives it.
What does a red and green garage light mean?
A solid red and green typically means the sensors are powered and working properly.
How do I reset the sensors on my garage door?
Disconnect power, realign the sensors, and restore power to reset the system.
How to fix garage door sensor red light?
Clean the lens, check alignment, and ensure the wiring is secure.
About the Author
M. Bilal is the founder and editor of CrimTechHub, a home security and technology blog for U.S. homeowners. He holds a BS in Criminology, which shapes how he approaches home safety: understanding how everyday security risks happen, and how simple, practical steps can reduce them.
At CrimTechHub, he writes guides on garage door safety, home security systems, and smart home technology, focused on clear, accurate information that helps readers make safer decisions at home.
Note: this article is for general informational purposes. For wiring problems or persistent sensor faults, consult a licensed garage door technician.