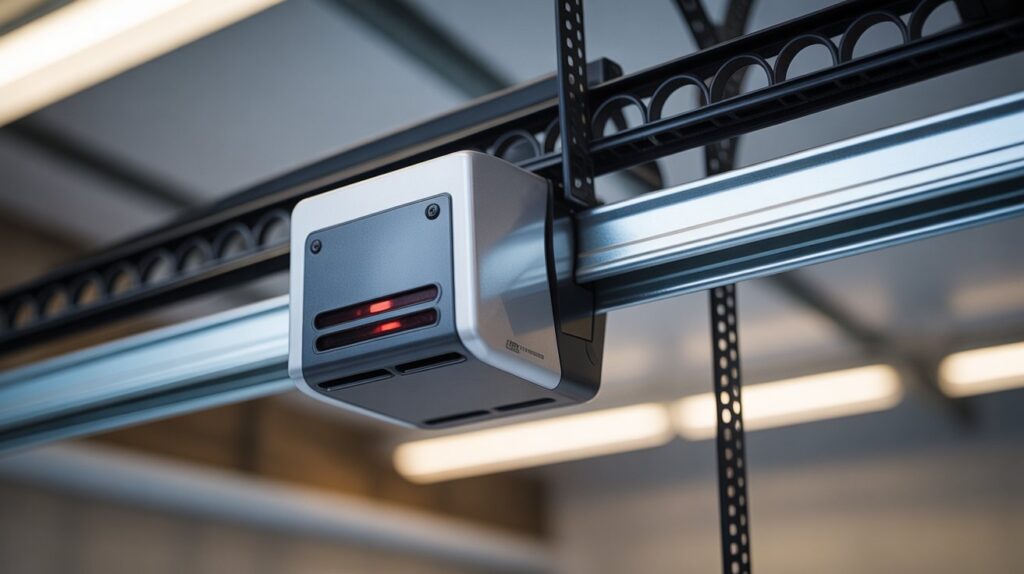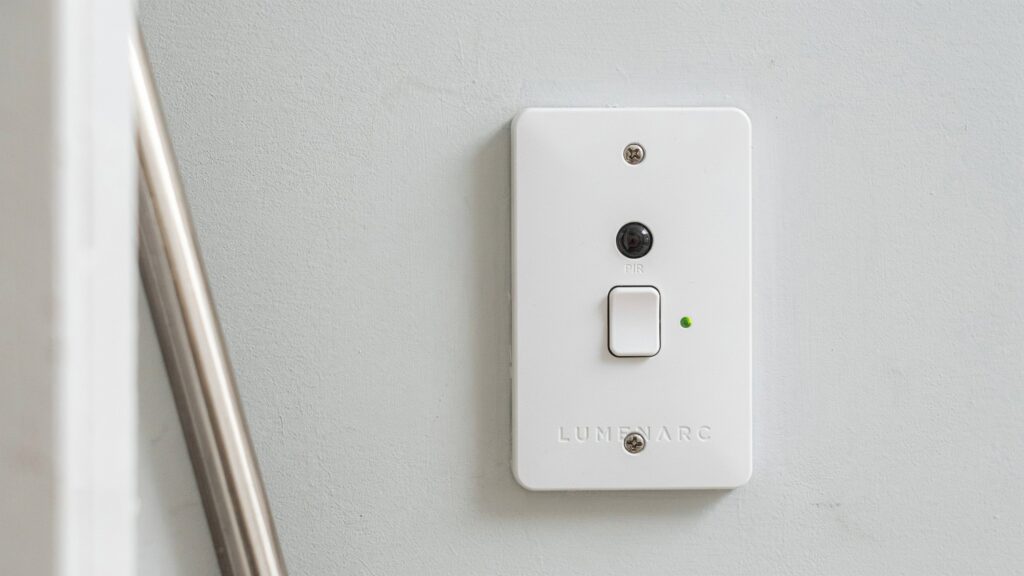
Introduction
A dark hallway with your hands full, or a basement light left on all night — both are avoidable with the right switch.
Installing a motion sensor light switch 3-way is one of the simplest upgrades you can make at home: no electrician, no complicated tools, just automatic control of your lights from two locations. It pairs well with other automatic lighting upgrades, like wiring a motion sensor light without a switch in single-entry spaces.
Whether it’s your staircase, hallway, or garage, this one switch makes the space more convenient, more efficient, and easier to control — and it’s a DIY job that actually pays off.
Table of Contents
Why a 3-Way Motion Sensor Switch Is Worth Every Penny
Walk into the garage with your hands full of groceries, and the light’s already been on since last night — again. It’s a small thing, but it adds up: wasted electricity, higher bills, and a nagging feeling that your home isn’t as smart as it could be.
A 3-way motion sensor light switch fixes exactly that. It detects movement and controls the light from two different locations — like both ends of a hallway, staircase, or large room. No more searching for a switch with your hands full, and no more lights left on for hours.
One switch swap and your lighting works for you automatically — on when you enter, off when you leave. For busy homeowners across the USA, that’s not a luxury. That’s just smart living, and it pairs naturally with other motion-activated lighting upgrades around the house.
What You Need Before You Start
Get everything ready before touching a single wire — stopping mid-job to hunt for a tool is how mistakes happen.
Here’s what you’ll need:
- 3-way motion sensor switch — rated for 3-way wiring
- Flathead and Phillips screwdriver
- Voltage tester — non-negotiable for safety
- Wire stripper
- Electrical tape
- Needle-nose pliers
That’s it — no fancy equipment, no electrician’s toolkit.
The one thing most people skip is the voltage tester. Don’t. The Electrical Safety Foundation International recommends always confirming a circuit is de-energized with a tester before touching any wire, even after switching off the breaker — it takes seconds and protects you from a live wire.
Also check your switch box. If it’s old or crowded with wires, take a quick photo before removing anything — it’ll save confusion during reinstallation.
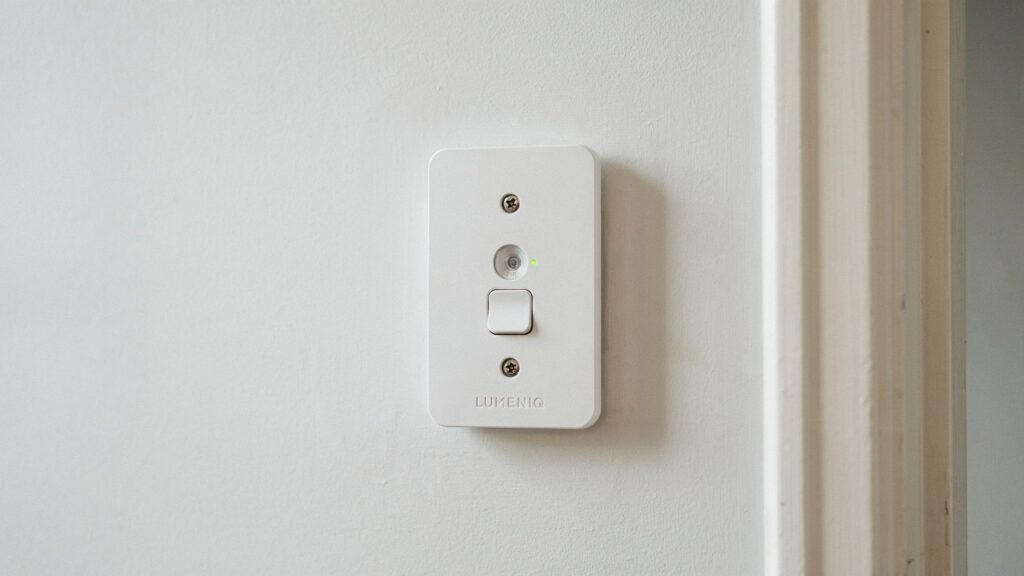
Understanding 3-Way Switch Wiring Before You Touch Anything
3-way wiring looks confusing at first, but it follows a simple logic once you know what each wire does. A standard switch has two wires; a 3-way switch has three.
Here’s what you’re working with:
- Common wire (black screw) — the most important wire. It carries power in or sends it out to the light.
- Traveler wires (brass screws) — two wires that run between both switches, allowing control from two locations. If one of these is a repurposed white wire, mark both ends with black or red tape so it’s clearly identified as a traveler, not a neutral.
- Ground wire (green screw) — the safety wire. Always connect it.
The traveler wires work like a signal passed between two switches — one sends it, the other receives it — together controlling one light from two different spots: a hallway, staircase, or garage entry.
The common wire is the one you should never mix up. A wrong connection here means the light won’t work, or worse, creates a safety hazard. Your motion sensor switch will have clearly labeled terminals — follow them rather than guessing, and the rest of the installation stays straightforward.
Step-by-Step Installation of a Motion Sensor Light Switch 3-Way
This is where it all comes together. Follow each step carefully and you’ll have your motion sensor light switch 3-way installed in under 30 minutes.
Step 1 – Turn Off the Power
Go to your breaker box and switch off the circuit that controls that light. Then use your voltage tester at the switch box to confirm power is completely off. No guessing. No shortcuts.
Step 2 – Remove the Old Switch
Unscrew the cover plate and pull the old switch out gently. Don’t yank the wires. Take a clear photo of how everything is connected before touching anything. That photo is your safety net.
Step 3 – Identify Your Wires
You’ll see three wires — one on the black screw (common) and two on the brass screws (travelers). The bare or green wire is your ground. Match them clearly before moving forward. If wires aren’t labeled, use a small piece of tape to mark the common wire right now.
Step 4 – Connect the Motion Sensor Switch
Connect the common wire to the black screw on your new motion sensor switch. Attach the two traveler wires to the brass screws — order doesn’t matter for travelers. Attach the bare copper wire to the green grounding terminal on the switch.
Tuck everything in neatly and screw the switch into the box.
Step 5 – Test and Adjust Settings
Turn the breaker back on. Walk in front of the switch and let it detect your motion. Most 3-way occupancy sensor switches have small dials on the side — one for sensitivity, one for time delay. Adjust them to fit your space and preference.
If the light doesn’t respond, double-check your common wire connection first. That’s the usual culprit.
Common Mistakes to Avoid During Installation
Knowing these common mistakes ahead of time saves frustration — and a second trip to the breaker box.
Mixing up the common wire is the biggest one. If your light doesn’t work after installation, this is almost always why — the common wire goes to the black screw, always.
Skipping the voltage tester is another one people regret. The breaker label isn’t always accurate, so test the wires yourself every time — the same rule applies whether you’re wiring a motion sensor light fixture or a switch.
Buying the wrong switch is more common than expected. Not every motion sensor switch supports 3-way wiring — check the packaging for “3-way compatible” or “multi-location” before you buy.
Ignoring the neutral wire requirement catches people off guard. Some modern motion sensor light switches need a neutral wire to function, and older homes often don’t have one in the switch box. Check your wiring before purchasing.
Skipping the settings adjustment after install is a small mistake with a big impact. A switch set to maximum sensitivity in a small hallway gets triggered constantly — spend two minutes adjusting the dials, it’s worth it.
Fix these five things and the installation goes smoothly from start to finish.
Final Thoughts
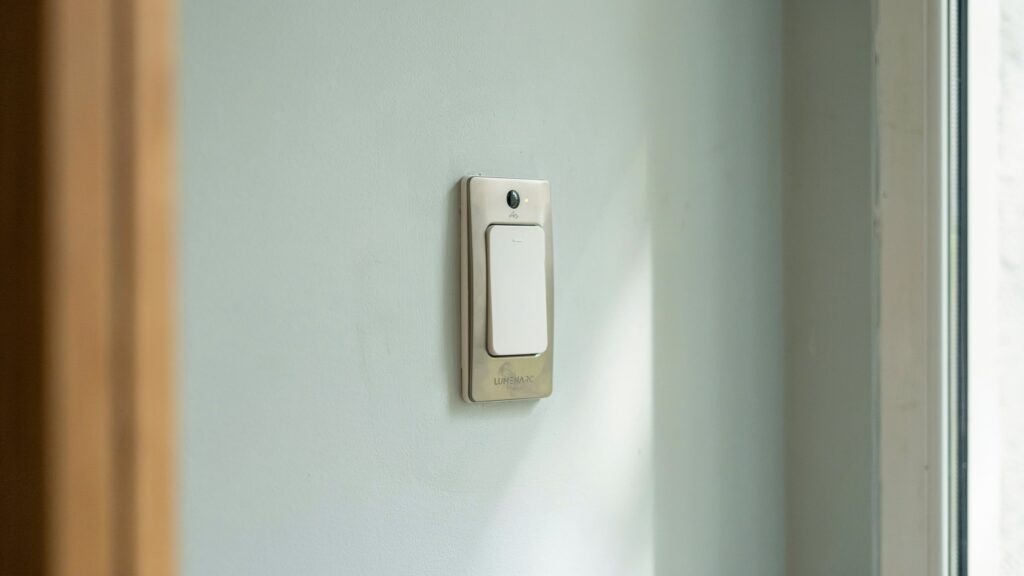
Installing a motion sensor light switch 3-way isn’t just a home improvement project — it’s a small decision that makes daily life a little easier, your home a little smarter, and your electricity bill a little lower.
No electrician, no special skills — just the right information and the confidence to follow through. One switch, two locations, zero wasted electricity.
Take a look around your home: how many lights are currently on with no one in the room? That’s the starting point for where this upgrade pays off first.
FAQs
How to connect a 3-way motion sensor switch?
Turn off the power, connect the common wire to the black screw, attach the two traveler wires to the brass screws, and ground it. Flip the breaker back on and walk in front of the switch to check it.
Can I put a motion sensor on a 3-way switch?
Yes, absolutely. Just make sure the motion sensor switch you buy clearly says “3-way compatible” or “multi-location” on the packaging.
How to install a motion sensor light switch?
Turn off the power, remove the old switch, identify your wires, connect them to the correct screws on the new switch, and test. Done in under 30 minutes.
How does a 3-way motion sensor switch work?
It detects movement and automatically turns the light on. Two switches control one light from two different locations — no manual switching needed.
About the Author
M. Bilal has a background in Criminology and covers home automation and security upgrades at CrimTechHub, including motion sensor lighting, switches, and wiring guides. His focus stays on practical, safe DIY projects homeowners can actually complete themselves — with a clear line drawn at where a licensed electrician should take over. For any wiring beyond basic switch swaps, or if your home’s setup doesn’t match a standard configuration, checking with a local electrician is always the safer call.